How to overlay text graphics on images

Recently Adobe launched Spark which is a free and powerful tool easy enough for anyone to use. For WordPress users, it’s an awesome, easy way to create professional and impactful content for your site. In this post, we are going to focus on the “Spark Post” tool in creating cool graphics for your images.
Getting Started on Adobe Spark
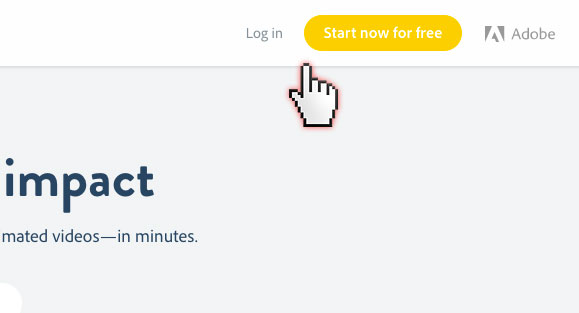
Step one is to login to Adobe Spark (if you don’t have an Adobe account don’t worry, registration is free). Once you get to Adobe Spark there is a login or signup button in the top right corner.
[hr style=”line” size=”1px”]
Step two is to create a Spark post and add in the text you are wanting to overlay on your image. For this example, we use “How to create the best fruit smoothie”. You can also choose a size. We picked “widescreen” for this example.
[columns] [span4] 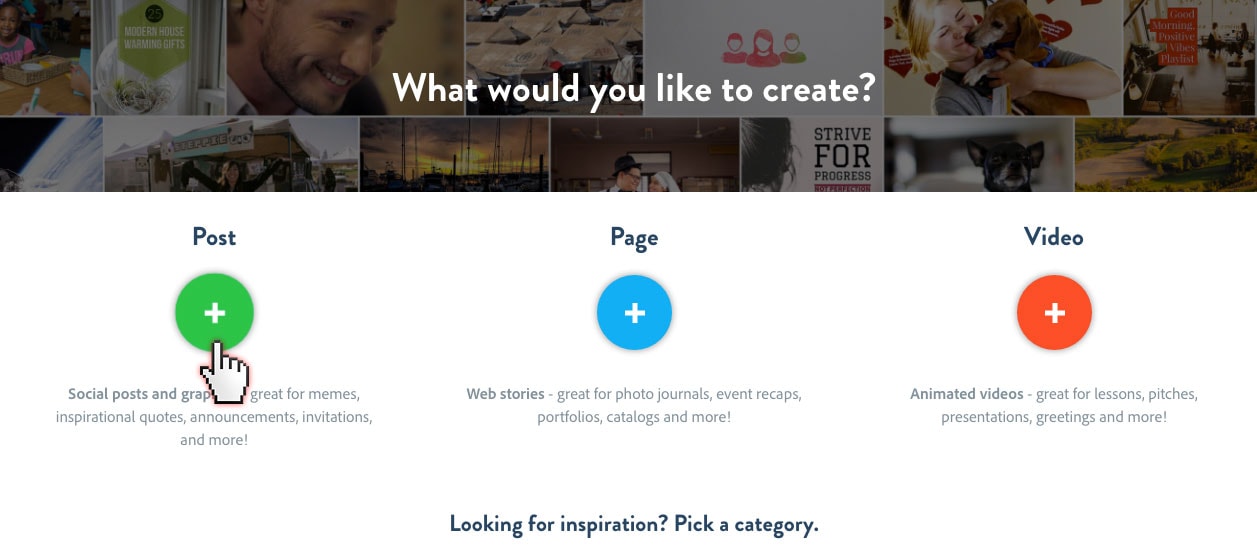 [/span4][span4]
 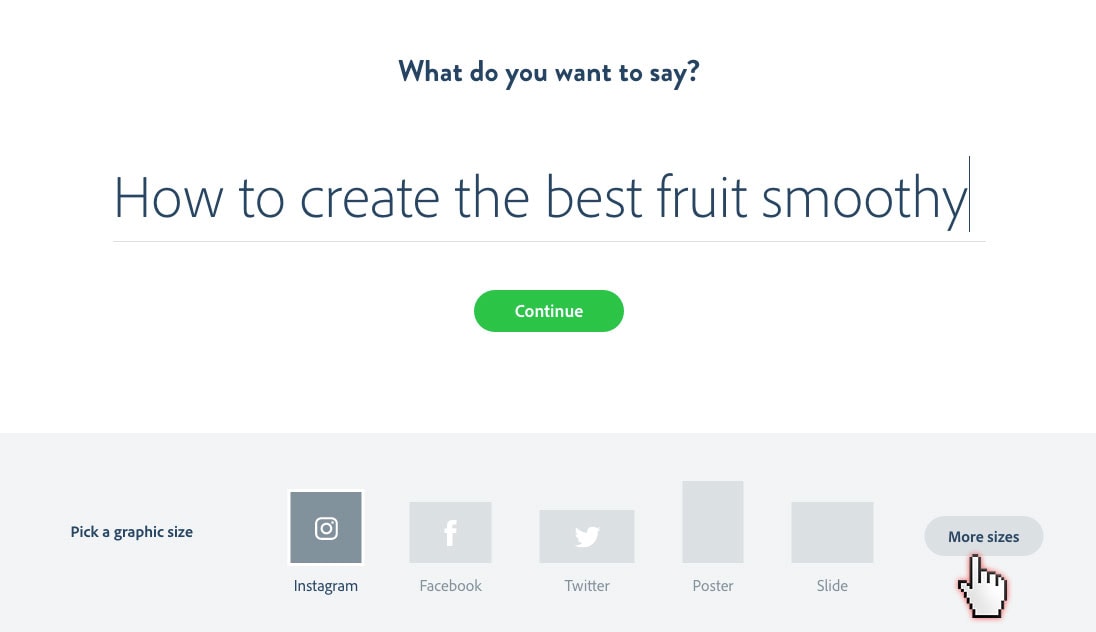 [/span4][span4]
 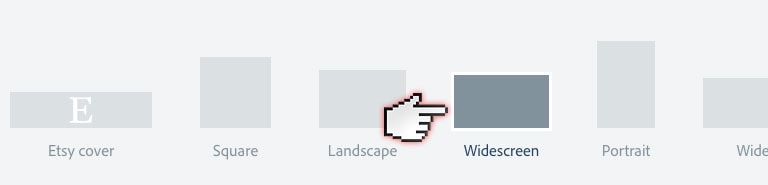 [/span4][/columns]
[hr style=”line” size=”1px”]
Step three is to upload your image. You’re going to set this as your background so click on the background tab in the Spark interface. We found a great image for the example here on unsplash.
[hr style=”line” size=”1px”]
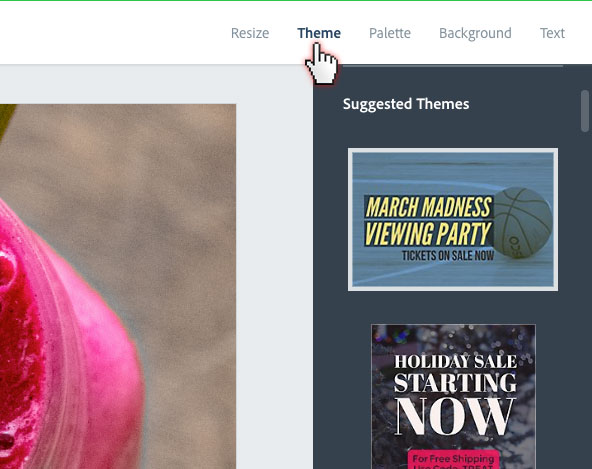
Step five is assigning a good base theme. Click on the “themes” tab in spark and start scrolling through example options for how your text overlay will look.
[hr style=”line” size=”1px”]
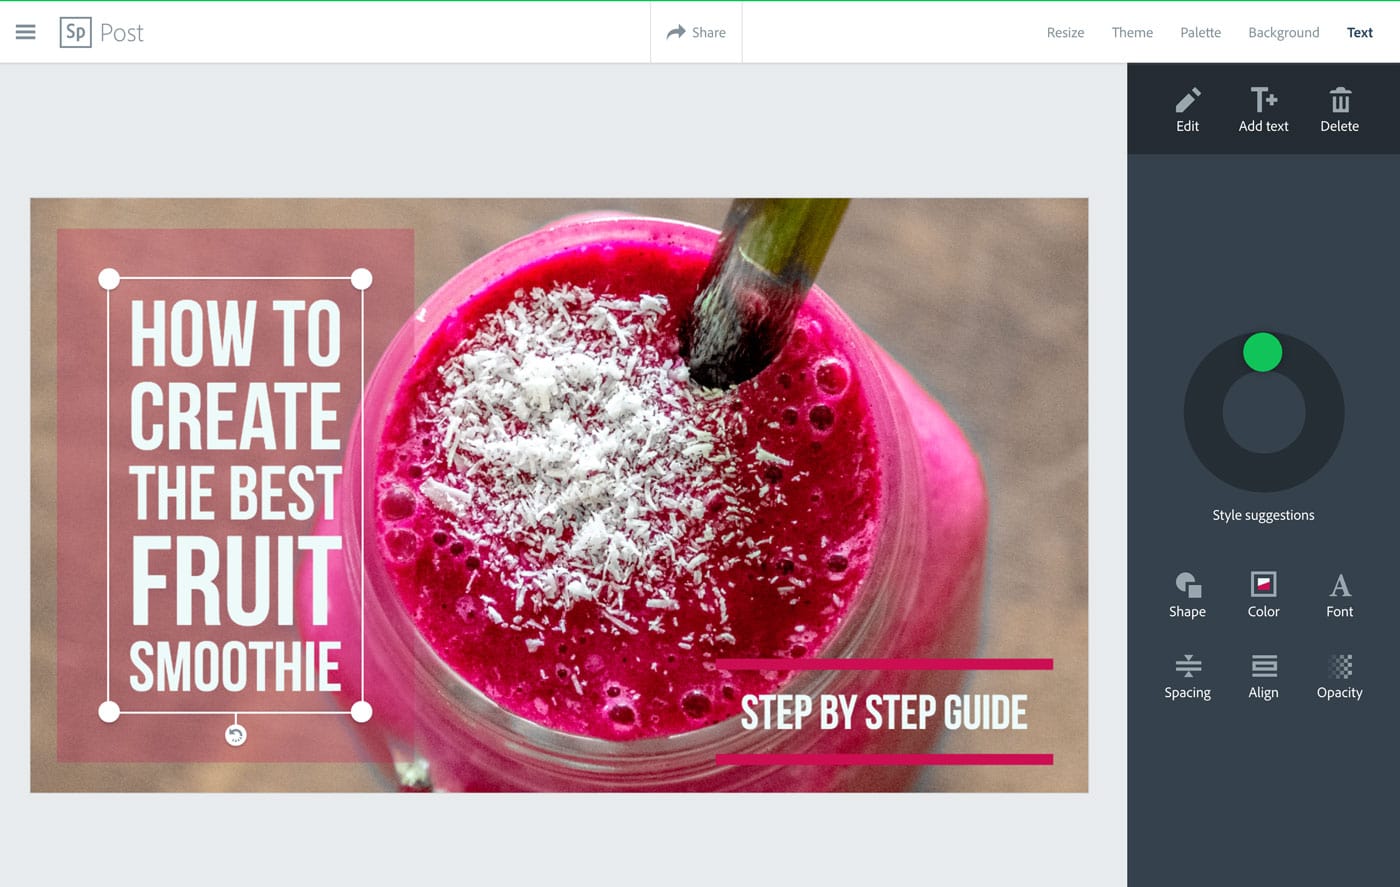
Step six is the fine-tuning. You can adjust everything easily so this is where you change your font, text size, text background, etc. Note that you can add extra text to your image. You can do this easily by clicking on the image and clicking the “add text” button.
[hr style=”line” size=”1px”]
Step seven is downloading your image. You can do this by clicking “share” at the top of your screen. Then in the popup click download.

It’s also worth noting that Adobe Spark has a great app that allows you to do this on any device. Enjoy and get creative!
Create Your Website With KadenceWP Today!

Written by Ben Ritner
Ben Ritner is the Sr. Director of Product at StellarWP and the founder of Kadence WP. Ben builds innovative tools that empower individuals and small businesses to compete with major corporations on the web. He creates comprehensive tutorials that guide users through WordPress, enabling them to build effective and engaging websites. His expertise in product development, strategy, and marketing drives innovation and success for users worldwide.
By Ben Ritner
Ben Ritner is the Sr. Director of Product at StellarWP and the founder of Kadence WP. Ben builds innovative tools that empower individuals and small businesses to compete with major corporations on the web. He creates comprehensive tutorials that guide users through WordPress, enabling them to build effective and engaging websites. His expertise in product development, strategy, and marketing drives innovation and success for users worldwide.
Updated July 22, 2024
Create Your Website With Kadence