Page Builder Row Separator
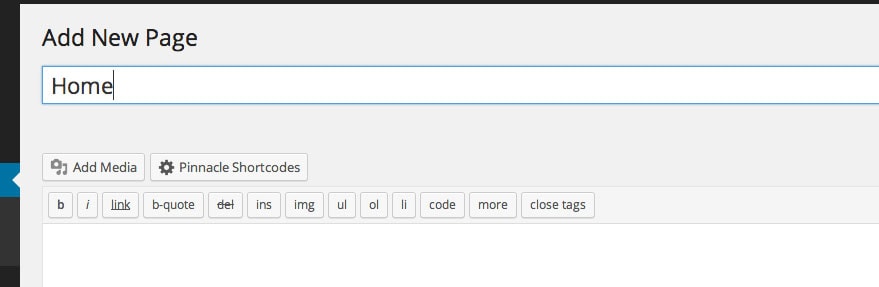
1. From the visual editor click the Page Builder tab.
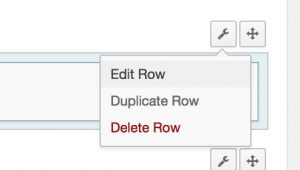
2. Create a row, then on the top right of the row hover over the toolbar and click Edit Row.
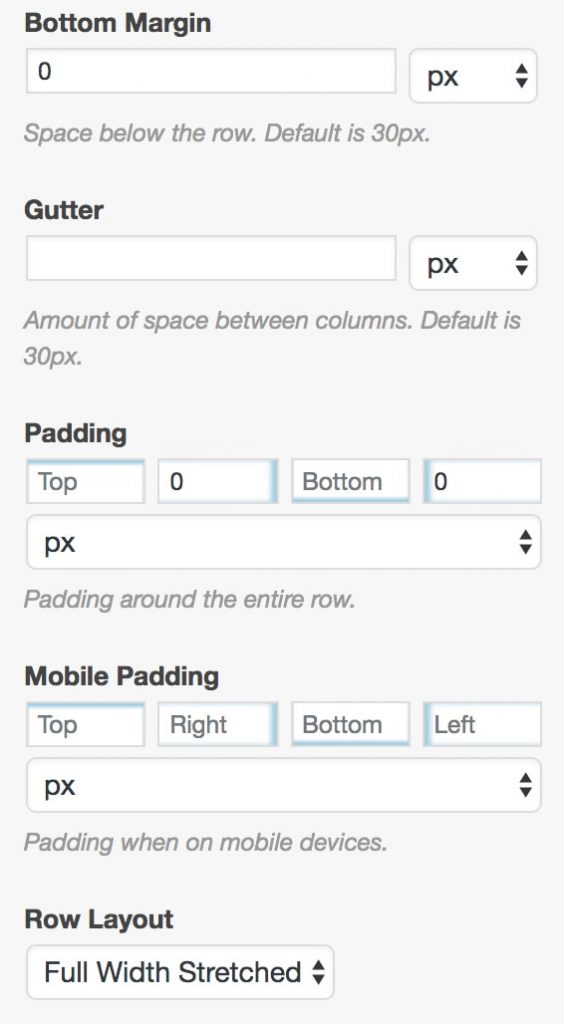
3. Open the Layout tab and set the Bottom Margin to 0 and the Row Layout to Full Width Stretched. Choose whether or not you want to add padding to the row.
4. Open the design tab and give your row a background image or color. *Note if using Center Triangle Small or Three Small Triangle row separator style it works better to use a background color rather than an image.
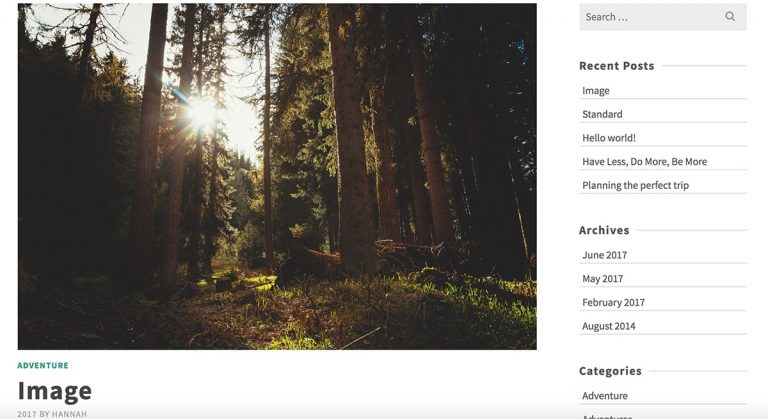
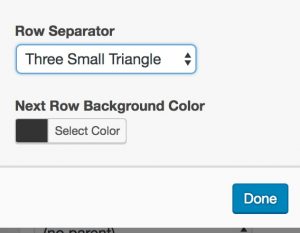
5. Scroll down to Row Separator and select a separator style. See examples:
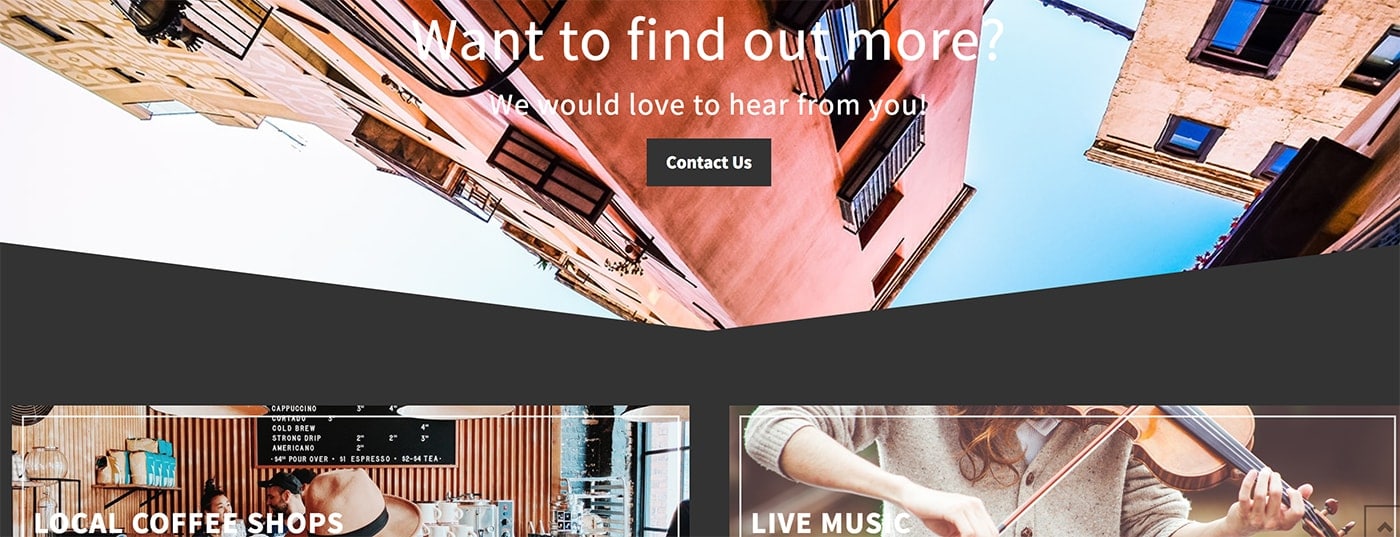
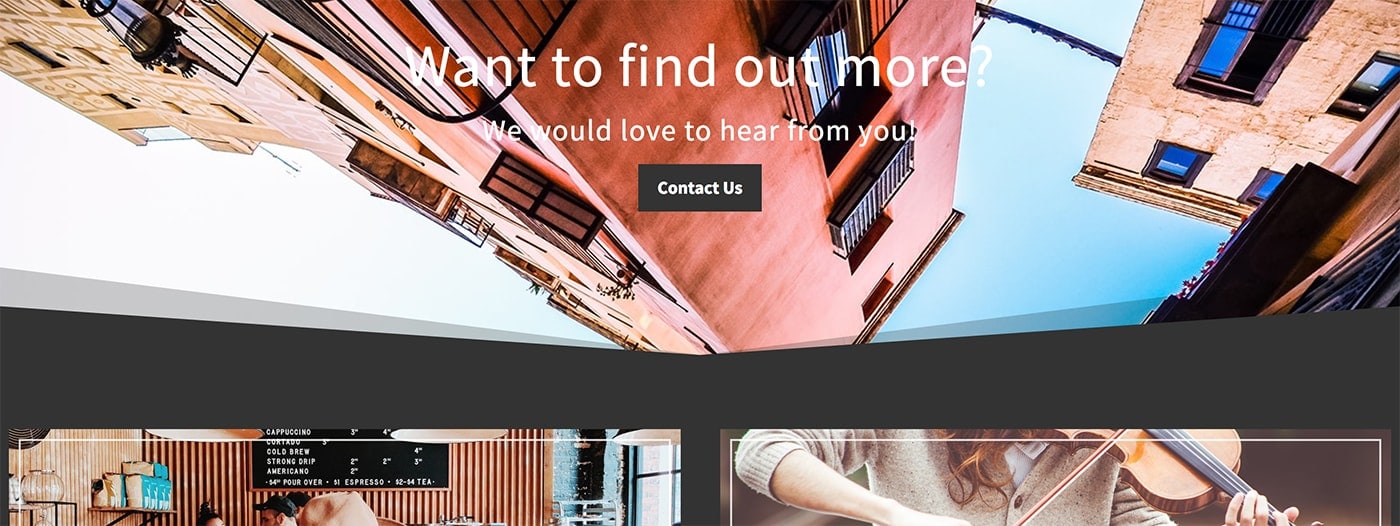


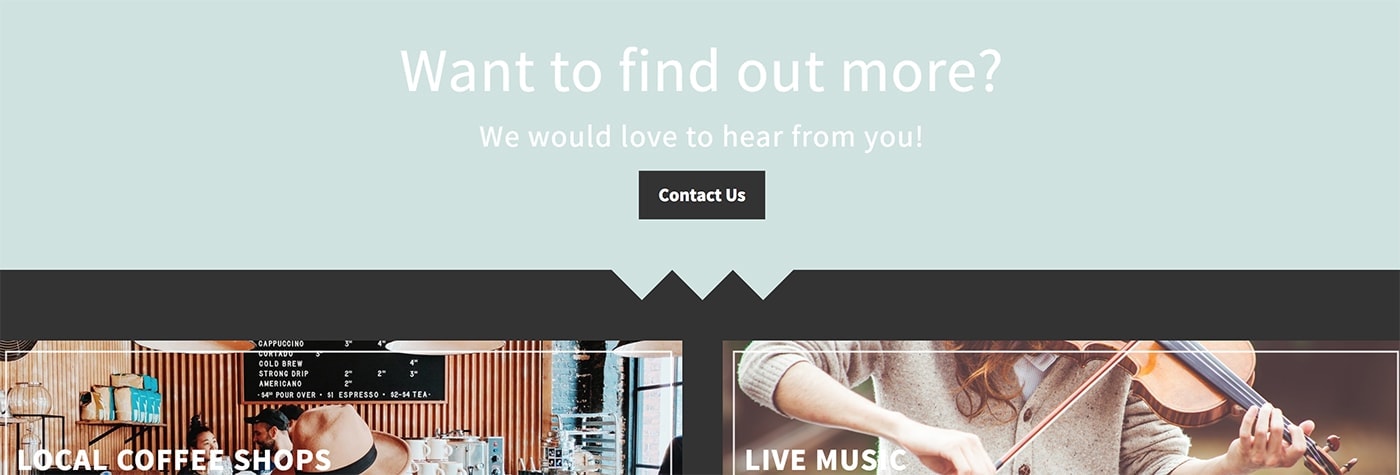
6. Select the row background color that will be used on the next row (this color will be pulled up into the current row. See examples above).
7. Click Done.
8. Add content to your row (examples above are using the Ascend: Call to Action widget).
9. Create a second row give it the same background color as the row separator color in the previous row.
10. Repeat the above steps as many times as you would like.
Create Your Website With KadenceWP Today!

Written by Hannah
Hannah Ritner is the product expert at KadenceWP. With over 10 years at Kadence, she’s worn many hats, but her main drive has always been helping customers reach their goals. Hannah loves empowering people and has been a key player in building the Kadence Community. She’s all about making a real impact for businesses and their customers.
By Hannah
Hannah Ritner is the product expert at KadenceWP. With over 10 years at Kadence, she’s worn many hats, but her main drive has always been helping customers reach their goals. Hannah loves empowering people and has been a key player in building the Kadence Community. She’s all about making a real impact for businesses and their customers.
Updated July 22, 2024
Create Your Website With Kadence