WooCommerce Product Variations Setup Guide
If you’ve ever set up product variations in WooCommerce, you know how quickly things can get messy. One minute, you’re adding a simple size option; the next, you’re drowning in dropdown menus and wondering if your customers need a map to find what they’re looking for.
The truth is when faced with confusing product options, 82% of shoppers will simply click away. And it makes sense – no one wants to play menu roulette just to find out if that blue shirt comes in their size.That’s exactly why we created this guide!
We’ll show you how to create variations that look great and work smoothly on every device. You’ll also learn how to use Kadence Shop Kit to build better galleries, and we’ll share our favorite tips for managing even the largest product sets.
2 ways to customize WooCommerce product variations
Method #1: Using professional plugins
Want to customize your product variations without touching a line of code? Professional plugins are the answer. They allow you to create beautiful, functional variation displays in minutes instead of hours. Let’s look at three popular options that make variation customization straightforward:
1. Kadence Shop Kit
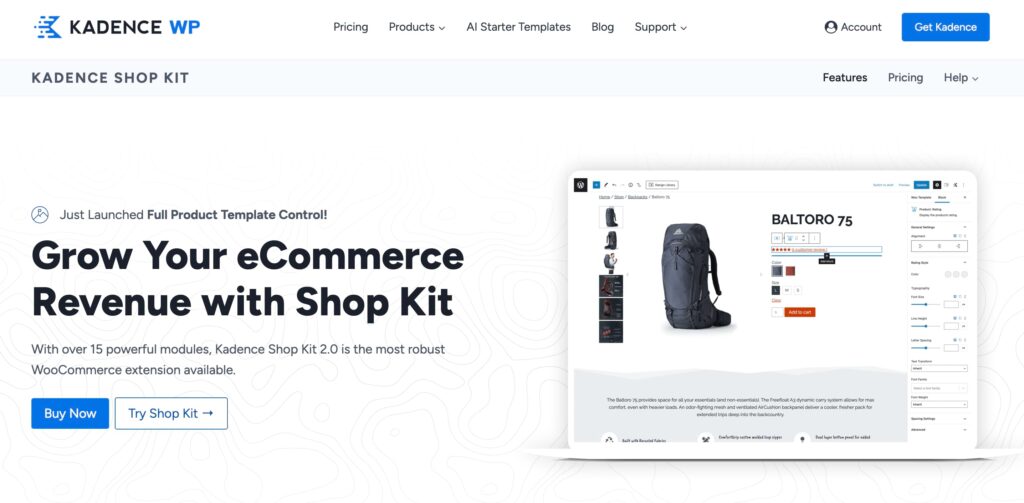
This is our top recommendation for customizing WooCommerce variations, and we promise that it’s not just our biases talking! One of our users said, “Shop Kit saved me a ton of money in plugin renewals. I was able to cancel several other plugins and use the native Kadence features instead.”
What makes Shop Kit special? First, it transforms how your variations look and work without requiring any technical knowledge. You get mobile-responsive designs, flexible pricing displays, and variation swatches that actually show your products properly. Everything stays fast and lightweight because there’s no bloated code slowing down your store.
2. YaySwatches
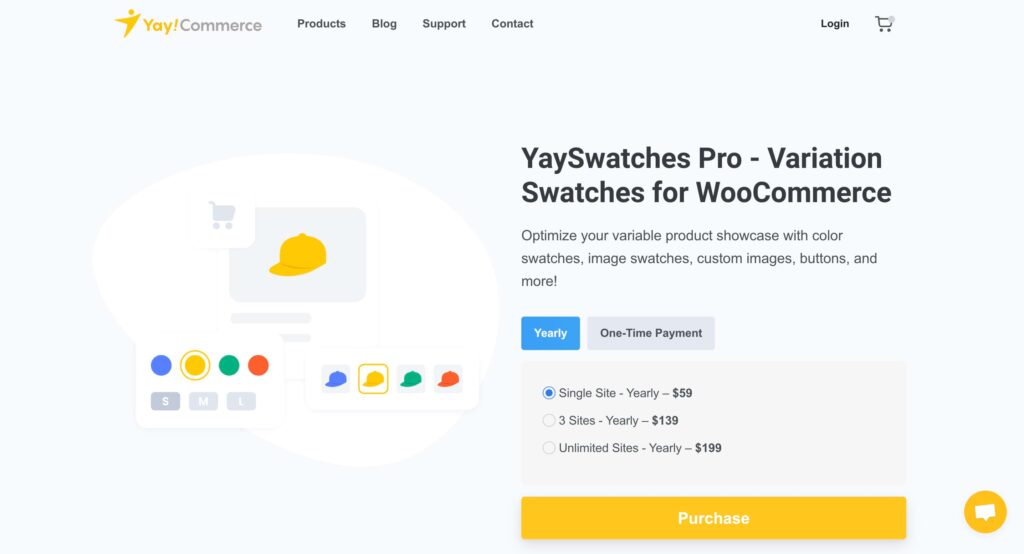
YaySwatches focuses on making your variation options visually appealing and easy to use. You can customize everything about your swatches, from their shape and size to tooltips and image quality.
One great feature is how it handles out-of-stock variations, clearly showing customers what’s available without creating confusion. It even automatically generates variation swatches from your product images.
3. WooCommerce Bulk Variations
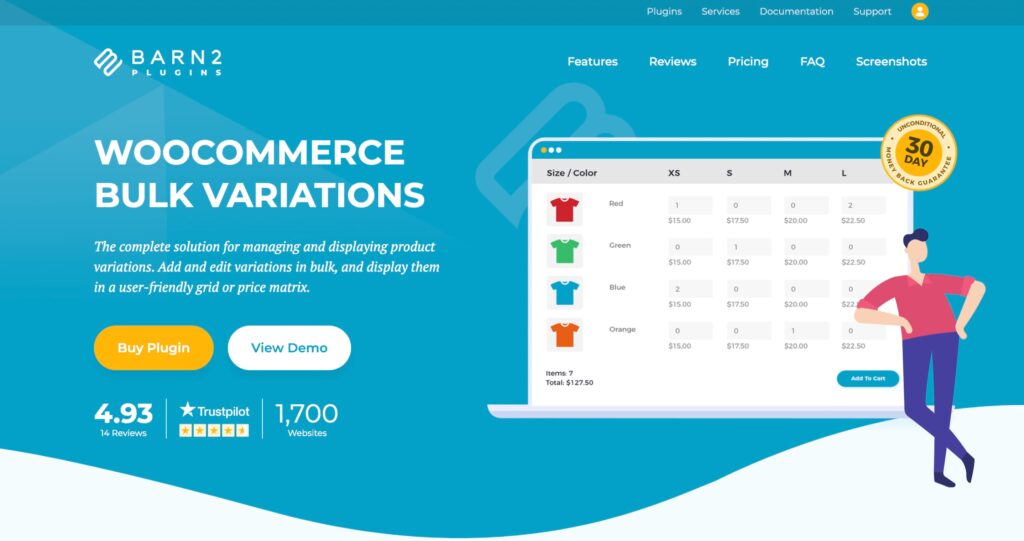
The WooCommerce Bulk Variations plugin is ideal if you handle large product catalogs or wholesale orders. It adds bulk variation order forms to your product pages, letting customers order multiple variations at once.
For store owners, it includes powerful bulk editing tools that save hours of variation management time. Instead of updating prices or stock individually, you can edit everything in a single view.
Method #2: Using custom code
Customizing WooCommerce product variations through code requires working directly with WordPress hooks and PHP functions. While this approach offers complete flexibility, we’d only recommend it if you have strong web development experience.
If you decide to go the custom code route, here are the steps you’ll need to follow:
- Create a complete backup of your site.
- Set up a staging environment for testing.
- Add your custom code to your child theme’s functions.php file or a custom plugin you create.
Now, let’s look at a practical example of changing default dropdowns to image swatches:
add_filter('woocommerce_dropdown_variation_attribute_options_html', 'custom_color_variation_images', 10, 2);

function custom_color_variation_images($html, $args) {
    // Specify the attribute to target (e.g., pa_color)
    $target_attribute = 'pa_color';

    // Check if this is the color attribute; if not, return the default dropdown
    if ($args['attribute'] !== $target_attribute) {
        return $html;
    }

    // Get the product and attribute details
    $product = wc_get_product($args['product']);
    $attribute = $args['attribute'];
    $options = $args['options'];

    if (!$product || !$attribute || !taxonomy_is_product_attribute($attribute)) {
        return $html; // Return default if missing key components
    }

    $attribute_slug = sanitize_title($attribute);

    // Get available variations for the product
    $variations = $product->get_available_variations();
    if (empty($variations)) {
        return $html; // Return default if no variations
    }

    // Get the default attribute value, if set
    $default_value = $product->get_default_attributes()[$attribute_slug] ?? '';

    $output = '<div class="custom-variation-images" data-attribute="' . esc_attr($attribute_slug) . '">';

    // Loop through each variation
    foreach ($variations as $variation) {
        // Get variation attributes and image
        $variation_attributes = $variation['attributes'];
        $variation_image = $variation['image']['src']; // Main image of the variation
        $variation_slug = $variation_attributes['attribute_' . $attribute_slug];

        // Check if this variation is the default or selected
        $selected = ($variation_slug === $default_value) ? 'selected' : '';

        if (!empty($variation_slug) && !empty($variation_image)) {
            $output .= sprintf(
                '<div class="variation-swatch %s" data-value="%s" title="%s">
                    <img src="%s" alt="%s">
                </div>',
                esc_attr($selected),
                esc_attr($variation_slug),
                esc_attr($variation['variation_description'] ?: $variation_slug),
                esc_url($variation_image),
                esc_attr($variation_slug)
            );
        }
    }

    $output .= '</div>';
    return $output;
}
Here’s a breakdown of how this code works:
- The woocommerce_dropdown_variation_attribute_options_html filter modifies how variation dropdowns display on your product pages.
- Our function checks if we’re dealing with a color attribute (pa_color). If not, it keeps the default dropdown for other attributes like size.
- get_available_variations() fetches all variation data, including attributes, pricing, and images.
- We create a wrapper <div> for our custom swatches, adding data-attribute=”pa_color” for JavaScript interactions.
- The code then loops through each variation to:
- Get the variation’s attributes (like “color = red”).
- Grab the variation’s image URL.
- Create a swatch element for each option.
The PHP code is just the beginning, though. You’ll also need to write custom CSS to style your image swatches and make them visually appealing.
JavaScript comes next and is essential for updating product details like price and availability when customers select different variations. Without proper JavaScript, WooCommerce won’t even enable the add-to-cart button because it can’t recognize the chosen options.
While the end result of custom coding is worth it, consider this path carefully.
You’ll need development expertise to write the code, time for thorough testing, and resources to maintain everything when WooCommerce updates. For most store owners, a professional plugin offers the same benefits without these technical overheads.
3 expert tips for managing complex product variations
Tip #1: Create eye-catching product galleries
Great product photos sell, especially when customers can’t pick up and examine your products in person. For stores with multiple product variations, stunning galleries become even more important. They help customers see exactly how that blue sofa fabric looks in different lighting or how that ceramic glaze creates subtle color variations.
With Kadence Shop Kit, you can customize your galleries to match your store’s style while giving customers the detailed views they need:
- Head over to Shop Kit > Product Gallery.
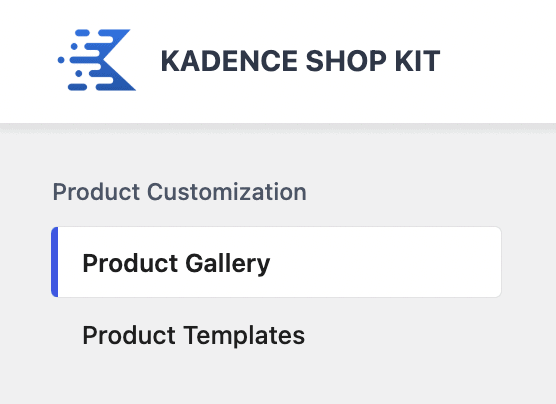
- Toggle Enable Product Slider Gallery.
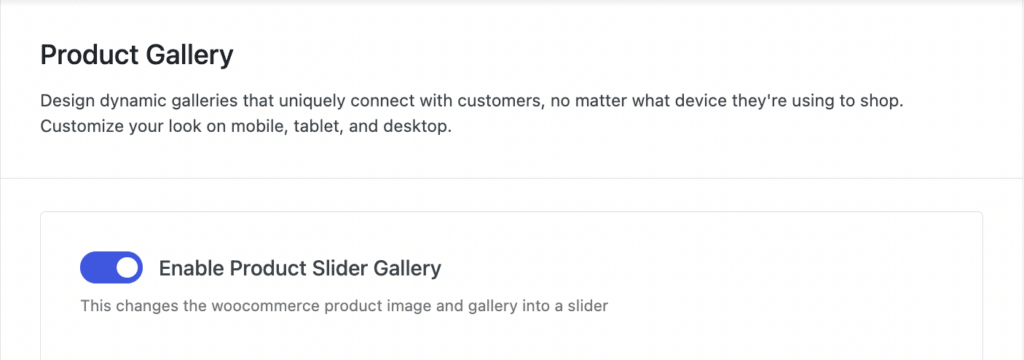
- Pick your preferred gallery style.

- Customize your display settings:
- Choose how many thumbnails to show.
- Set your slider speed.
- Adjust mobile display options.
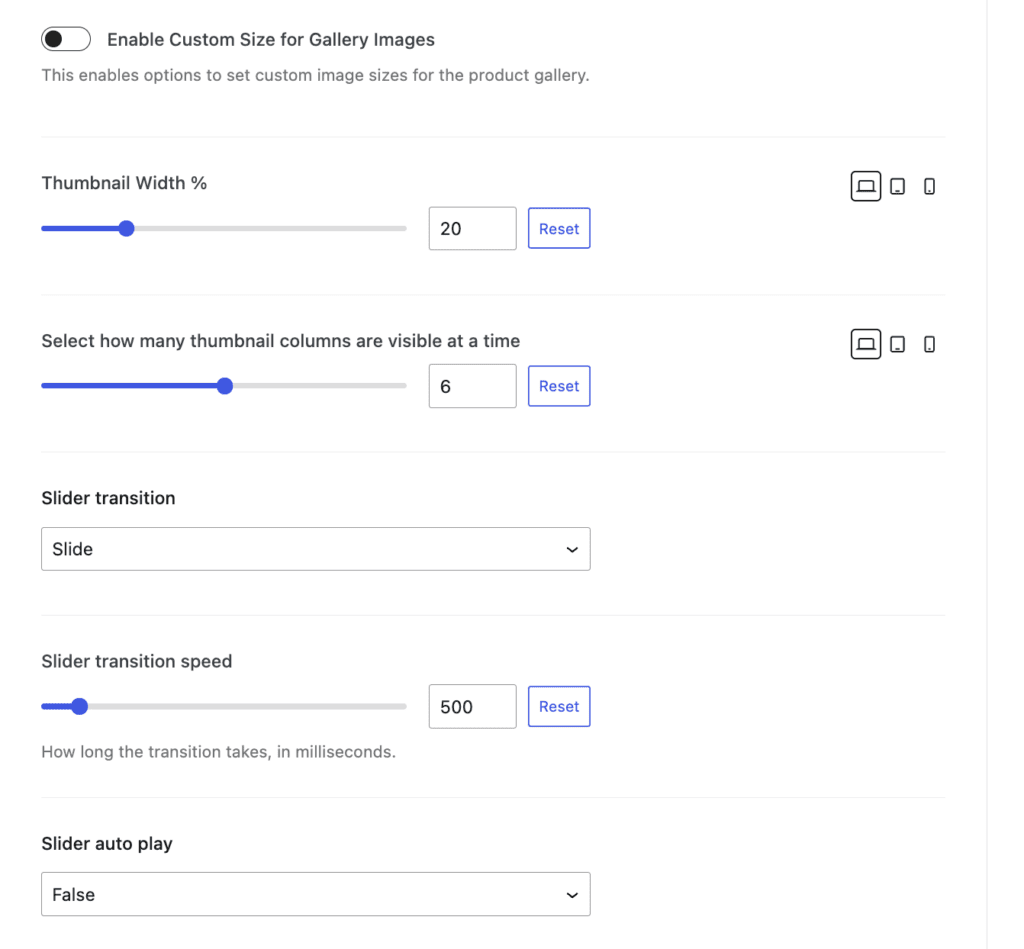
- Save your changes, and remember to preview your gallery on different devices before going live.
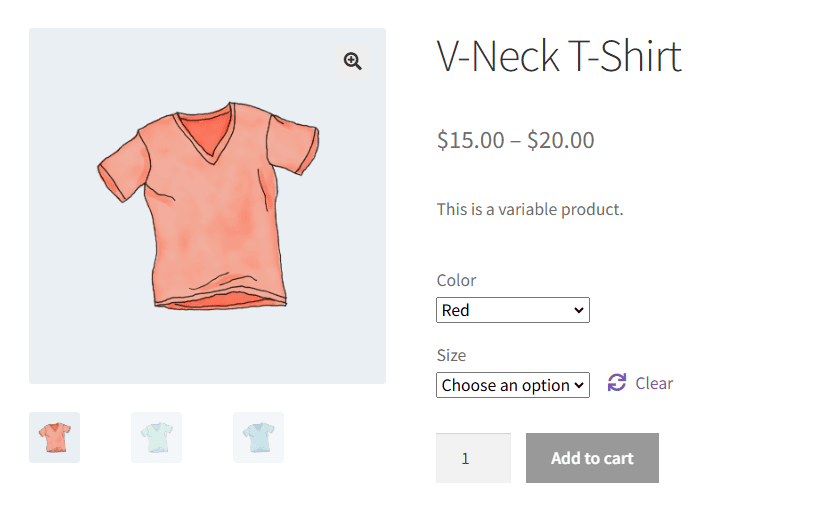
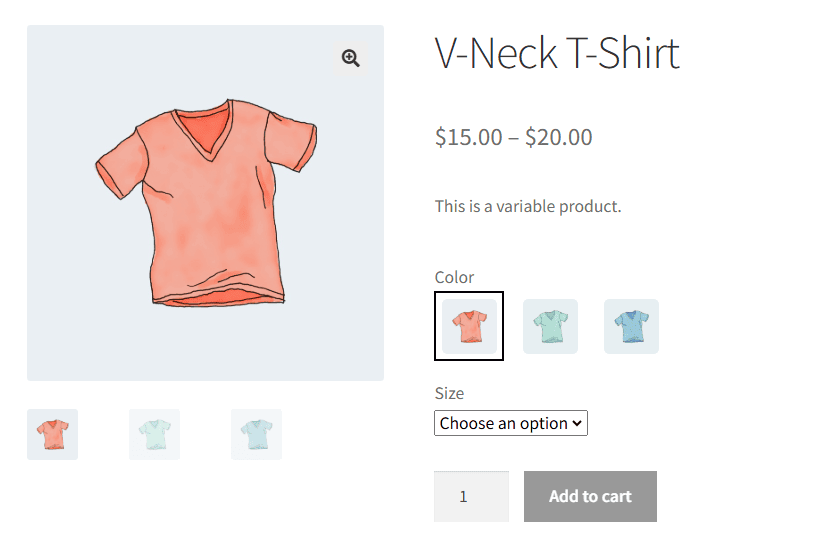
Tip #2: Design user-friendly variation swatches
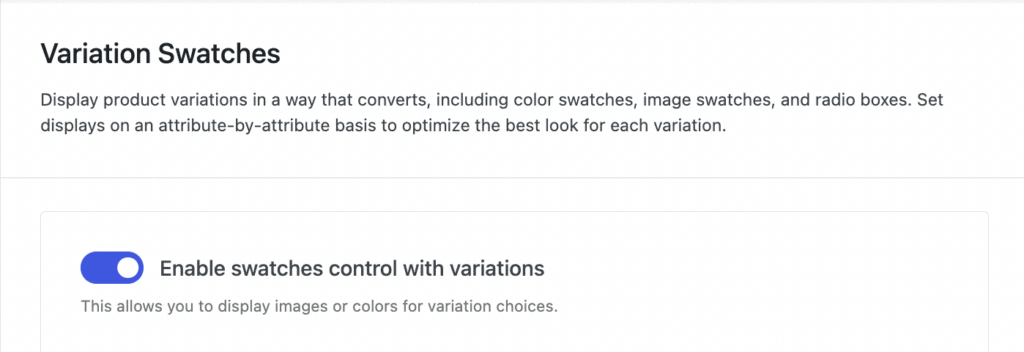
Instead of clicking through various dropdowns, visual swatches allow customers to see all their choices at a glance. Here’s how you can set it up with Kadence Shop Kit:
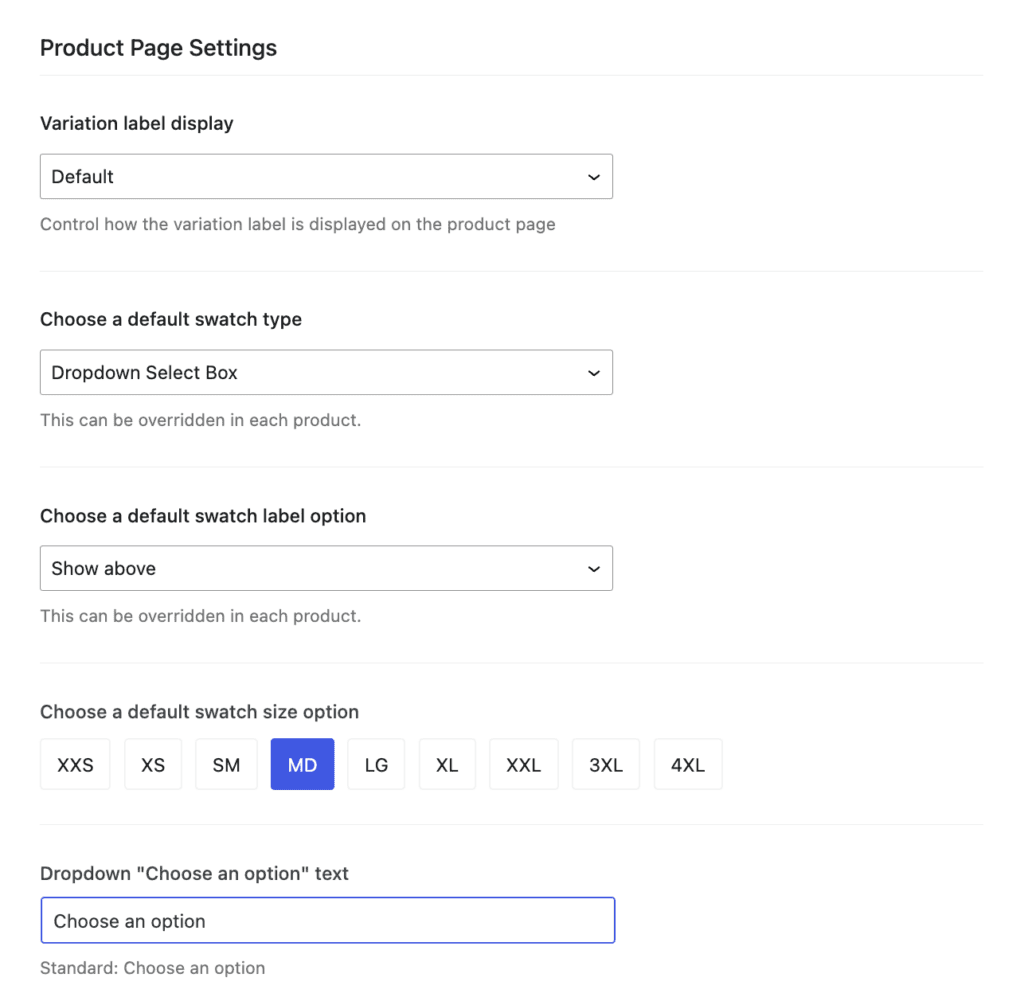
- Navigate to Shop Kit > Variation Swatches > Enable swatches control with variations.
- Set your preferences under Produce Page Settings. You can choose variation label placement, default swatch type (dropdown, radio, etc.), customize the swatch sizes, and more.
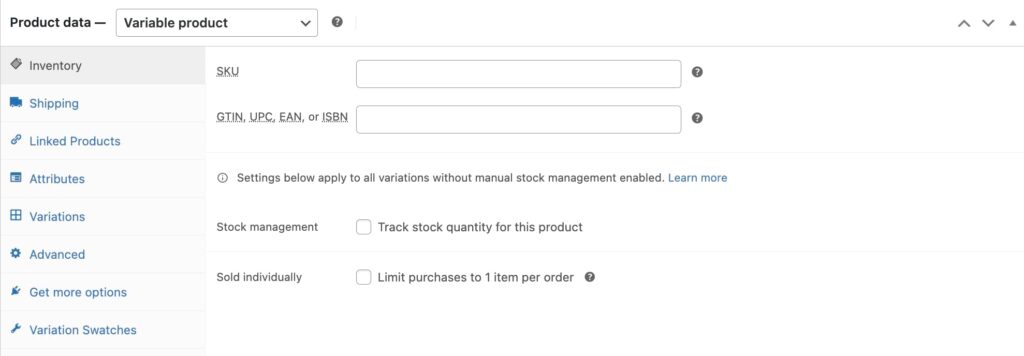
- Head to Product Data in your product editor to set up product variations.
- Under the Attributes section, create and configure your variations first. For example, if you’re selling T-shirts, you might add attributes for size and color.
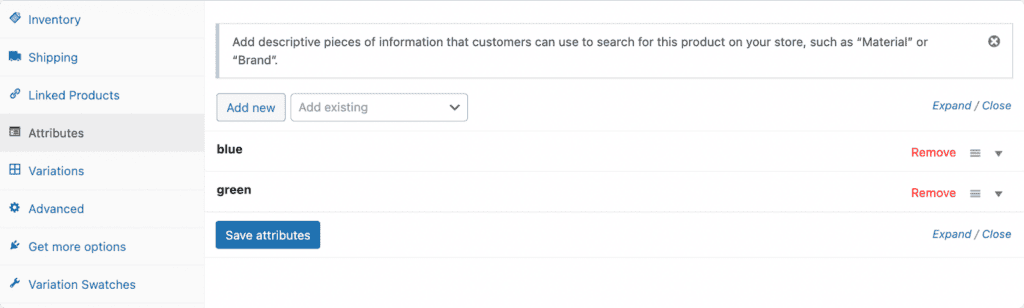
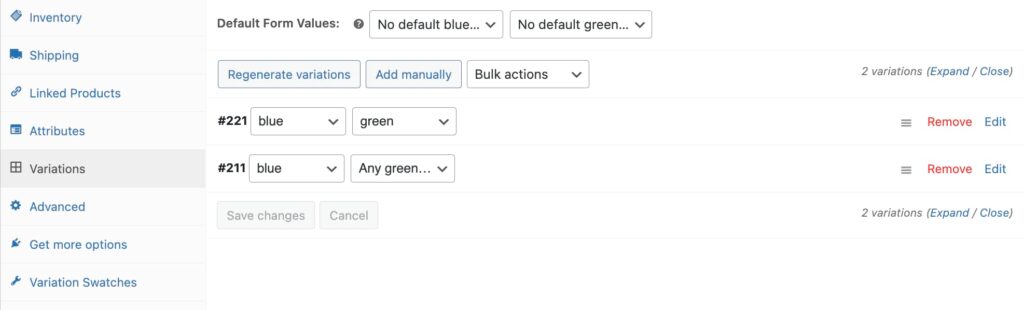
- After saving your attributes, go to Variations, generate your variations, and set specific prices and images for each combination.
- Once your variations are configured, click the Variation Swatches tab under Product Data to customize how they display. Here, you can override your global settings for this specific product, choose different swatch styles, adjust label positions, or set custom sizes. You can also assign colors or upload images for each swatch option.
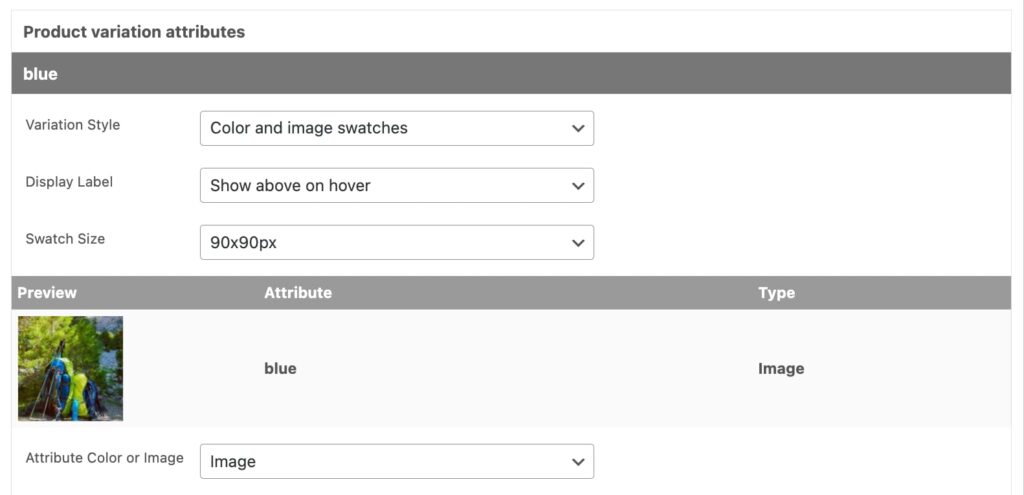
- Preview your product page to ensure your variation displays look professional and work as intended.
Tip #3: Set up smart variation pricing strategies
Take a look at any variable product in WooCommerce, and you’ll see the same thing: a simple price range like “$10-$100.” While it shows the lowest and highest prices, it leaves your customers in the dark about what actually drives those price differences. Is it the size? The material? The custom options? They’ll have to click around to find out.
Fortunately, Kadence Shop Kit gives you more control over how prices appear to your customers. You can highlight your competitive starting prices or showcase premium options in a way that makes sense for your store. Here’s how to customize your variation pricing:
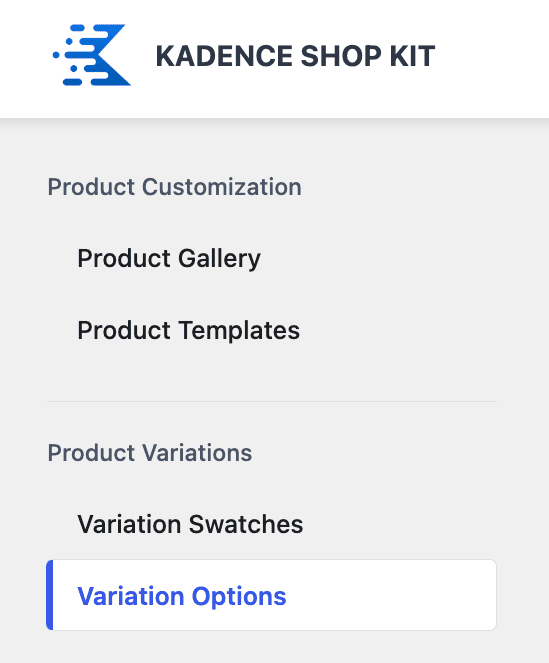
- Navigate to Shop Kit > Variation Options.
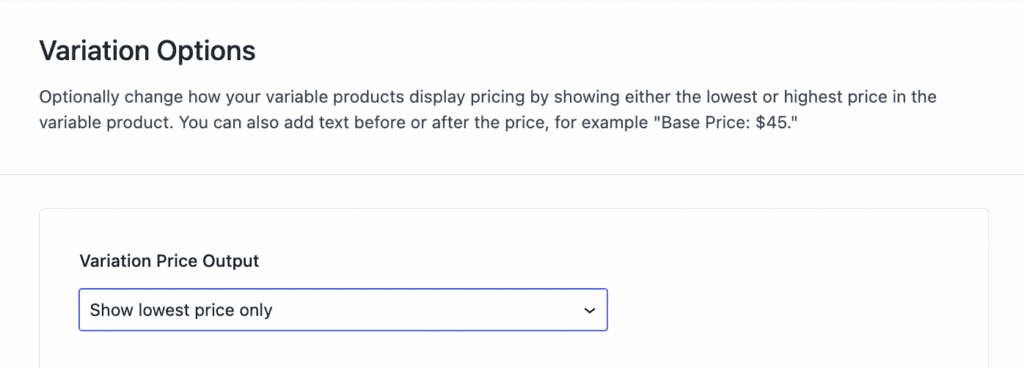
- Under Variation Price Output, choose your preferred display method:
- Show lowest price only.
- Show highest price only.
- Display price range.
- You can also customize the price format and indicate base or maximum pricing by saying “Starting from: $50” or “Up to: $100.” Configure this in the Variation Options section, where you’ll see Archive Text Before Variation Price and Archive Text After Variation Price.
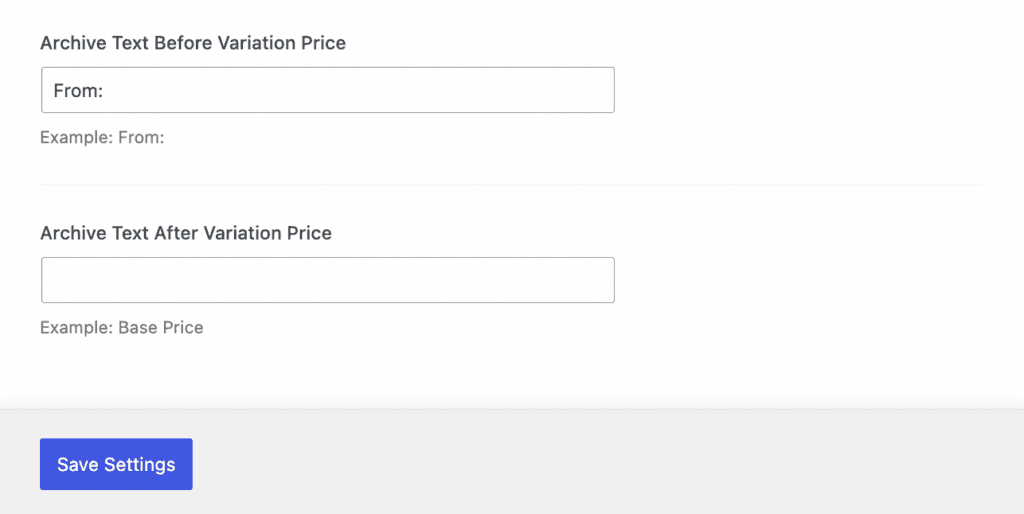
- Save changes to see it reflected across all variable products.
Start optimizing your product variations with Kadence Shop Kit
There you have it. With the right setup, you can create product pages you and your customers will love using.
Kadence Shop Kit can help you do exactly that. From beautiful galleries and intuitive swatches to smart pricing displays, it offers all the essentials to help you showcase your products effectively. The tips we’ve covered today, including creating engaging galleries, designing user-friendly swatches, and setting up clear pricing, are just the beginning of what’s possible.
Get started with Kadence Shop Kit today and see the difference it makes in your store!
Create Your Website With KadenceWP Today!
Written by Drew Griswold
Drew is the Director of Outbound Marketing for StellarWP. Digital advertising is his bread + butter, but when he’s not knee deep in the dashboards he’s also a fervent believer in event marketing. He’s a small business owner, and helping small businesses take advantage of digital tools to help them grow is one of his favorite pastimes.
By Drew Griswold
Drew is the Director of Outbound Marketing for StellarWP. Digital advertising is his bread + butter, but when he’s not knee deep in the dashboards he’s also a fervent believer in event marketing. He’s a small business owner, and helping small businesses take advantage of digital tools to help them grow is one of his favorite pastimes.
Updated February 12, 2025
Create Your Website With Kadence