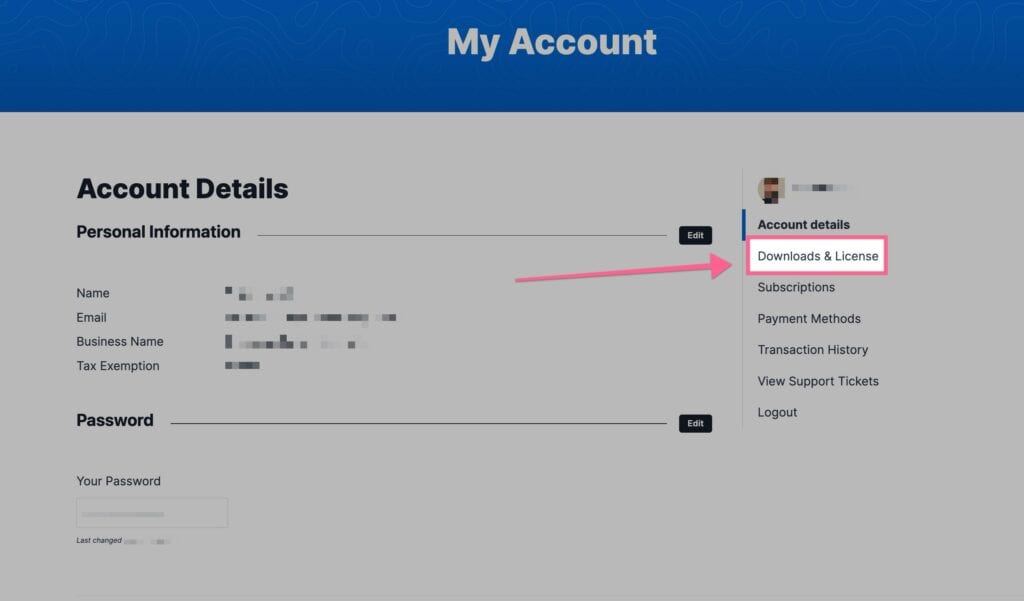
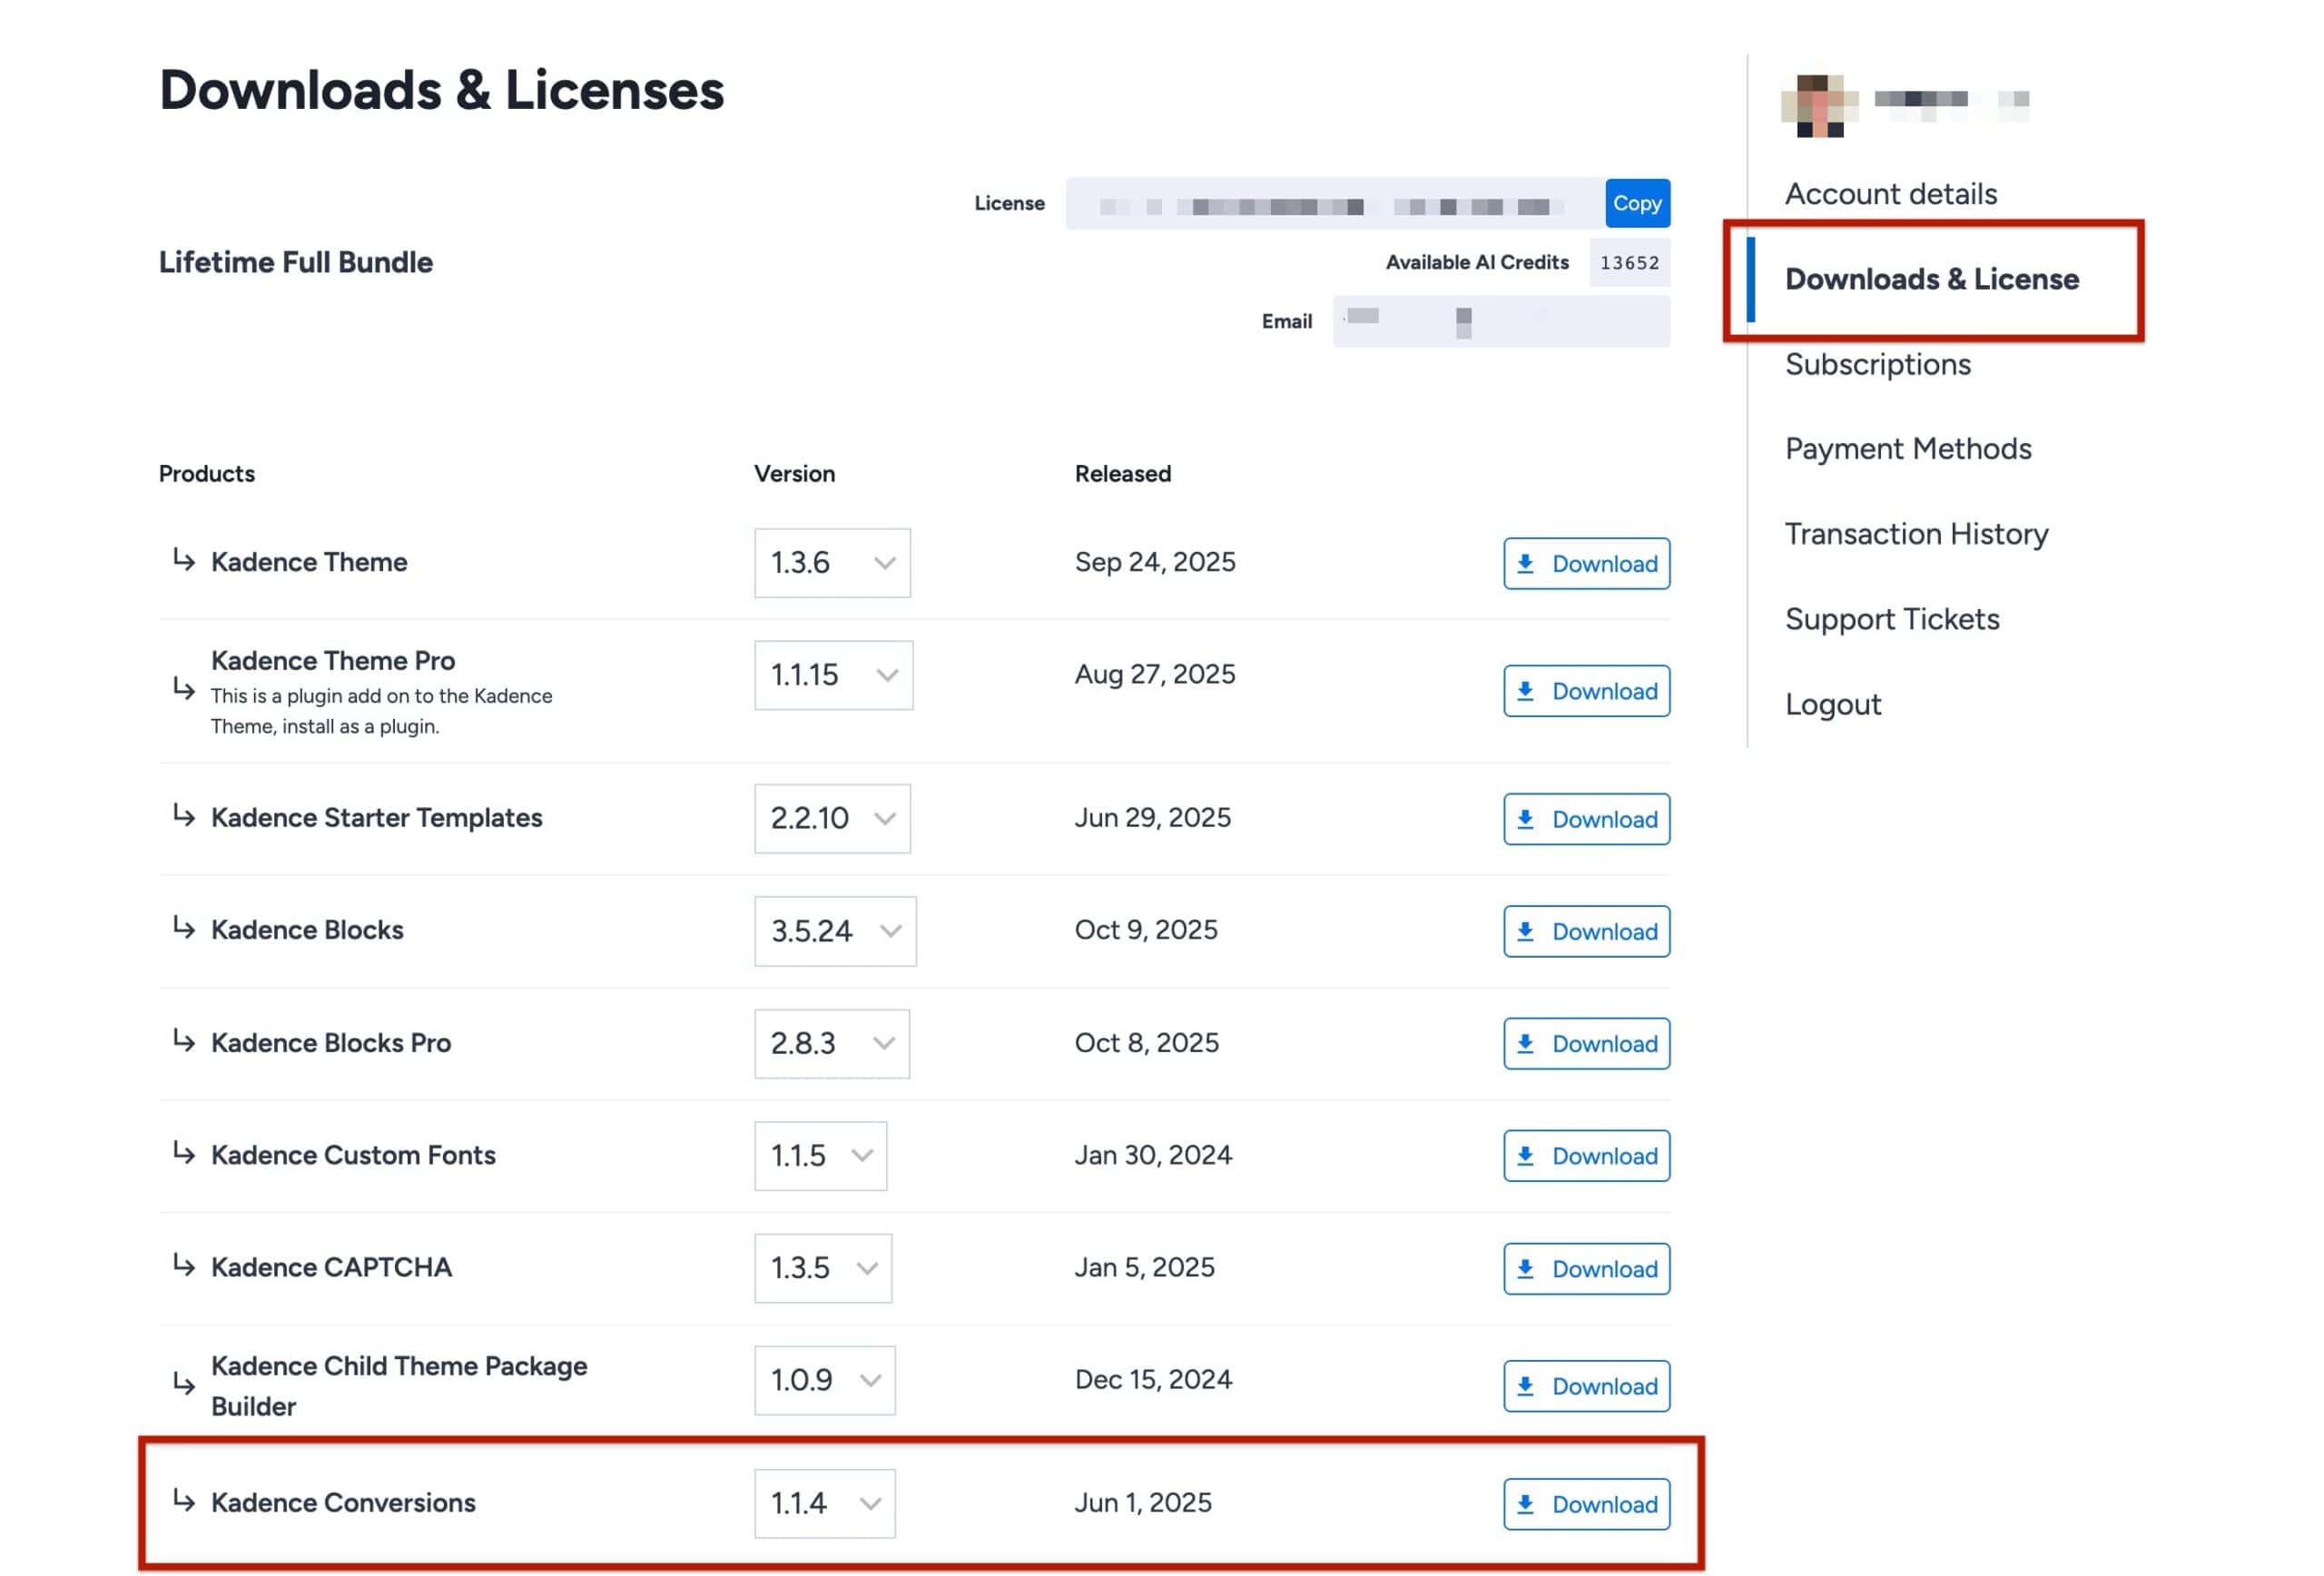
Installing Kadence Conversions is straightforward. Begin by downloading the plugin from the Downloads section of your Kadence account. If you’re subscribed to the Kadence Full Bundle or Lifetime Bundle, Kadence Conversions is already included with your plan. You can also purchase it separately as an individual plugin if you prefer.
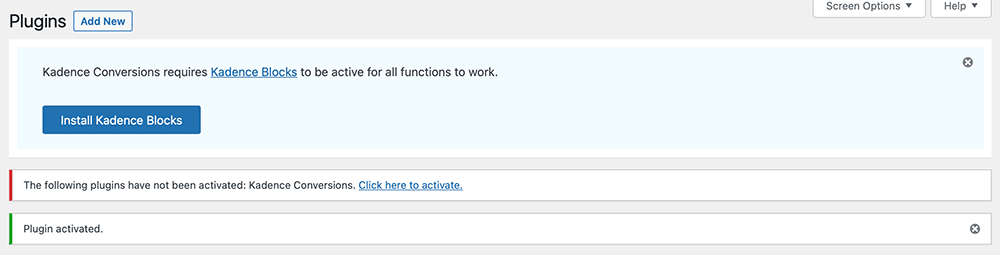
To use Kadence Conversions, you must also have the free Kadence Blocks plugin installed on your site. If you don’t have Kadence Blocks, you will be prompted to install Kadence Blocks during the installation of Kadence Conversions.
Getting Started
Download the Kadence Conversions ZIP file from the Kadence Account Downloads page.
Once the file has been downloaded, open your WordPress Admin area and go to the Plugins page. At the top of the page, select “Add New”, then choose the “Upload Plugin” option.
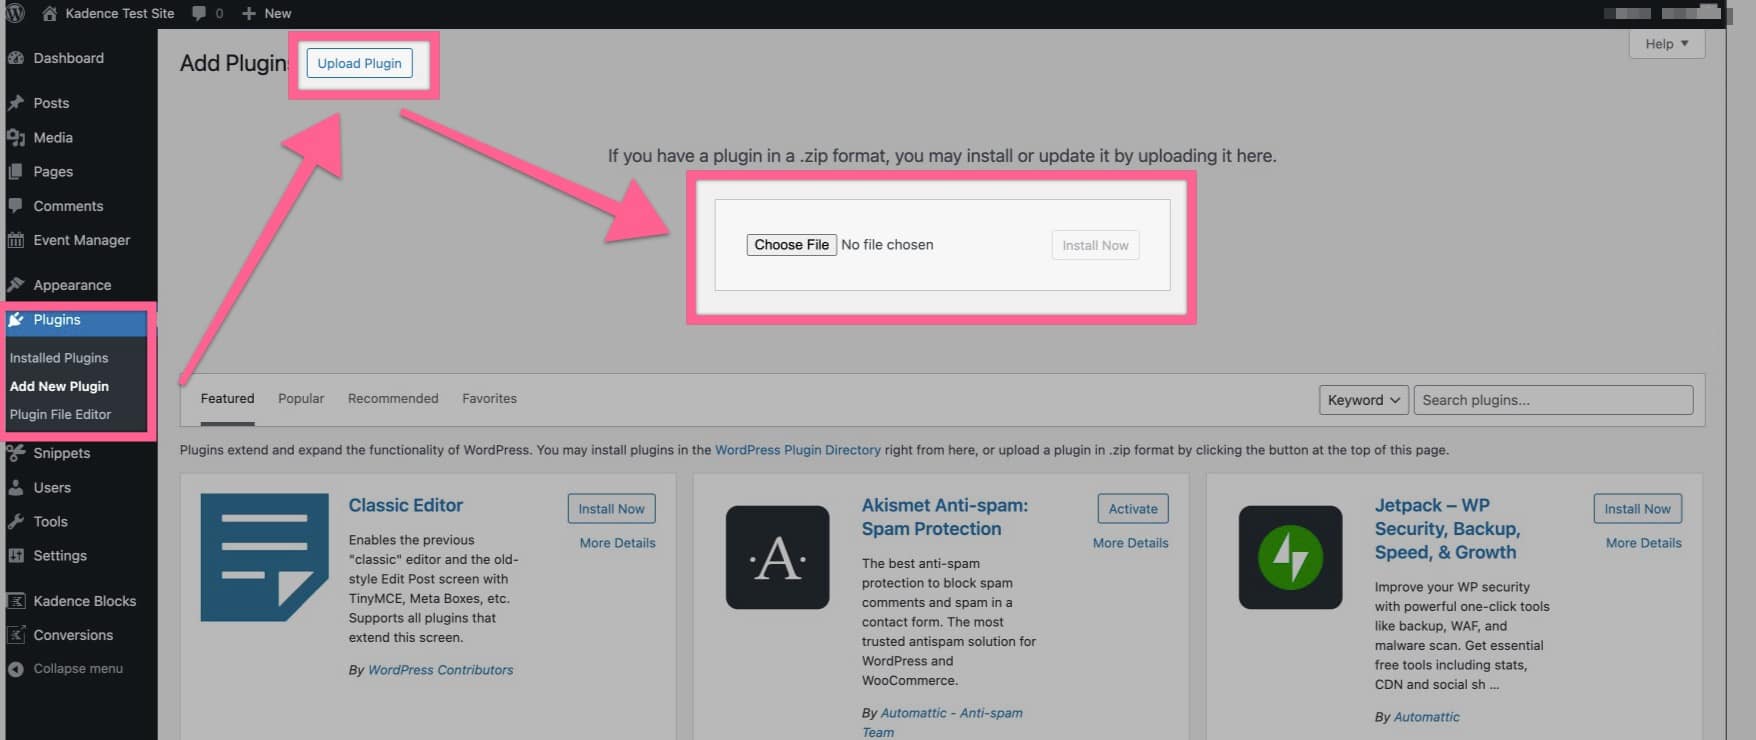
Click “Choose File” and locate the Kadence Conversions ZIP file you just downloaded from Kadence. After selecting the file, click “Install Now.” When the installation is complete, click “Activate” to enable the plugin.
Once the plugin is activated, the next step is to add your license key.
Licensing Kadence Conversions
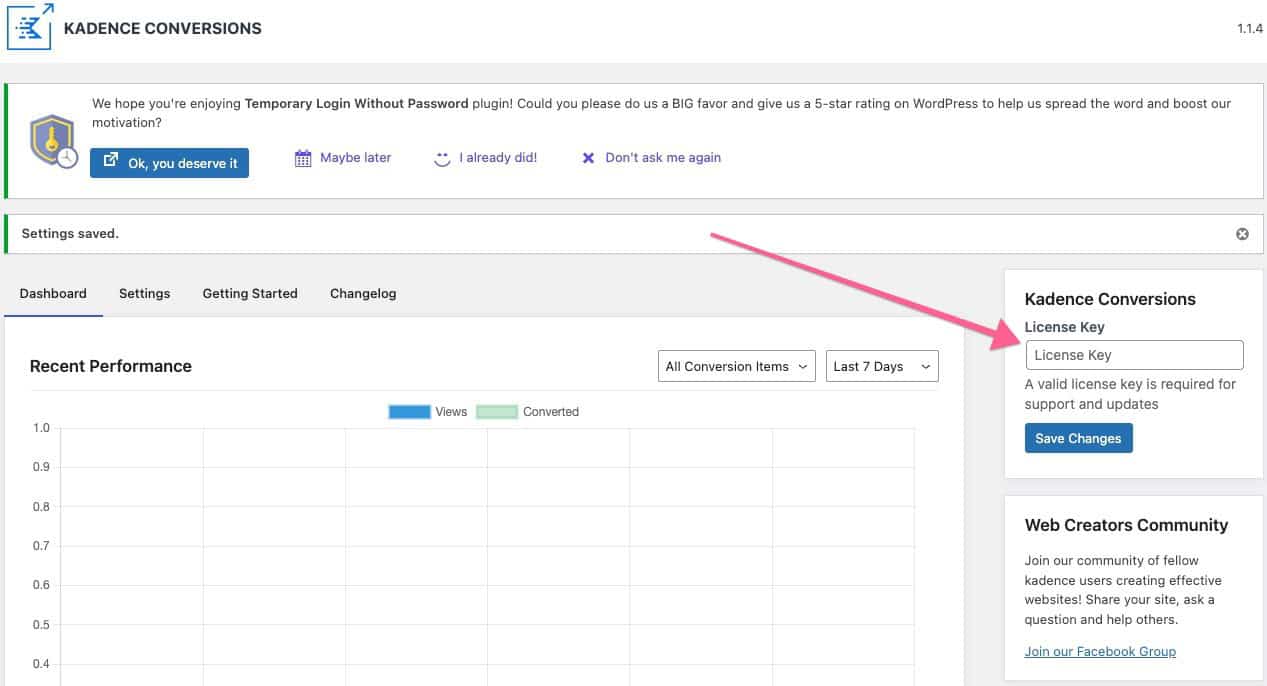
After Kadence Conversions has been installed, a message will appear at the top of your WordPress Admin screen stating that Kadence Conversions has not yet been activated. You can click the link provided in that message to proceed with activation.
(Alternatively, you can navigate to the Dashboard –> Kadence -> Conversions -> Dashboard page from the WordPress dashboard.)
Once on the Conversions dashboard, you will need to input your Kadence License Key. This can be found in your Kadence Account Downloads page. Once you enter your key, click the Save Changes button, and Kadence Conversions is ready to use.