The Marquee (Adv) Block is part of the Kadence Creative Kit plugin (available in all premium plans ⧉) and extends the free Kadence Blocks plugin. It lets you create scrolling marquee-style content, perfect for adding eye-catching motion and creative visual effects to your website.
Getting Started
To use the Kadence Marquee (Adv) Block, you’ll need at least the Kadence Express Plan or higher.
This block requires both the free Kadence Blocks plugin ⧉ and the premium Kadence Creative Kit plugin ⧉ to be installed and active on your site.
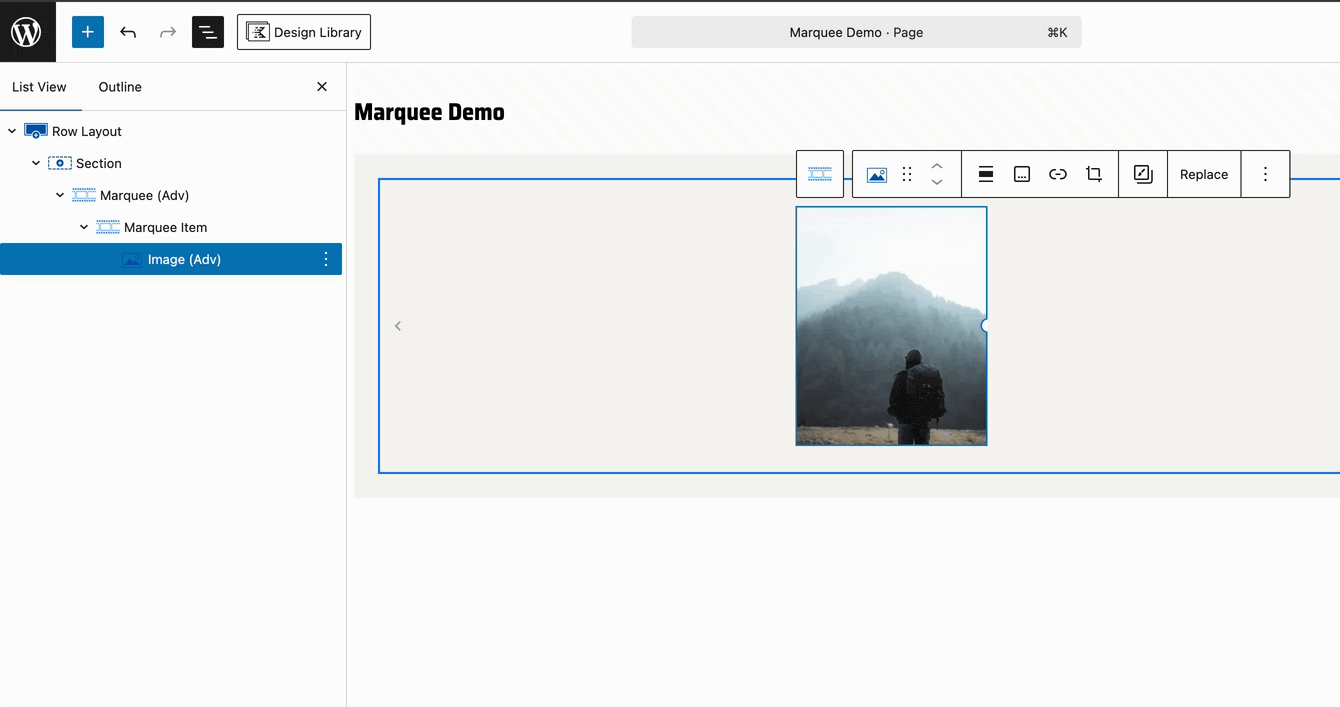
Start by adding a Marquee Block to your page or post in the WordPress Editor.

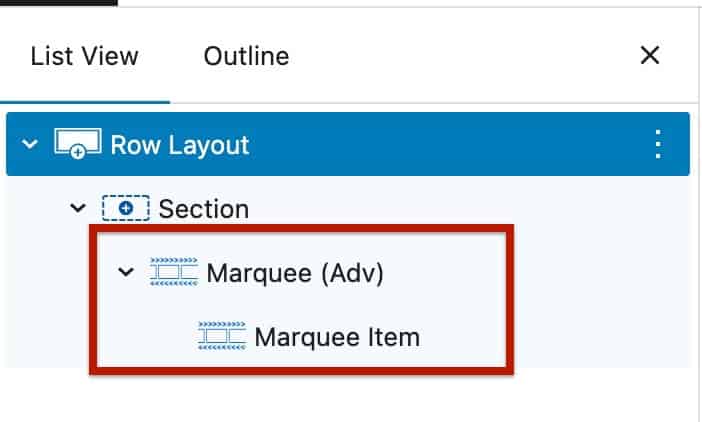
Once added, the block includes a Parent Marquee (Adv) Block, which contains a nested Marquee Item Block by default. The Parent Marquee (Adv) Block controls the overall marquee behavior and animation, while each Marquee Item Block scrolls together as part of the marquee sequence.
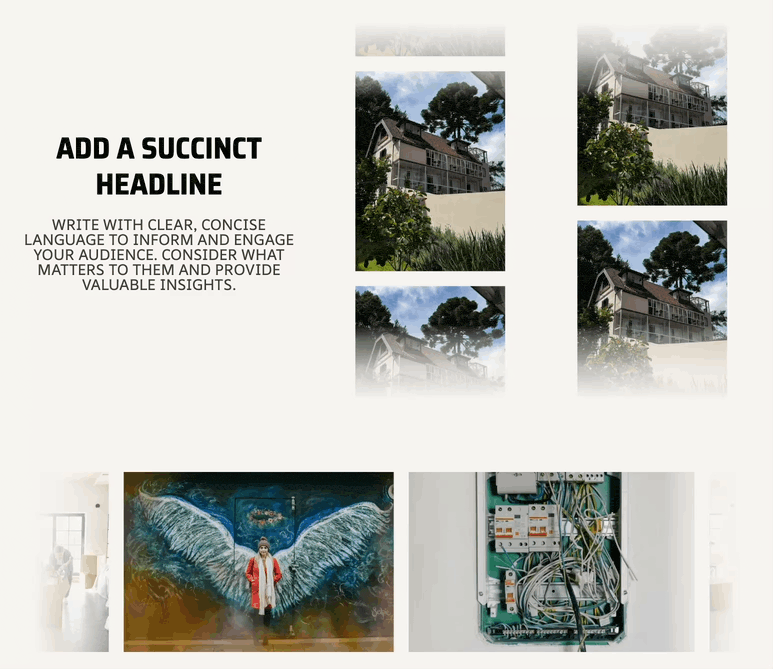
You can add content inside the Marquee Item Block, just as you would with any other block. For instance, you can insert an Advanced Image Block to create a scrolling image gallery or combine text, icons, and headings for more custom designs.

Available Blocks that can be used inside the Marque (Adv) Blocks:
- Kadence Text (Adv) Blocks
- Kadence Image (Adv) Blocks
- Kadence Icon Blocks
- WordPress Core Heading Blocks
- WordPress Core Image Blocks
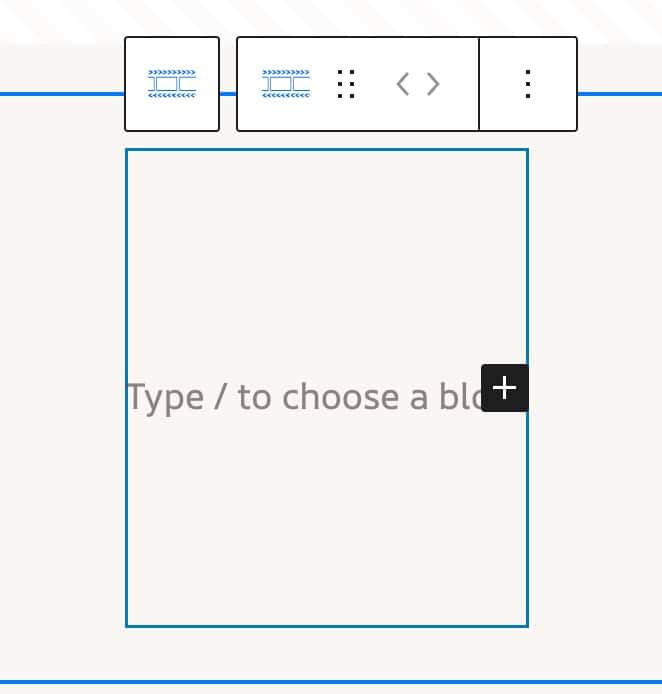
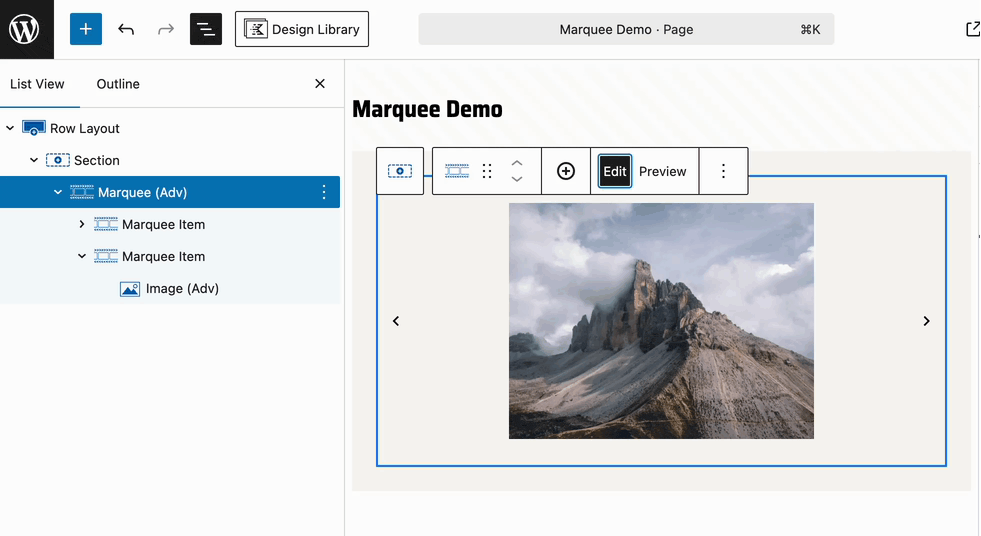
To add more items, select the Parent Marquee (Adv) Block and click the Plus (+) icon in the block toolbar. Each click adds a new Marquee Item Block inside the parent container, and you can repeat this as many times as needed. (You can also add more items using the Marquee Item Count Block Setting.)
When selecting the Parent Marquee (Adv) Block, you can toggle between Edit Mode and Preview Mode from the toolbar:
- Edit Mode: View and edit your content in a stationary layout.
- Preview Mode: Preview your marquee in real-time within the editor, showing how it will appear on the live website.
Marquee Orientations
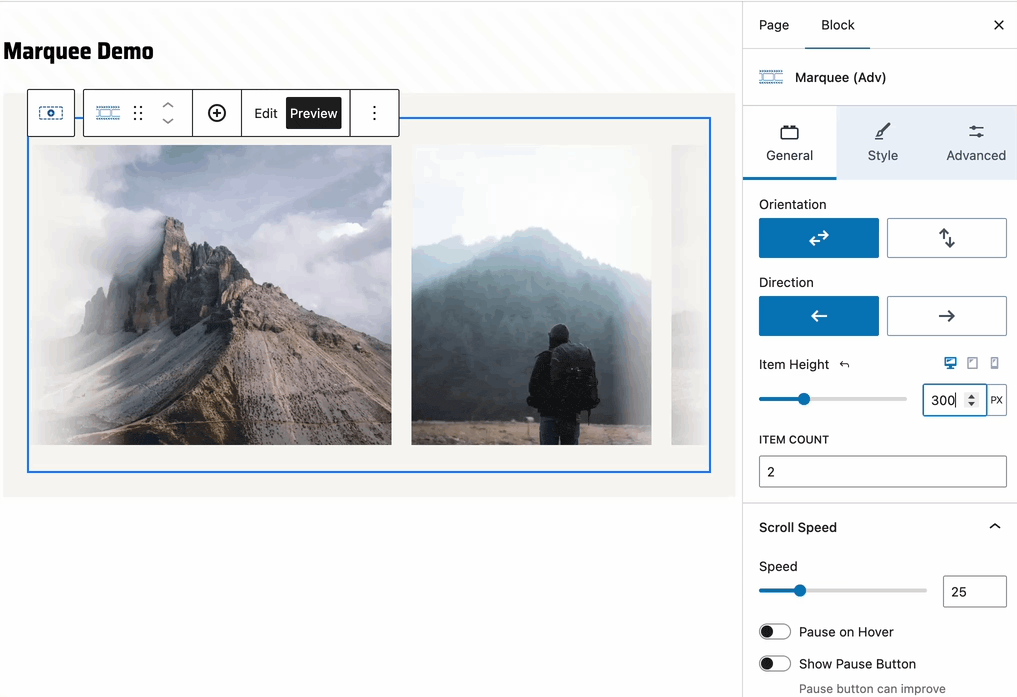
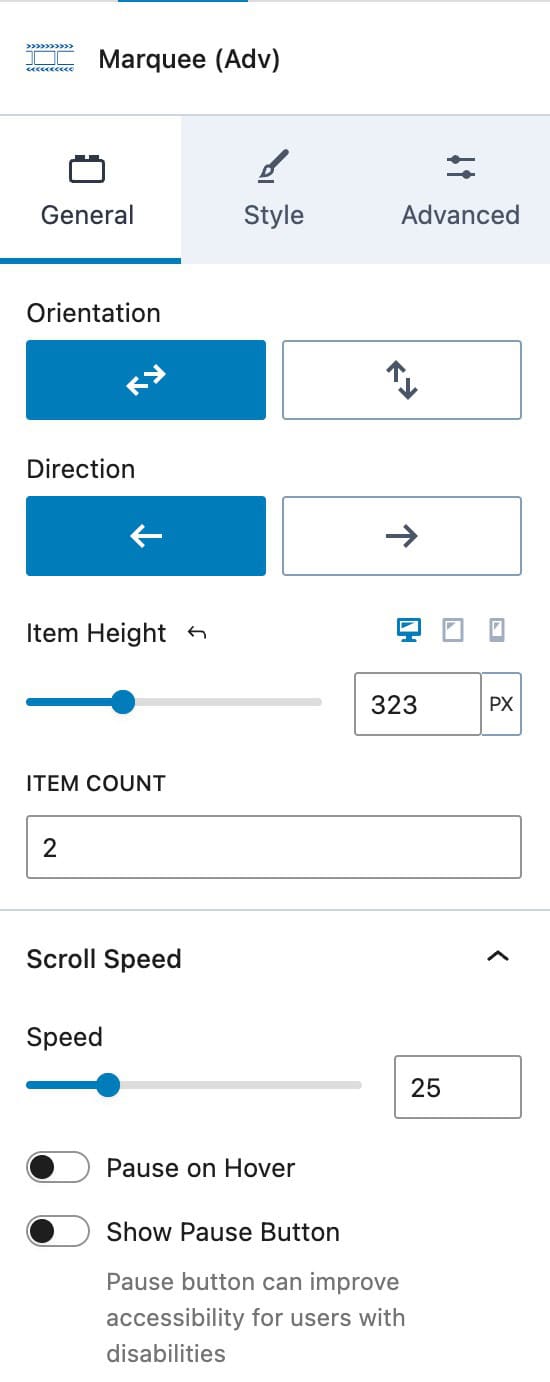
To customize the overall layout, select the Parent Marquee (Adv) Block and open the General Block Settings panel. The first available setting is the Orientation. This controls the direction that the marquee will move.
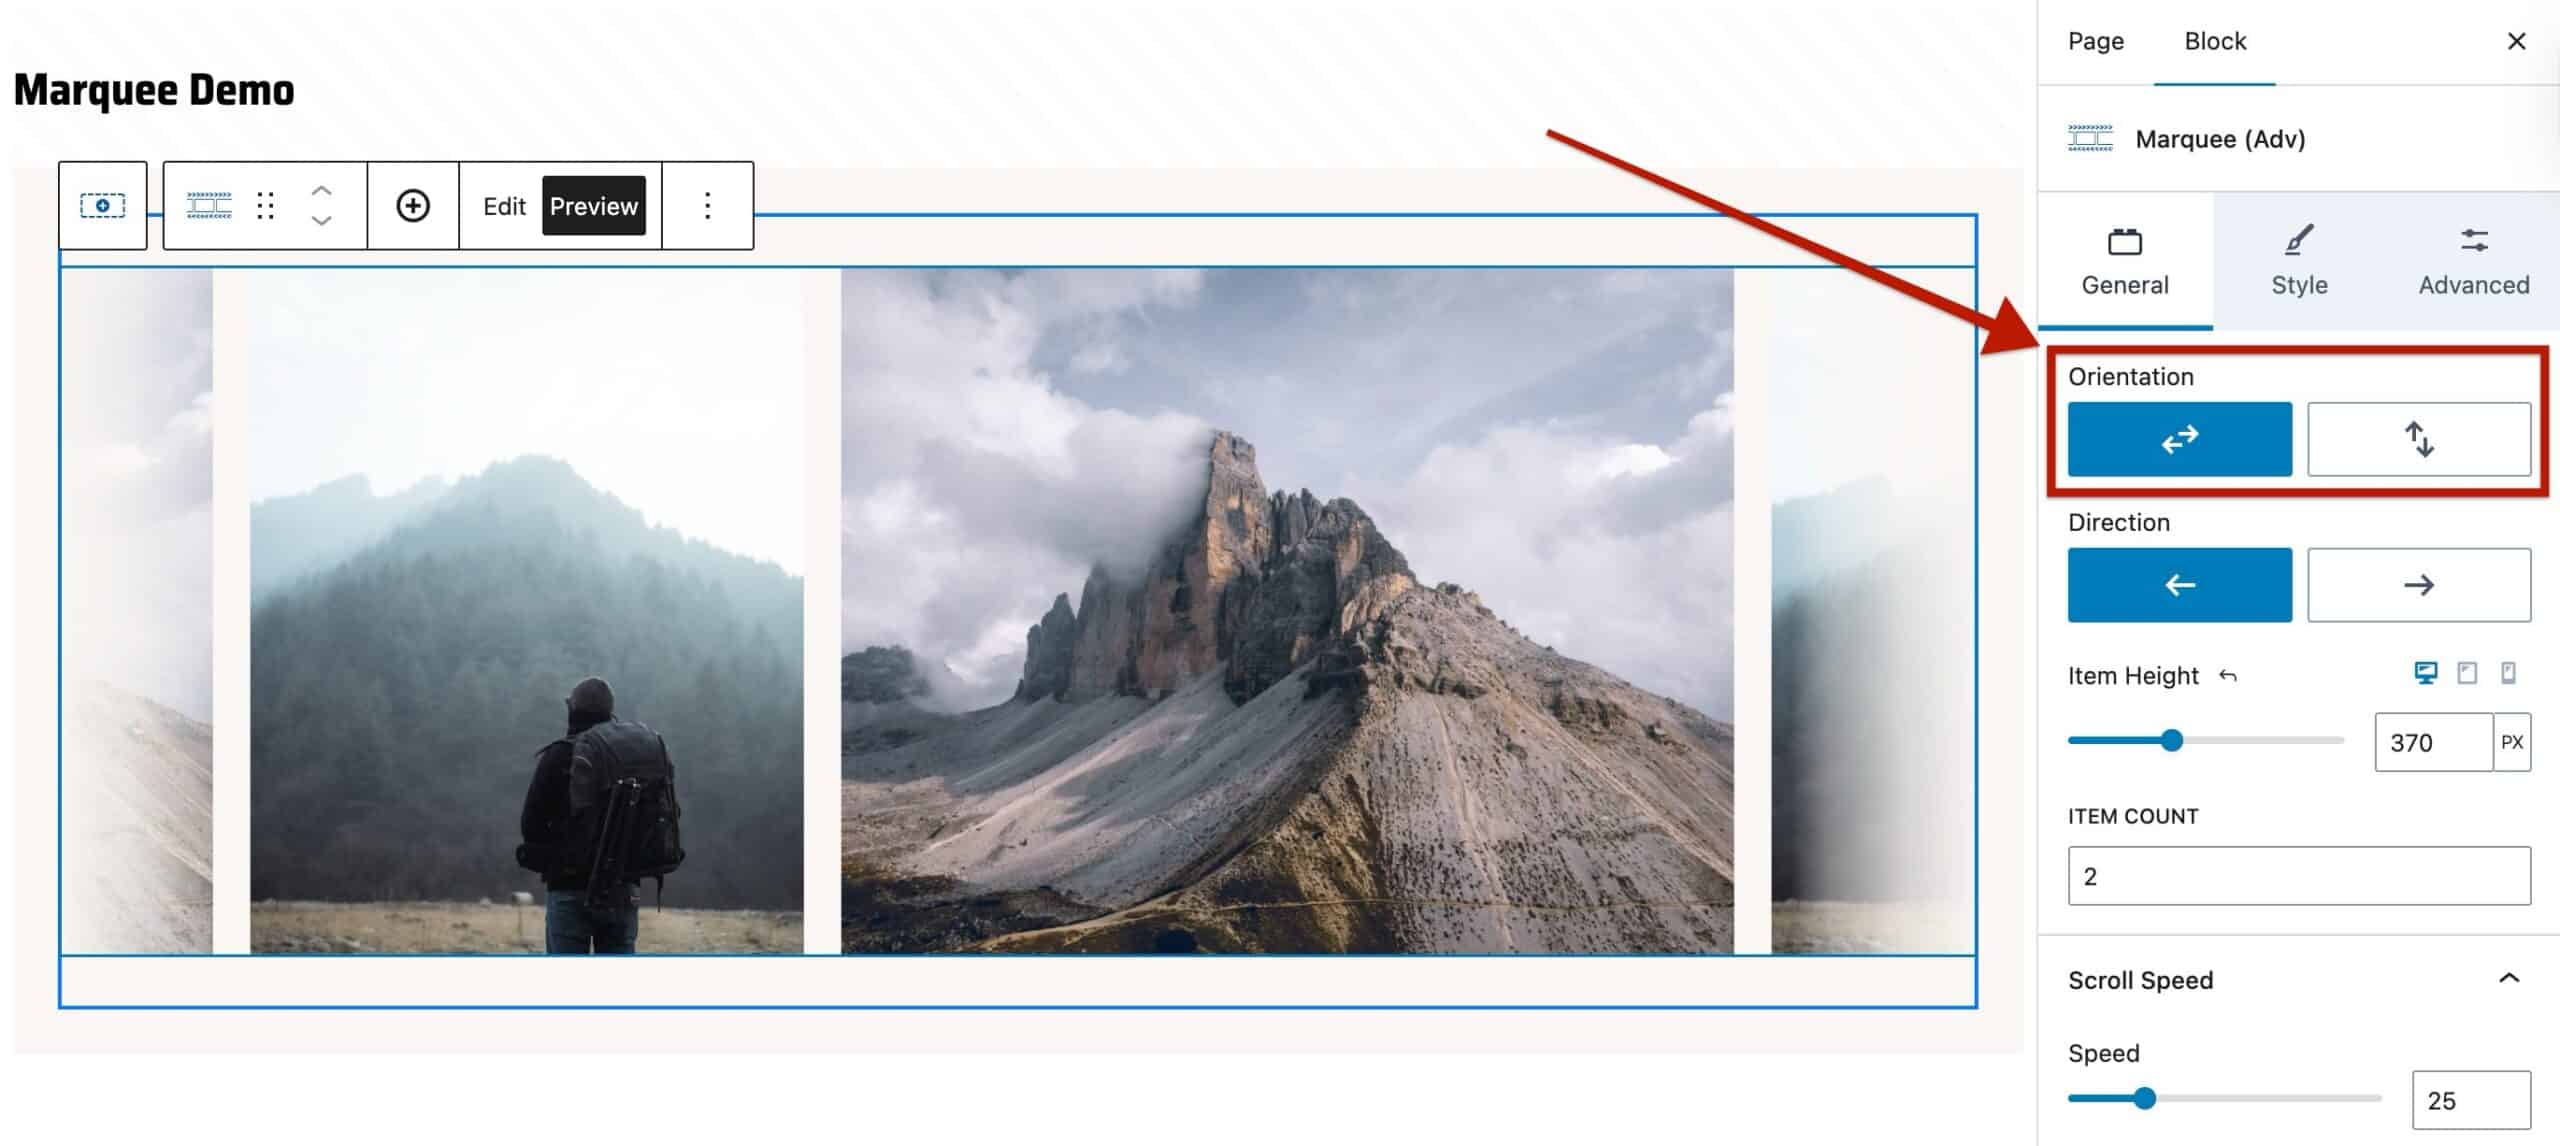
You can choose between two marquee orientations:
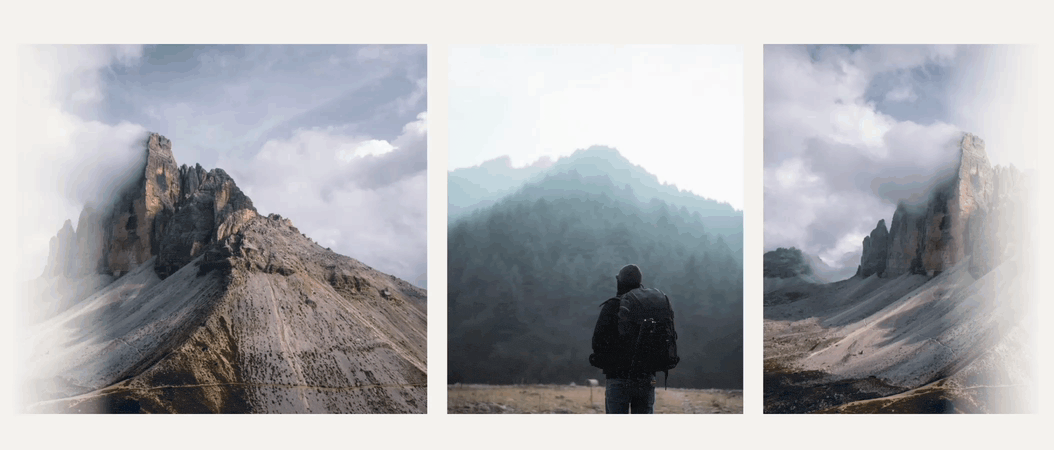
Horizontal: This is the default layout. Content scrolls from left to right or right to left.
- Direction: Choose whether the marquee moves left or right.
- Item Height: Adjust the height of each Marquee Item within the marquee. The item height will increase the overall marquee container height.
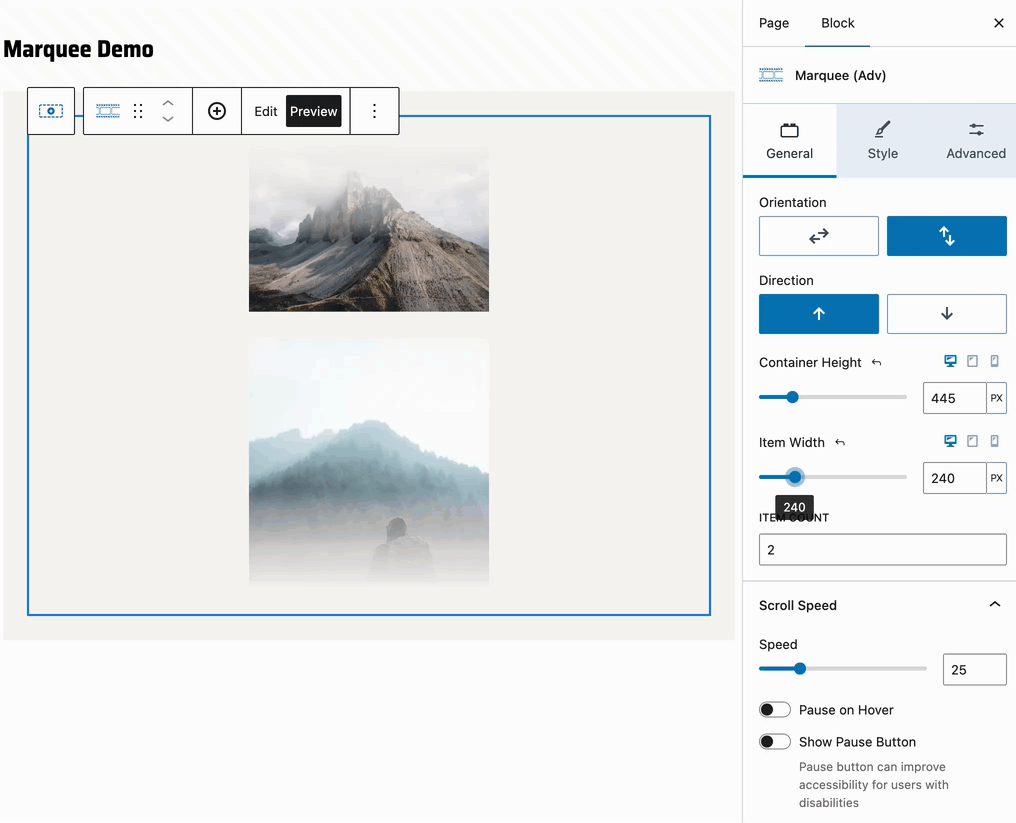
Vertical: This layout scrolls content vertically, either upward or downward.
- Direction: Choose whether the content scrolls up or down.
- Container Height: Adjust the overall height of the marquee container. Since the layout is up and down, this controls how tall the parent container is.
- Item Width: Set the width of each Marquee Item within the marquee.
Marquee (Adv) Block
The Marquee (Adv) Block is the parent-level and main block. This block consists of Block Settings to further control and customize the marquee.
General Block Settings
The General Block Settings control how the marquee behaves and moves on your page.
You can set the Orientation of the marquee to scroll horizontally or vertically:
- Horizontal: Scrolls content from side to side. You can control the item height and choose the scrolling direction (left or right).
- Vertical: Scrolls content up and down. You can adjust the container height and item width, and choose the scrolling direction (up or down).
For an overview of the differences between these settings, see the orientation section above.
Item Count: Manually set the number of inner Marquee Item Blocks displayed within the Marquee (Adv) Block.
Speed: Control how fast the marquee scrolls. Adjust to increase or decrease the scrolling speed for your desired effect.
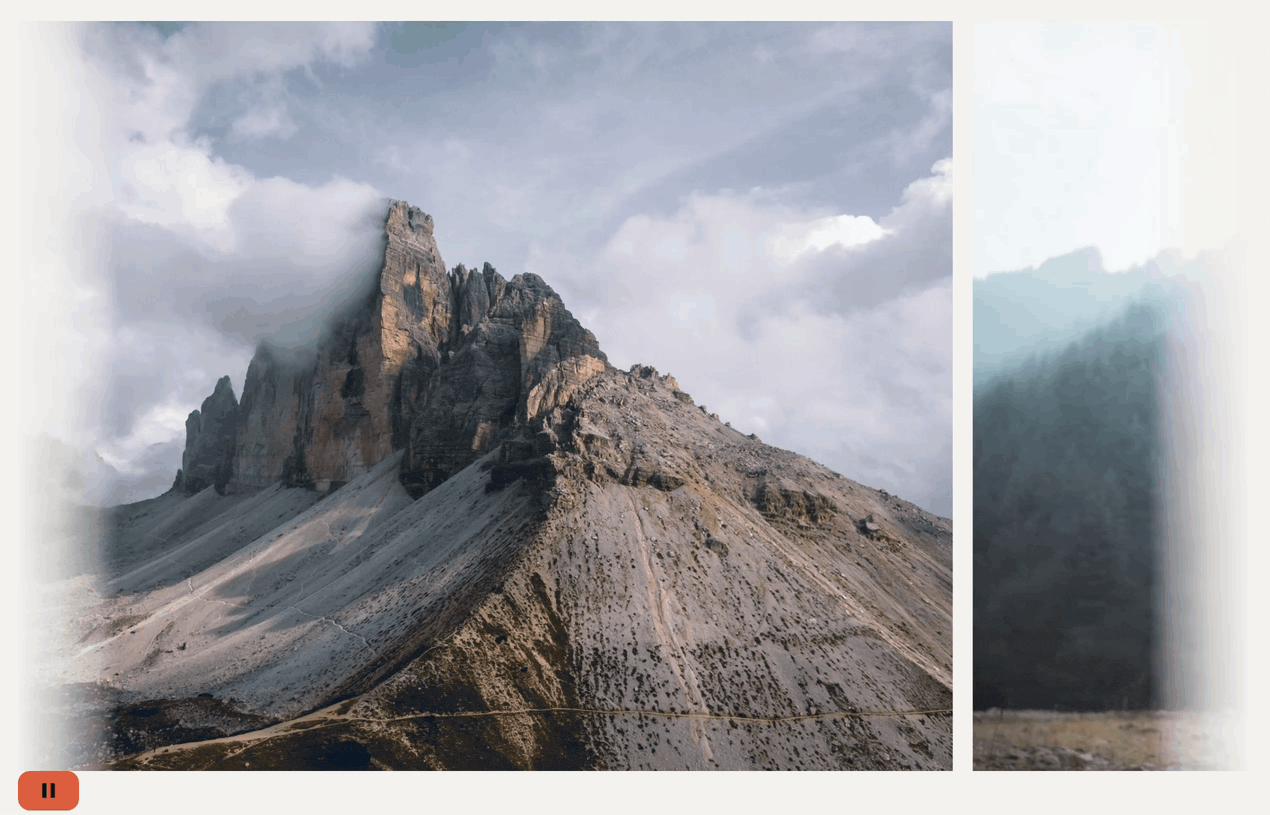
Pause on Hover: Enable to pause the marquee animation when users hover over it, allowing them to focus on the content.
Show Pause Button: Displays a visible pause/play button when Pause on Hover is enabled. This improves accessibility by giving users manual control over the marquee’s motion. The button colors will use the Kadence Theme Button Styles.
Style Block Settings
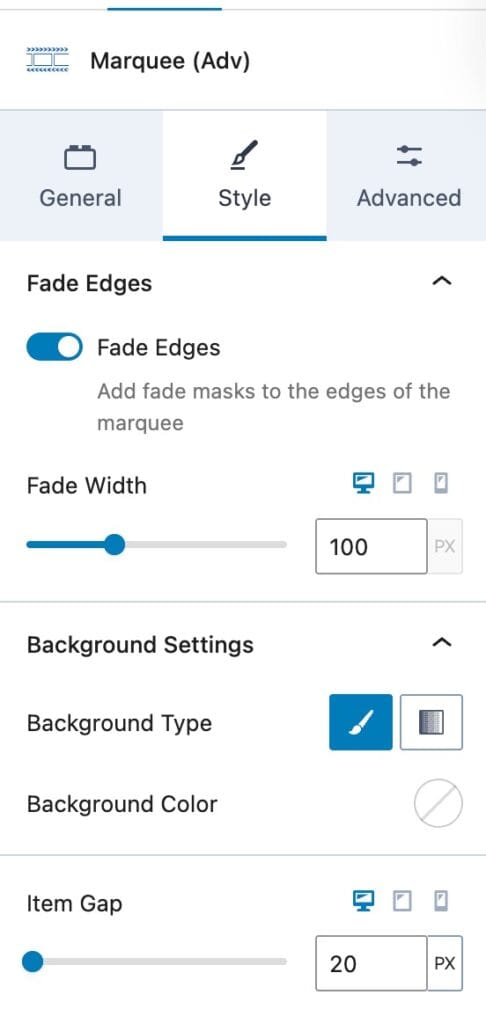
Fade Edges: Enable this option to add a soft faded edge effect to the marquee. The fade is created using the Marquee Background Color as its base.
Fade Width: Set the width (in pixels) of the faded area on each side of the marquee.

Background Type: Choose whether the marquee background uses a solid color or a gradient.
Background Color/Gradient: Use the color picker to select your preferred color or gradient style for the marquee background.
Item Gap: Adjust the spacing (gap) between individual Marquee Item Blocks within the marquee. For horizontal marquees, this controls the horizontal spacing between items. For vertical marquees, it adjusts the vertical spacing.
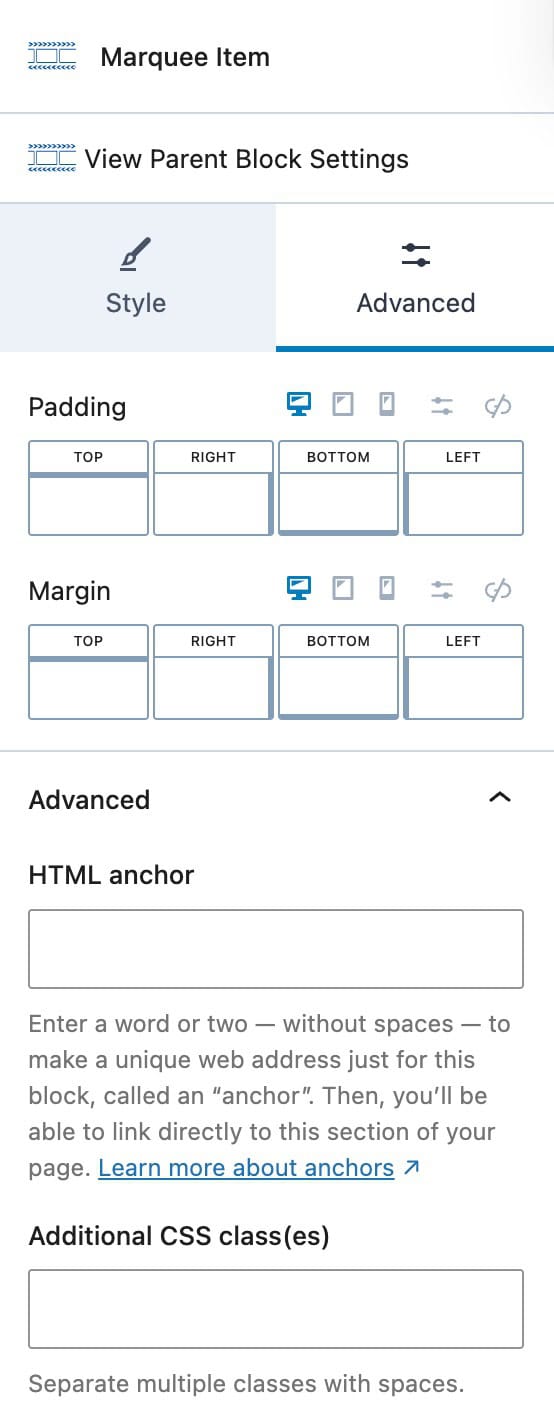
Advanced Block Settings
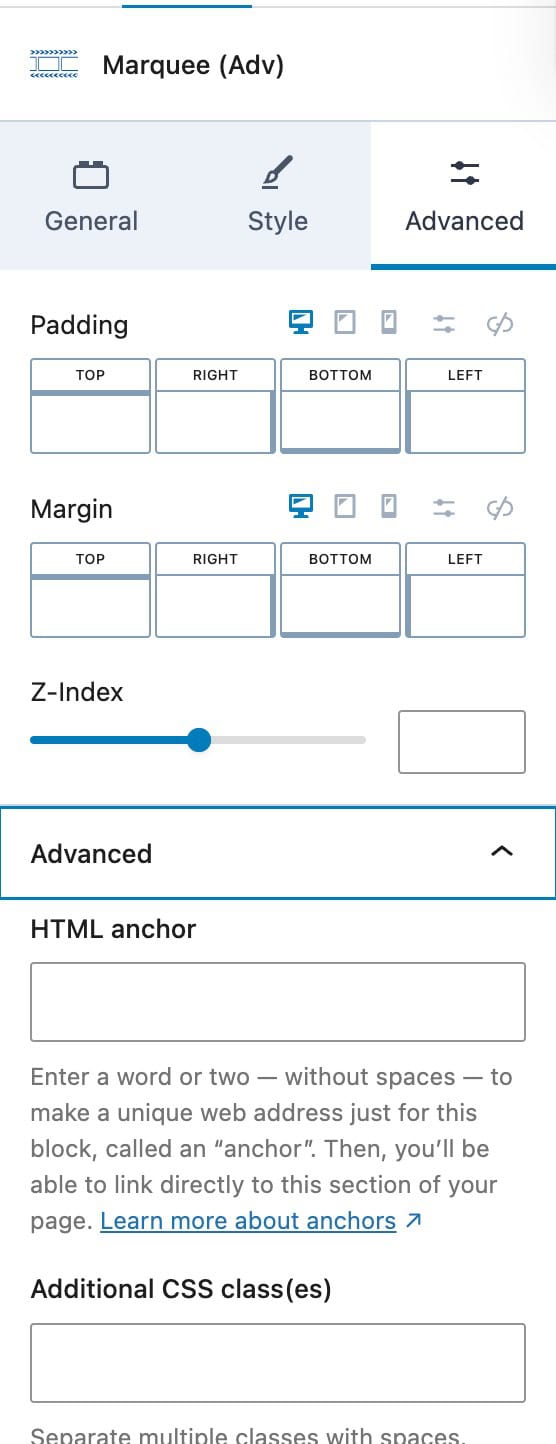
Padding: Add inner spacing between the content and the edges of the marquee container.
Margin: Set the outer spacing around the marquee block to control its distance from surrounding elements.
Z-Index: Adjust the index order of the marquee block.
HTML Anchor: Create a unique ID for the block that can be used to link directly to it from other areas of your site.
Additional CSS Class(es): Add one or more custom CSS classes for advanced styling or targeting the marquee block with custom code.
Marquee Item Blocks
The Marquee Item Block is a nested block that exists only within a Parent Marquee (Adv) Block. Each Marquee Item serves as a container for your content, allowing you to add and arrange other blocks inside it. The content within each Marquee Item Block makes up the visible elements that scroll across your marquee.
Block Settings
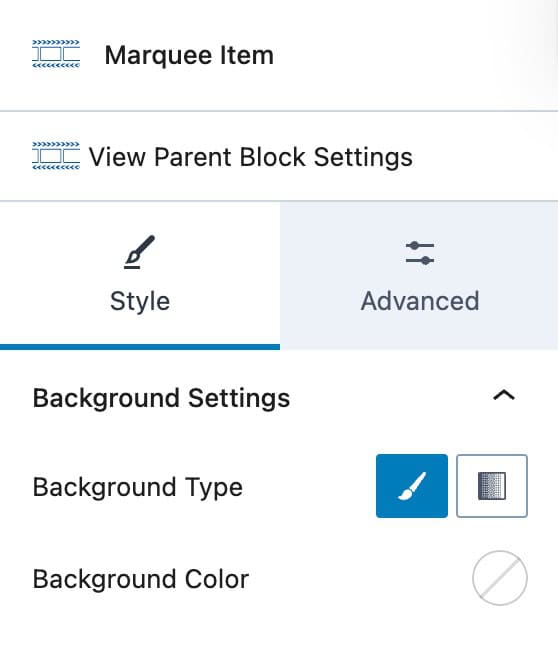
Background Type: Choose whether the Marquee Item background uses a solid color or a gradient.
Background Color/Gradient: Use the color picker to select the desired color or gradient for the Marquee Item background.
Padding: Add inner spacing between the content and the edges of the Marquee Item.
Margin: Set the outer spacing around the Marquee Item to control its distance from other items or elements.
HTML Anchor: Create a unique ID for the Marquee Item, which can be used for direct links within your site.
Additional CSS Class(es): Add one or more custom CSS classes to target this Marquee Item with custom styles or custom code.