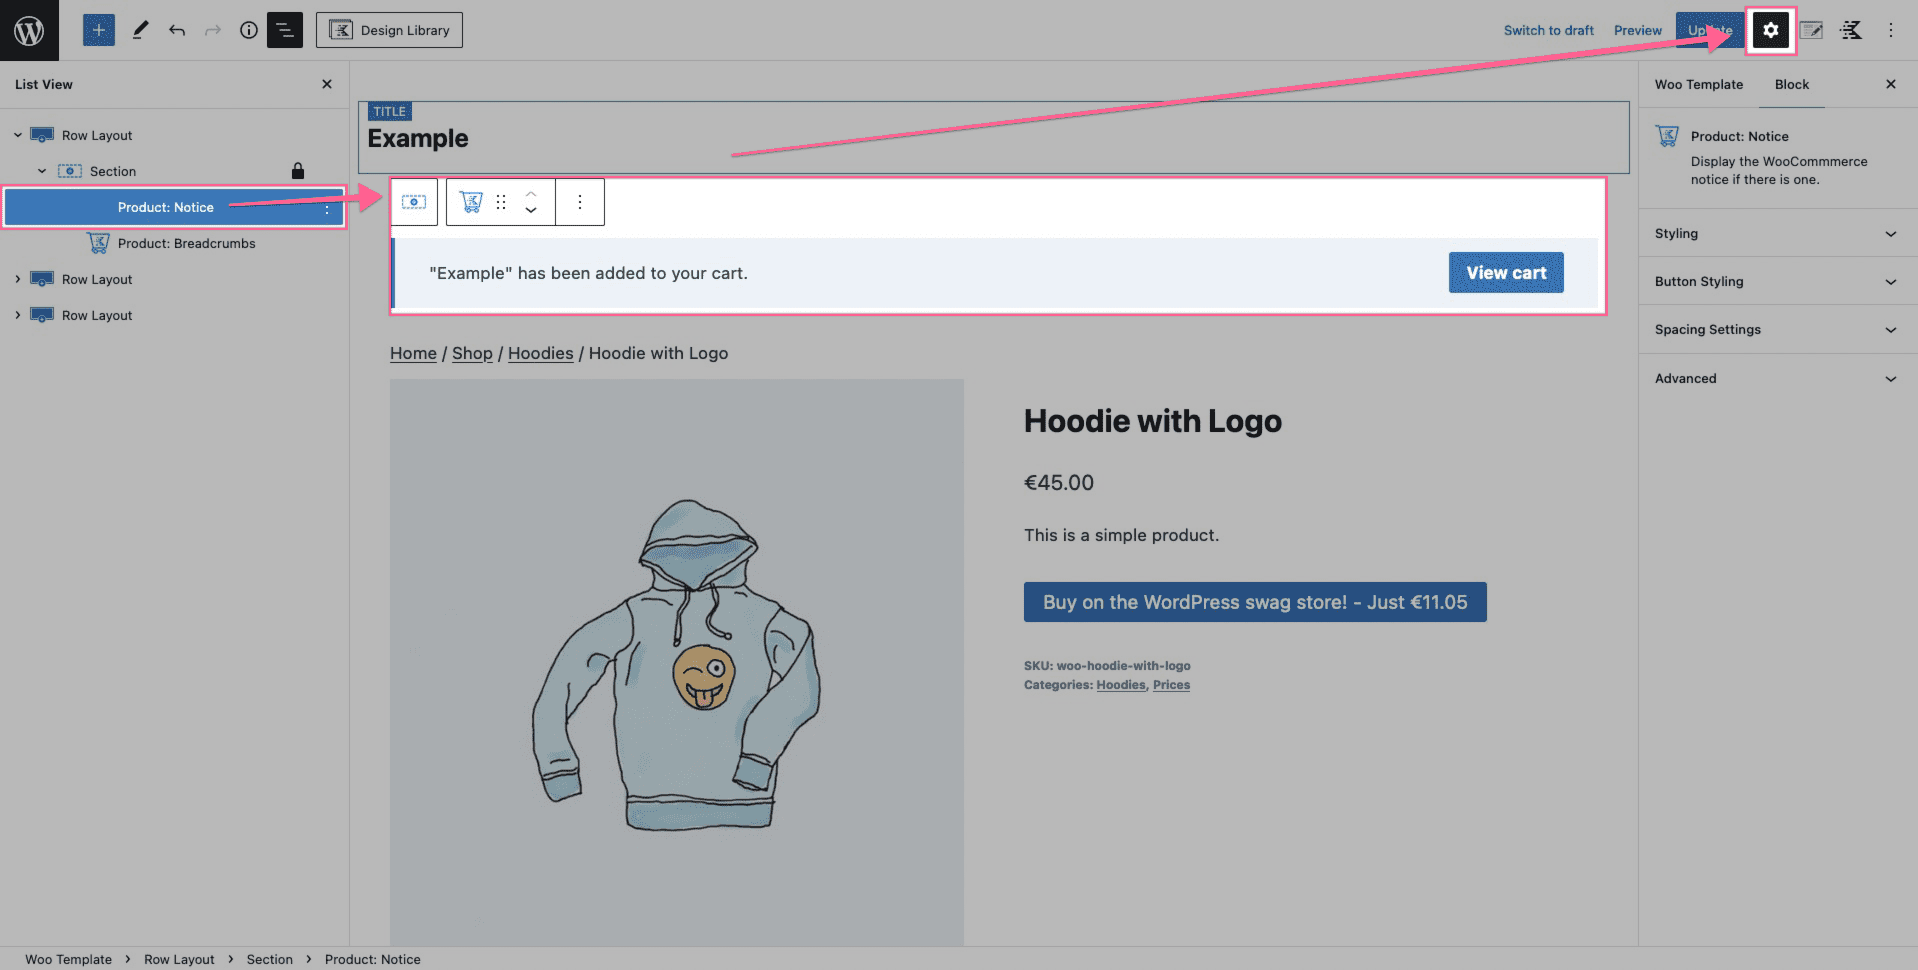
Whenever you add a WooCommerce product to your cart, there is a notice that tells the user the product was added to the cart. This ensures the customer that their product has been successfully added to the cart. The Product: Notice block is a Woo Template block that allows you to customize this notice. If you need to know how to enable these blocks, refer to How to Enable Woo Template Blocks.

Adding a Product Notice
You can add the Product: Notice block to your Woo Template like any other Block. You can manually add one by adding a new block and searching for the Product: Notice block. When you view all of your blocks, the Product: Notice block will be under a block group named Woo Template Blocks.
Product: Notice Block Settings
The Product: Notice allows you to customize the design of the add-to-cart notice. You can do this by configuring the Product: Notice Block Settings.
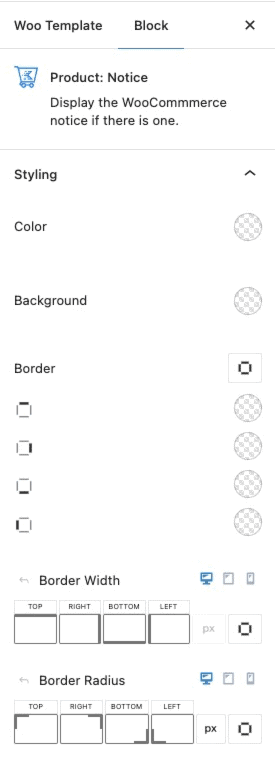
Product Notice Styling Block Settings
In the Product Notice Styling Block Settings, you can customize various things.
You can customize the color settings. This changes the color of the “Example has been added to your cart” text.
You can also customize the background of the Notice. This changes the background behind the text and button.
The border options allow you to add a border to all sides of your Notice. You can also adjust the colors for the borders.
You can adjust the border width and border radius for mobile, tablet, and desktop devices.
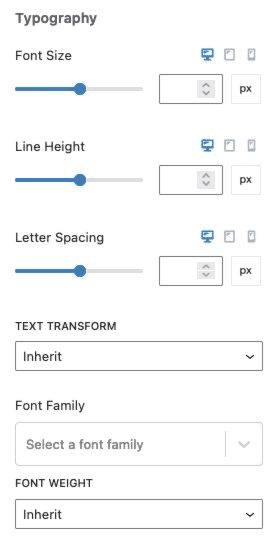
You can customize the Typography settings for your Product: Notice.
This allows you to adjust the font size, line height, and letter spacing for desktop, tablet, and mobile devices.
The text transform option allows you to set a text transformation on the text of your Product: Notice block.
The final Styling setting is the font weight setting. This option allows to to select a different font weight for the Product: Notice block.
Product Notice Button Styling Block Settings
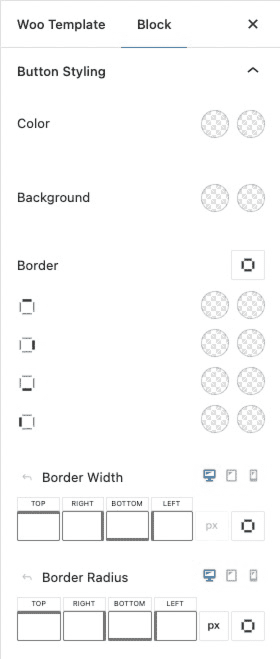
You can customize the button on your Product: Notice by configuring the Button Styling Block Setting.
You can customize the color settings. This changes the color of the text inside of the button that says “View Cart”. You can set an initial color for the button text and a hover color.
The background setting allows you to change the color of the background on the “View Cart” button. You can set an initial background and a background for whenever the button is hovered.
The border options allow you to add a border to all sides of your button. You can also adjust the colors for the borders. You can set the initial color and hover colors for the borders.
You can adjust the border width and border radius for mobile, tablet, and desktop devices.
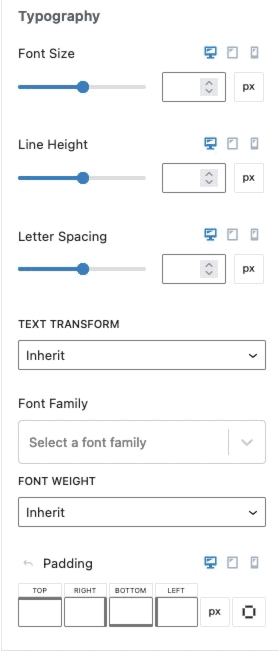
You can customize the Typography settings for your Notice Button.
This allows you to adjust the font size, line height, and letter spacing for desktop, tablet, and mobile devices. These settings only apply to the button.
The text transform option allows you to set a text transformation on your button.
The final Styling setting is the font weight setting. This option allows to to select a different font weight for the Product: Notice button.
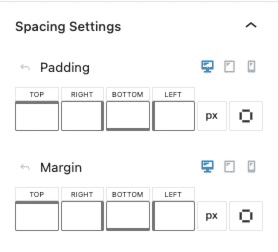
Product Notice Spacing Settings
The spacing settings allow you to add a padding and margin to your Product: Notice block.
You can add a different padding and margin for desktop, tablet, and mobile devices.
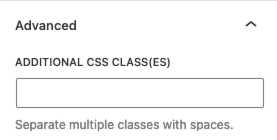
Product Notice Advanced Settings
The advanced settings allow you to add additional CSS Class(es) to your Product: Notice block.