
WordPress allows you to build and manage multiple menus for your site. Using the Kadence Theme Header, you can add up to four menus on the desktop header and two on mobile. The WordPress menu system gives you complete control over how your site’s navigation appears, allowing you to create menus, add various links, rearrange items, and assign them to specific locations within your site.
This guide focuses on the WordPress built-in menu feature, which is what the Kadence Theme Header uses. You’ll learn all about adding, editing, and managing these core menus.
If you’re looking to create navigations that go beyond the Kadence Theme Header or want to place menus as blocks throughout your site, consider using Kadence Advanced Navigations instead. These are a separate feature from core WordPress menus. Click here to learn more about Kadence Advanced Navigations.
Creating a New Menu
- Go to your WordPress dashboard.
- Navigate to Appearance > Menus
- Click on Create a new menu link
- Enter a name for your new menu in the Menu Name box.
- Click the Create Menu button.
- Use the panels on the left (Pages, Posts, Custom Links, Categories) to select items.
- Check the box next to each item you want to add.
- Click Add to Menu.
- Click Save Menu.
Assigning the Menu to a Location
In the Menu Settings area at the bottom:
- Check the box for the theme location where this menu should appear (e.g., Primary, Footer).
- Click Save Menu.
Available menu locations depend on the active theme. Kadence Theme typically includes options like Primary, Secondary, Mobile, and Footer.
When Kadence Theme Pro is enabled, additional locations become available, including Third, Fourth, Mobile Secondary, Logged Out Account, and Logged In Account.

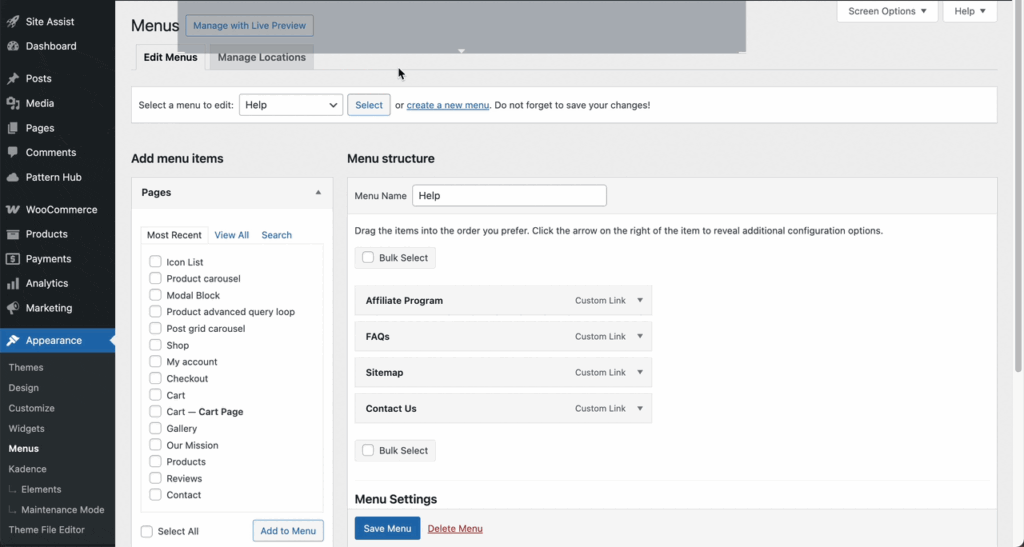
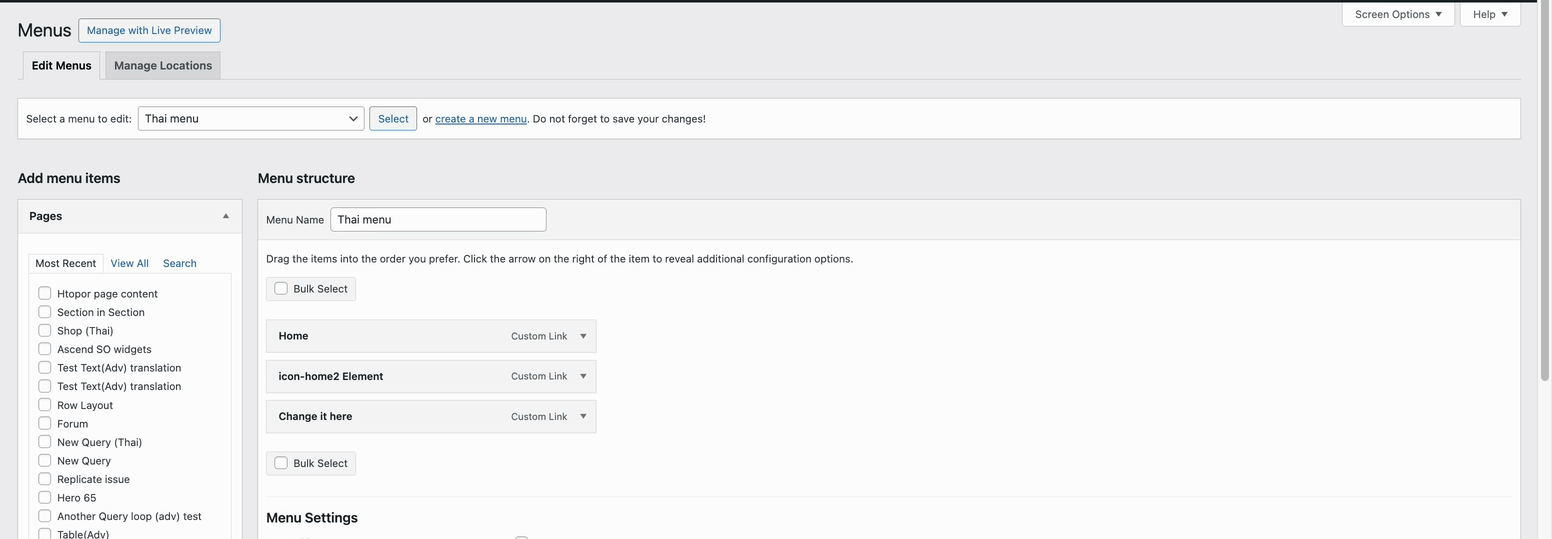
How to Edit a WordPress Menu?
You can manage and customize your site’s navigation menus directly from the WordPress dashboard. Here’s how to edit an existing menu:
- From your WordPress dashboard, navigate to: Appearance > Menus
- If there are multiple menus on your site, use the dropdown at the top to choose the one you want to update, then click Select.
- Make Your Changes
- Reorder Menu Items: Drag and drop items to change the order or create submenus by nesting items
- Edit Menu Labels: Click the arrow next to a menu item to change its navigation label or link.
- Remove Items: Click the arrow to expand a menu item and choose Remove to delete it.
- Add New Items: Use the panel on the left (Pages, Posts, Custom Links, Categories) to add new items to the menu.
- Click the Save Menu button to apply your updates.
Enable and Add CSS Classes to Menu Items
- Open Screen Options. At the top right of the screen, click on Screen Options (a small tab that drops down).
- Check the CSS Classes option. This will now add a CSS Classes (optional) field to each menu item when expanded.
- Add CSS Class to a Menu Item.
- Click the Save Menu button to save your changes.
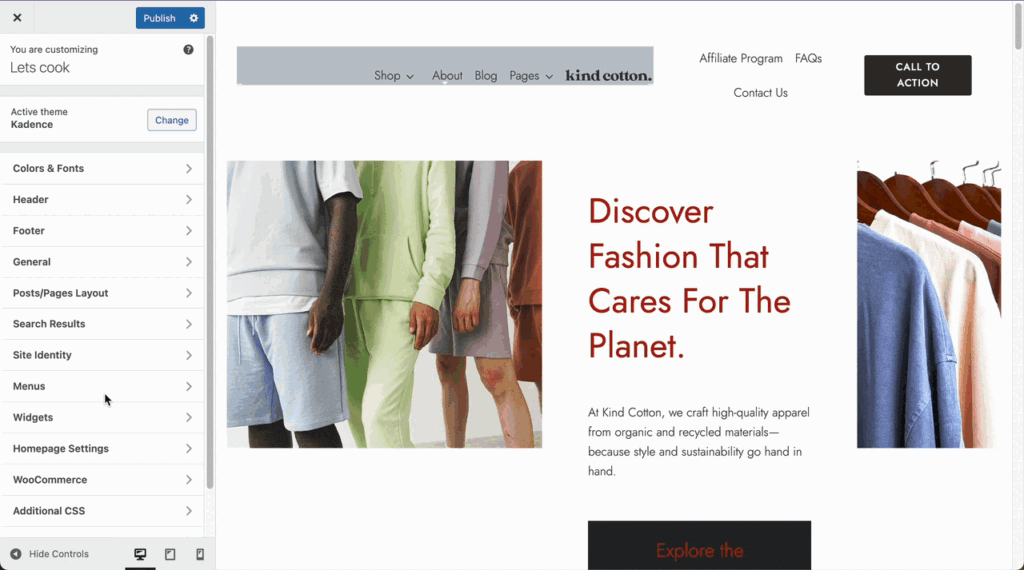
Managing Menus via the Customizer
You can also manage menus visually through the WordPress Customizer:
- Go to Appearance > Customize > Menus.
- Select an existing menu or create a new one.
- Use the live preview to add, edit, or reorder items.
- Click Publish to save your changes.
Footer navigation
You can use either the WordPress Core Navigation Block or the Kadence Advanced Navigation Block in your footer. However, the Kadence Advanced Navigation Block offers significantly more control and styling flexibility, especially if you’re using Kadence menus and want consistent branding across header and footer.
