
To set up a transparent header with just a few clicks, follow the steps below.
Go to the WordPress Customizer, either at Appearance > Customize from the wp-admin menu or by clicking Customize in the wp-admin bar on the front end of your WordPress site.
Next, go to the Customizer Header section.
Scroll down and click on Transparent Header.

Turn on the “Enable Transparent Header?” setting.
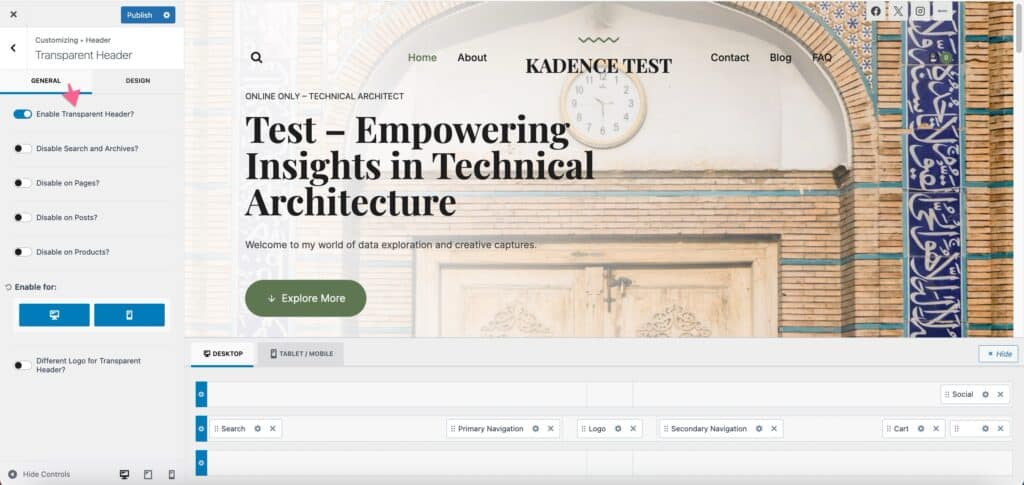
This will enable the transparent header for both desktop and mobile by default.
Tip: If the logo is not changing on your website. This is most likely because the transparent header is enabled on the page. The transparent header allows you to set a different logo for the transparent header. You also need to change that to make sure that the correct logo is displayed on the page using the transparent header:

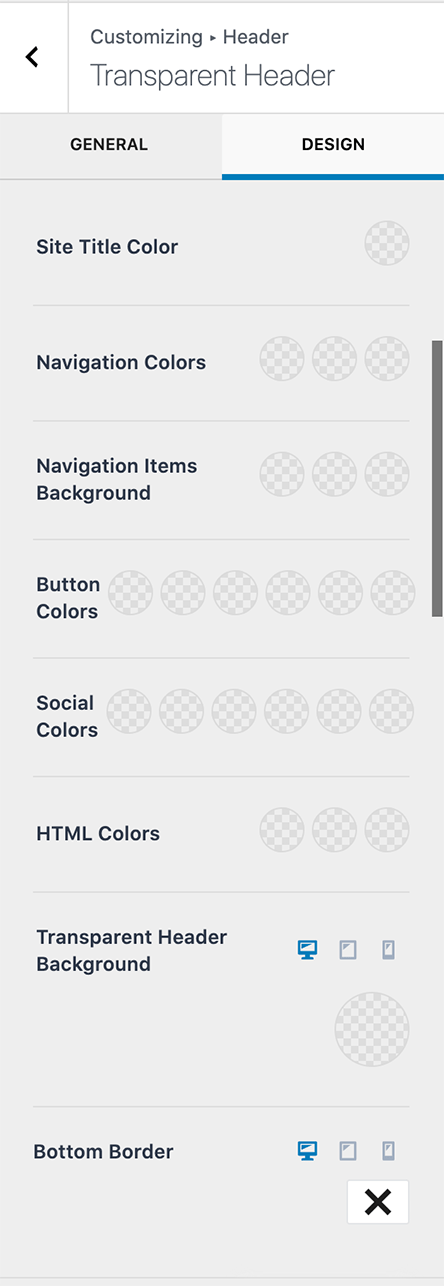
In the DESIGN tab, you can set the various colors when the header is made transparent.
Click on Publish when you are done.
Note: The global Transparent Header setting acts as the default for all pages and posts. However, you can override this on individual pages or posts. When set, the individual page or post setting takes precedence over the global option.
How to enable/disable transparent header on individual pages and posts?
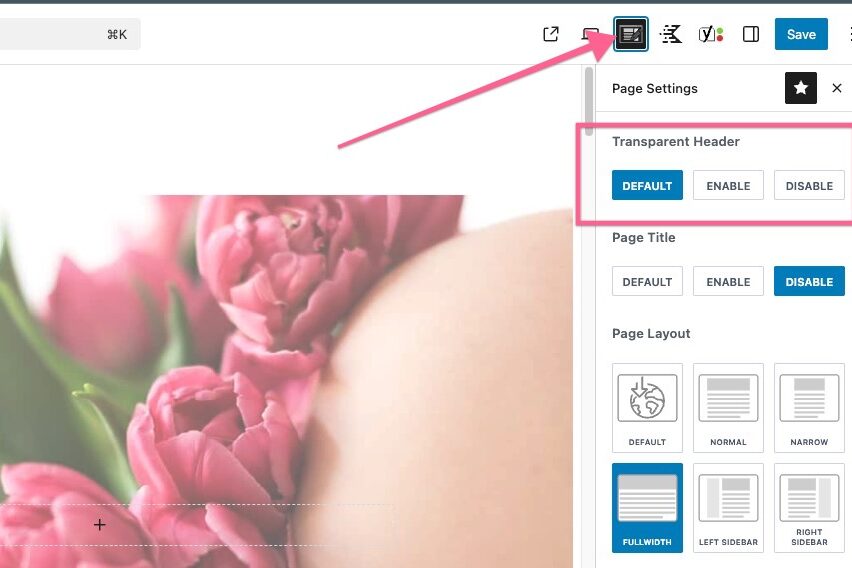
- Edit the page
- Click the Page Settings Icon
- Select the Transparent Header settings for the page
- Click the save button
This allows you to fine-tune the header appearance on a per-page basis, regardless of the global settings.
