Use the Element Settings to control the placement, along with various display settings to determine where and who sees the element.
The Element Settings can be found at the top right corner of the element editor. Look for an icon with a paper and pencil.

This document provides a general overview of Element Settings and how they work. Keep in mind that each Element Type may include different options within its settings. For full details on each Element Type and the specific settings available, please refer to the resources linked below.
- Content Section Hooked Element Settings
- Template Hooked Element Settings
- Fixed Section Hooked Element Settings
- HTML Editor Hooked Element Settings
Preview Setup
The Preview Setup settings allow you to set the context and display size for the Element preview. The preview settings are helpful when designing an Element and will only affect what is seen in the editor.
This is an important step to ensure that dynamic content can be visually seen within the live editor. For example, if you are seeing "No Content" within a dynamic content text, it could be because you need to select a proper preview post type and preview post.

Placement Settings
There are numerous options for the Element Placement. Each placement option offers a Priority setting to further customize the placement choice. Setting the right placement for the right case is important. Each Element Type has different Placement Settings available. You can learn more about each placement type below:
- Content Section Element Placement Settings
- Template Element Placement Settings
- Fixed Section Element Placement Settings
- HTML Editor Element Placement Settings
Display Settings
Use the Display Settings to determine where to insert the element. Use the Add Rule button to include additional options.
User Settings
Determine which user role(s) will be able to see the element in effect.
- Options include: All Users (Default), Logged Out Users, Logged In Users, or based on the available current website roles.
- Use the Add Rule button to add more visibility options.
Target Language
The Target Language setting in Kadence Hooked Elements allows you to display content based on your multilingual plugin configuration. This is especially useful for multilingual websites, ensuring that visitors see content in their selected language.
- The available language options depend on the multilingual plugin you are using. If no multilingual plugin is installed, the Target Language setting will not appear.
- To ensure accurate targeting, make sure your translation plugin is properly configured and synced with Kadence Elements.
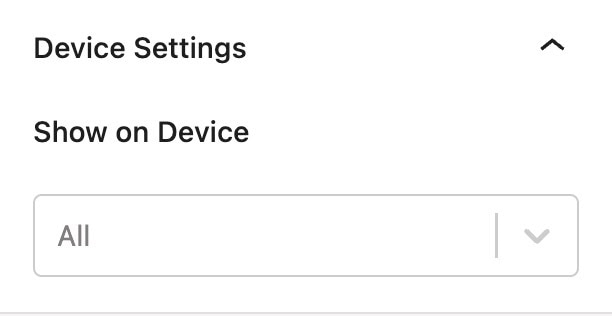
Device Settings
By default, all devices will see the element. Use the Device Settings to control which device types can see the element.
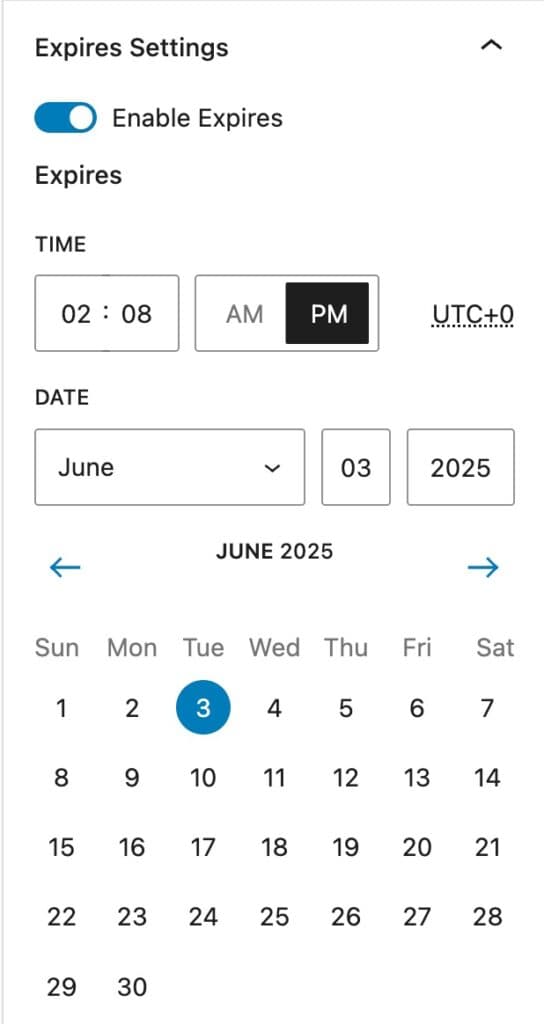
Expires Settings
Enable this option to add an expiration to the element. Once the expiration is met, the element will no longer take effect.