
If you are encountering errors related to your WordPress database, WordPress includes a built-in repair tool that can help resolve database-related issues. This guide will walk you through enabling and using this tool for troubleshooting purposes.
Important: Before proceeding, it is recommended to back up your website and database before running this tool. While this tool is designed to repair issues safely, creating a backup ensures you can restore your site if needed. If you’re not familiar with editing a config file, it’s a good idea to reach out to your hosting provider’s support team for assistance.
Accessing the wp-config.php file
First, you’ll need to access your WordPress files. You can do this by connecting to your website via FTP, using your hosting provider’s file manager, or browsing the files locally if you’re working in a local environment. Once you’re connected, navigate to the root directory of your WordPress installation. This is the main folder that contains essential directories like the wp-content folder and important files such as the .htaccess and wp-config.php files.
To access your files via FTP, you’ll need to find your FTP connection details through your hosting provider’s control panel. Once you have this information, you can use FTP software like FileZilla or SmartFTP to connect to your website using FTP. Once you are connected via FTP, you will be able to access your website directories.

Inside of your website directory, you’ll find the wp-config.php file. This is the file that needs to be edited for this process.
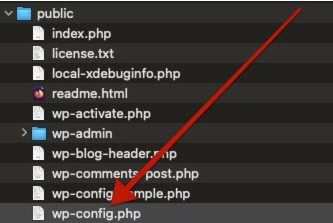
Open the wp-config.php file in your preferred text editor. (On most hosting file managers, you can often edit files directly within the interface.) If you are using an FTP connection, you can download the file and open it with a text editor like Notepad or VS Code.
Editing the wp-config file
Inside the wp-config.php file, you will need to add a line of code and save the file. Find the text that says;/* That's all, stop editing! Happy publishing. */
Before the stop editing line, add the following line of code to enable the WordPress database repair tool.define( 'WP_ALLOW_REPAIR', true );
Since the repair tool does not require authentication, leaving this line in place could pose a security risk. Therefore, it is important to remove the define( 'WP_ALLOW_REPAIR', true ); line of code from the wp-config.php file after you are finished using the database repair tool
Then, save the wp-config.php file and complete the steps below to run the database repair tool.
Running the WordPress database repair tool
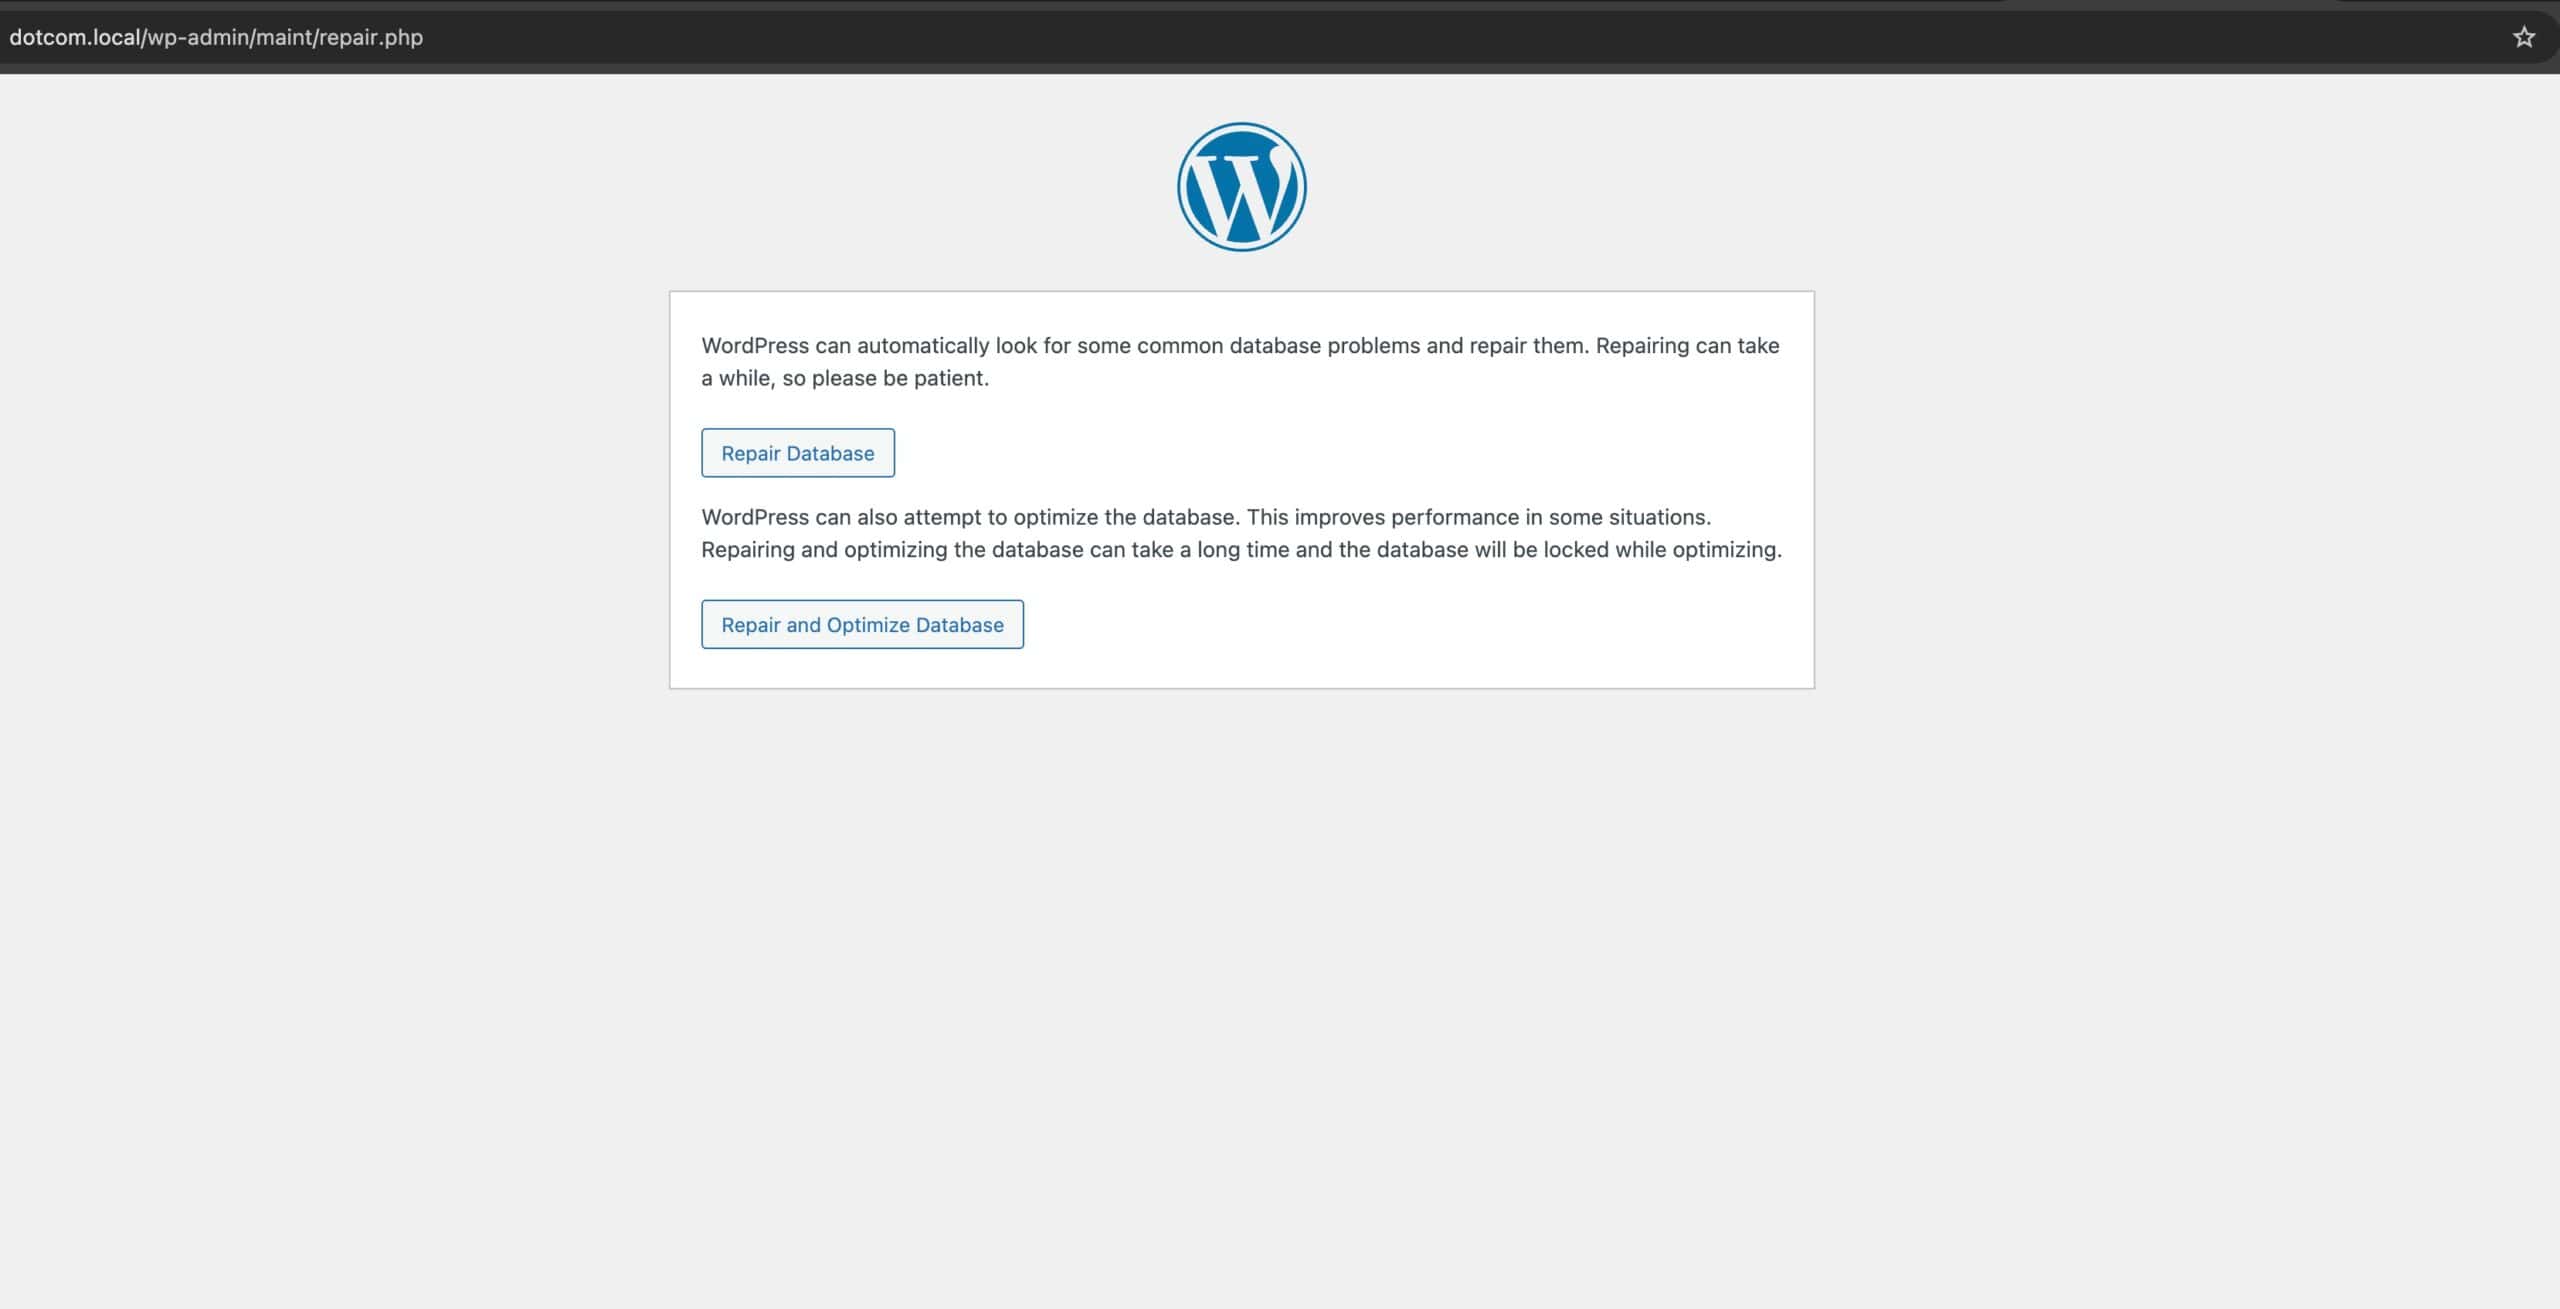
Once the WordPress database repair is enabled in the wp-config.php file, you will have access to run this tool by using the following URL.https://yourwebsite.com/wp-admin/maint/repair.php
Just replace yourwebsite.com with your website domain.
You can Repair the Database or Repair and Optimize the Database. Running the repair can generally help when it comes to database-related WordPress errors/issues. If you continue to experience issues after running the repair, additional troubleshooting may be required.
Once you are finished using the database repair tool, you must remove the define( 'WP_ALLOW_REPAIR', true ); line of code from your wp-config.php file.
This tool does not require authentication, therefore can be a security risk. So once you are done with this feature, edit the wp-config.php file, and remove the define( 'WP_ALLOW_REPAIR', true ); line of code.
Once finished, be sure to save the wp-config.php file.
