
The Kadence Form and Form (Adv) Blocks both support integration with Brevo. (Previously known as SendInBlue.) This is an integration available with Kadence Blocks Pro. Below, you will learn how you can start using Kadence alongside Brevo.
In order to use the Kadence/Brevo Integration, you must have the Kadence Blocks Pro plugin installed and activated on the website. You can click here to learn how to get started with Kadence Blocks Pro.
Brevo Setup
To fully integrate Brevo with Kadence Forms, you must set up a Brevo account, create a Contact List for users to be added to, and connect a Brevo API Key to your Kadence Form.
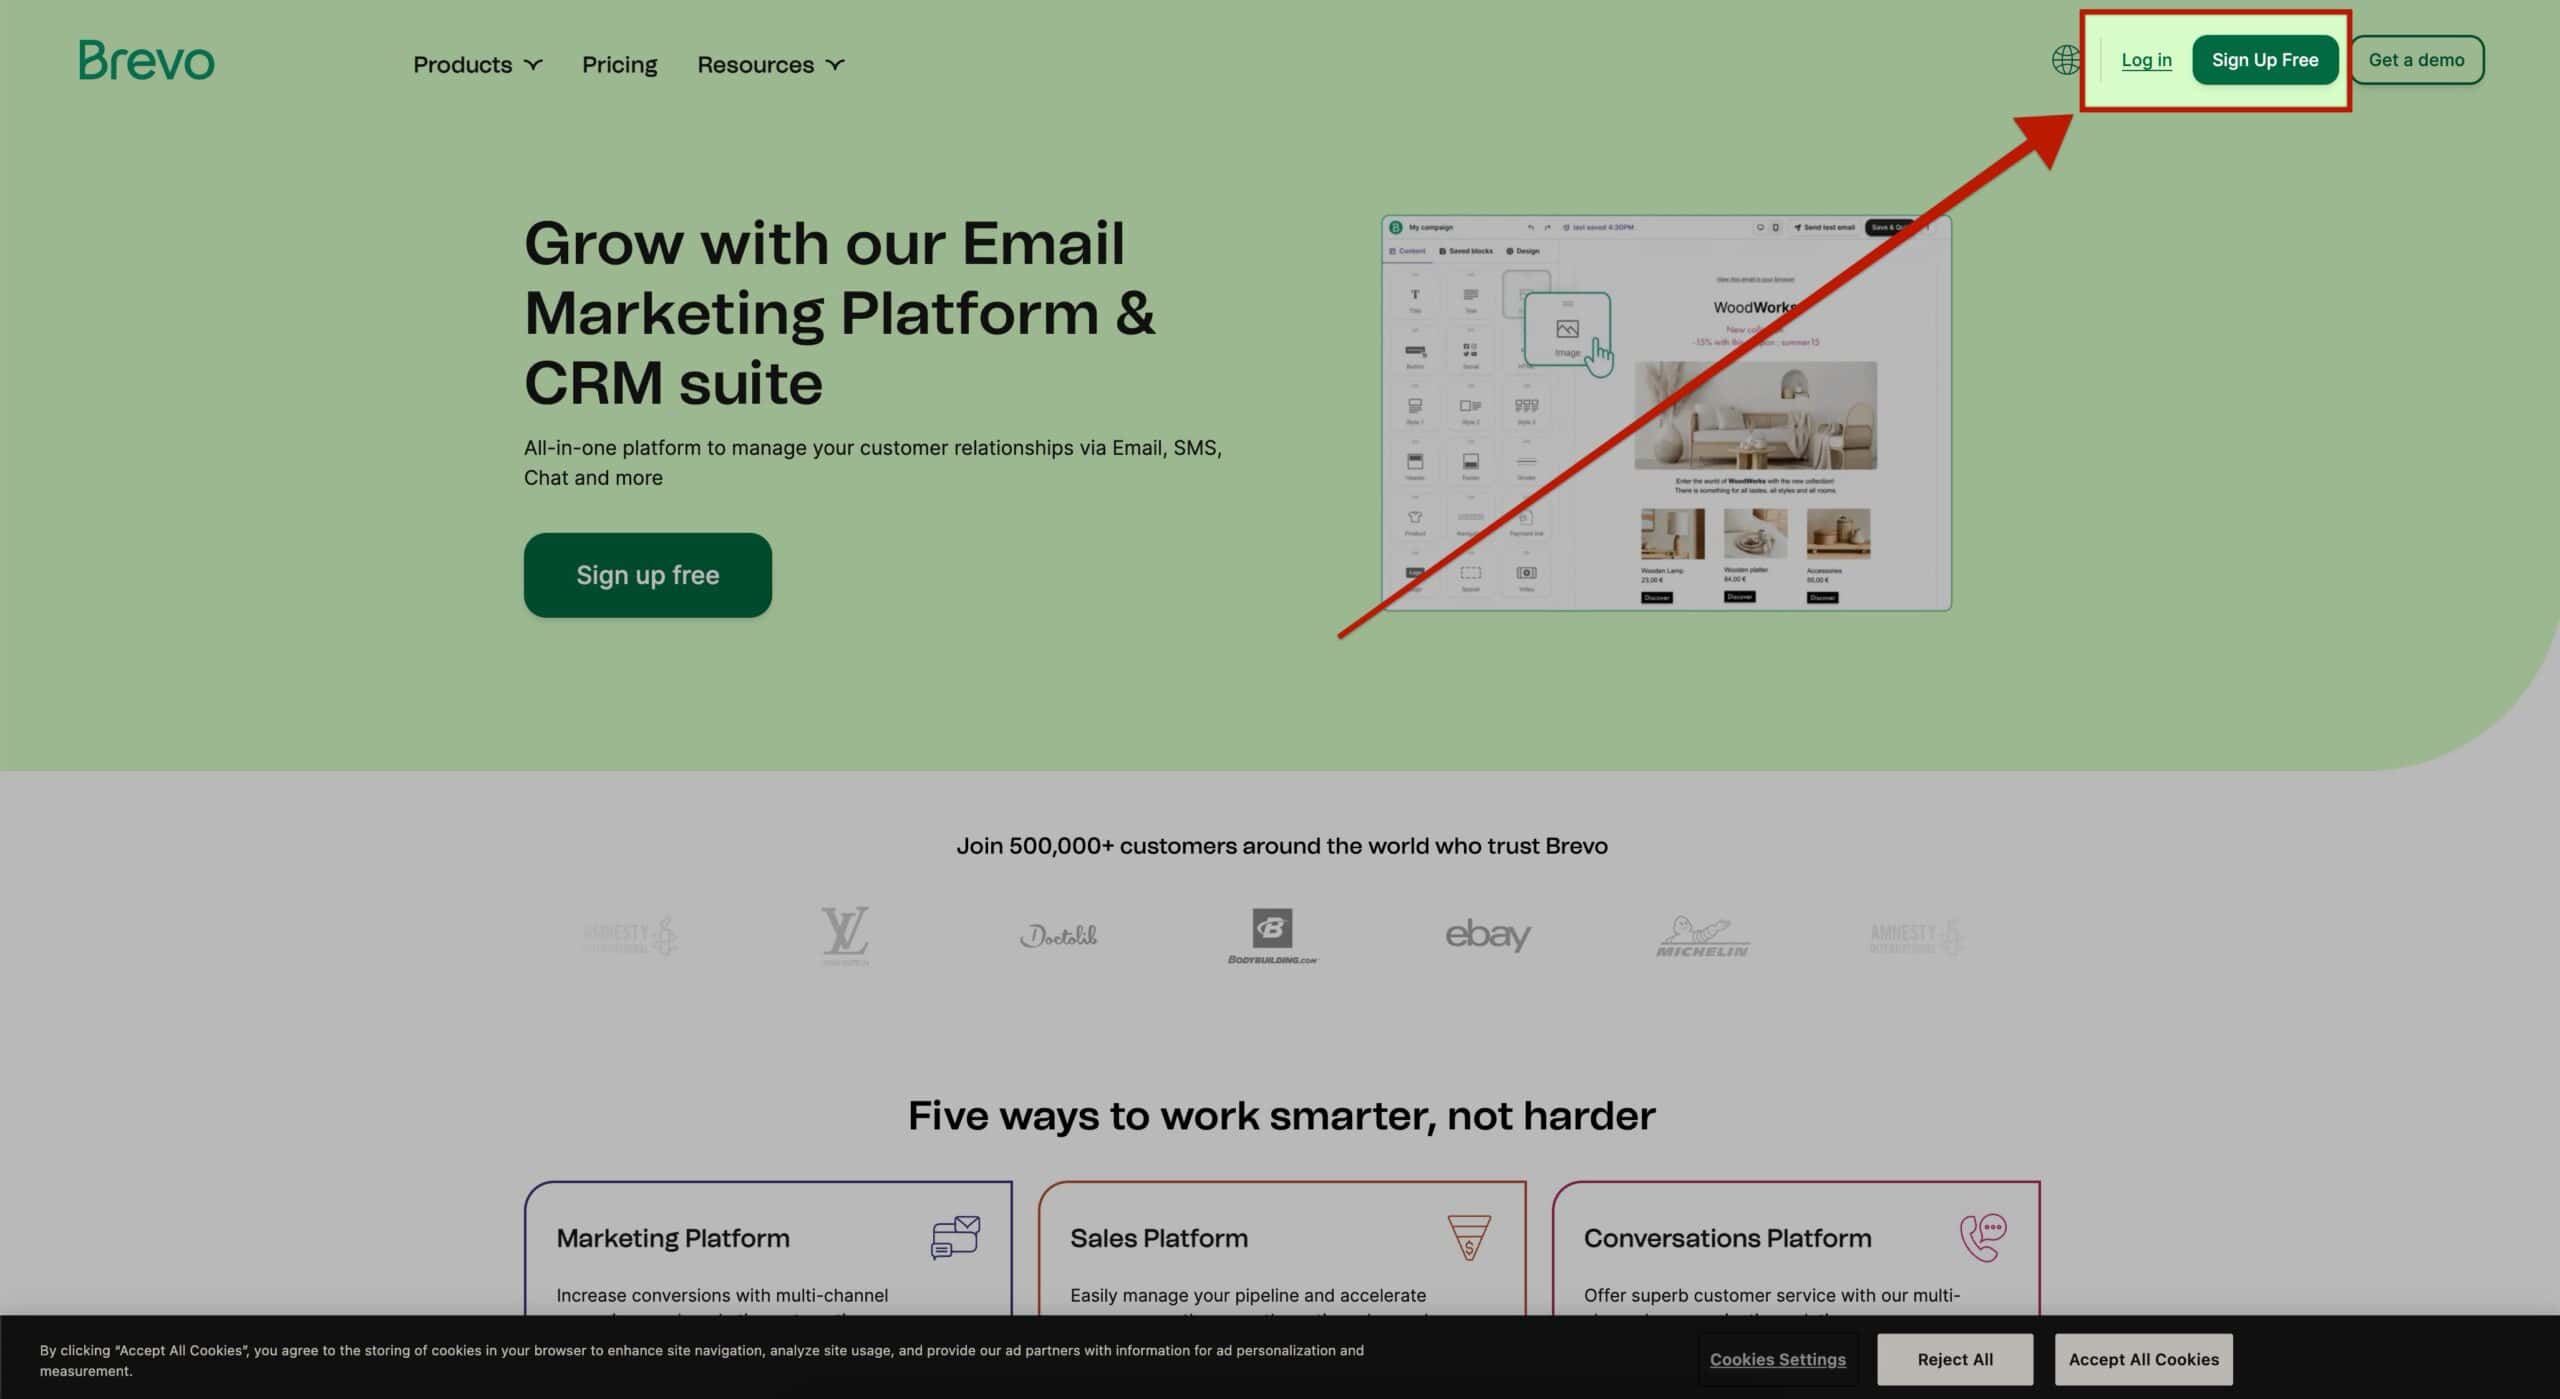
Get started by heading over to the Brevo Website. You can create a new account or log in to an existing one.
Creating a List
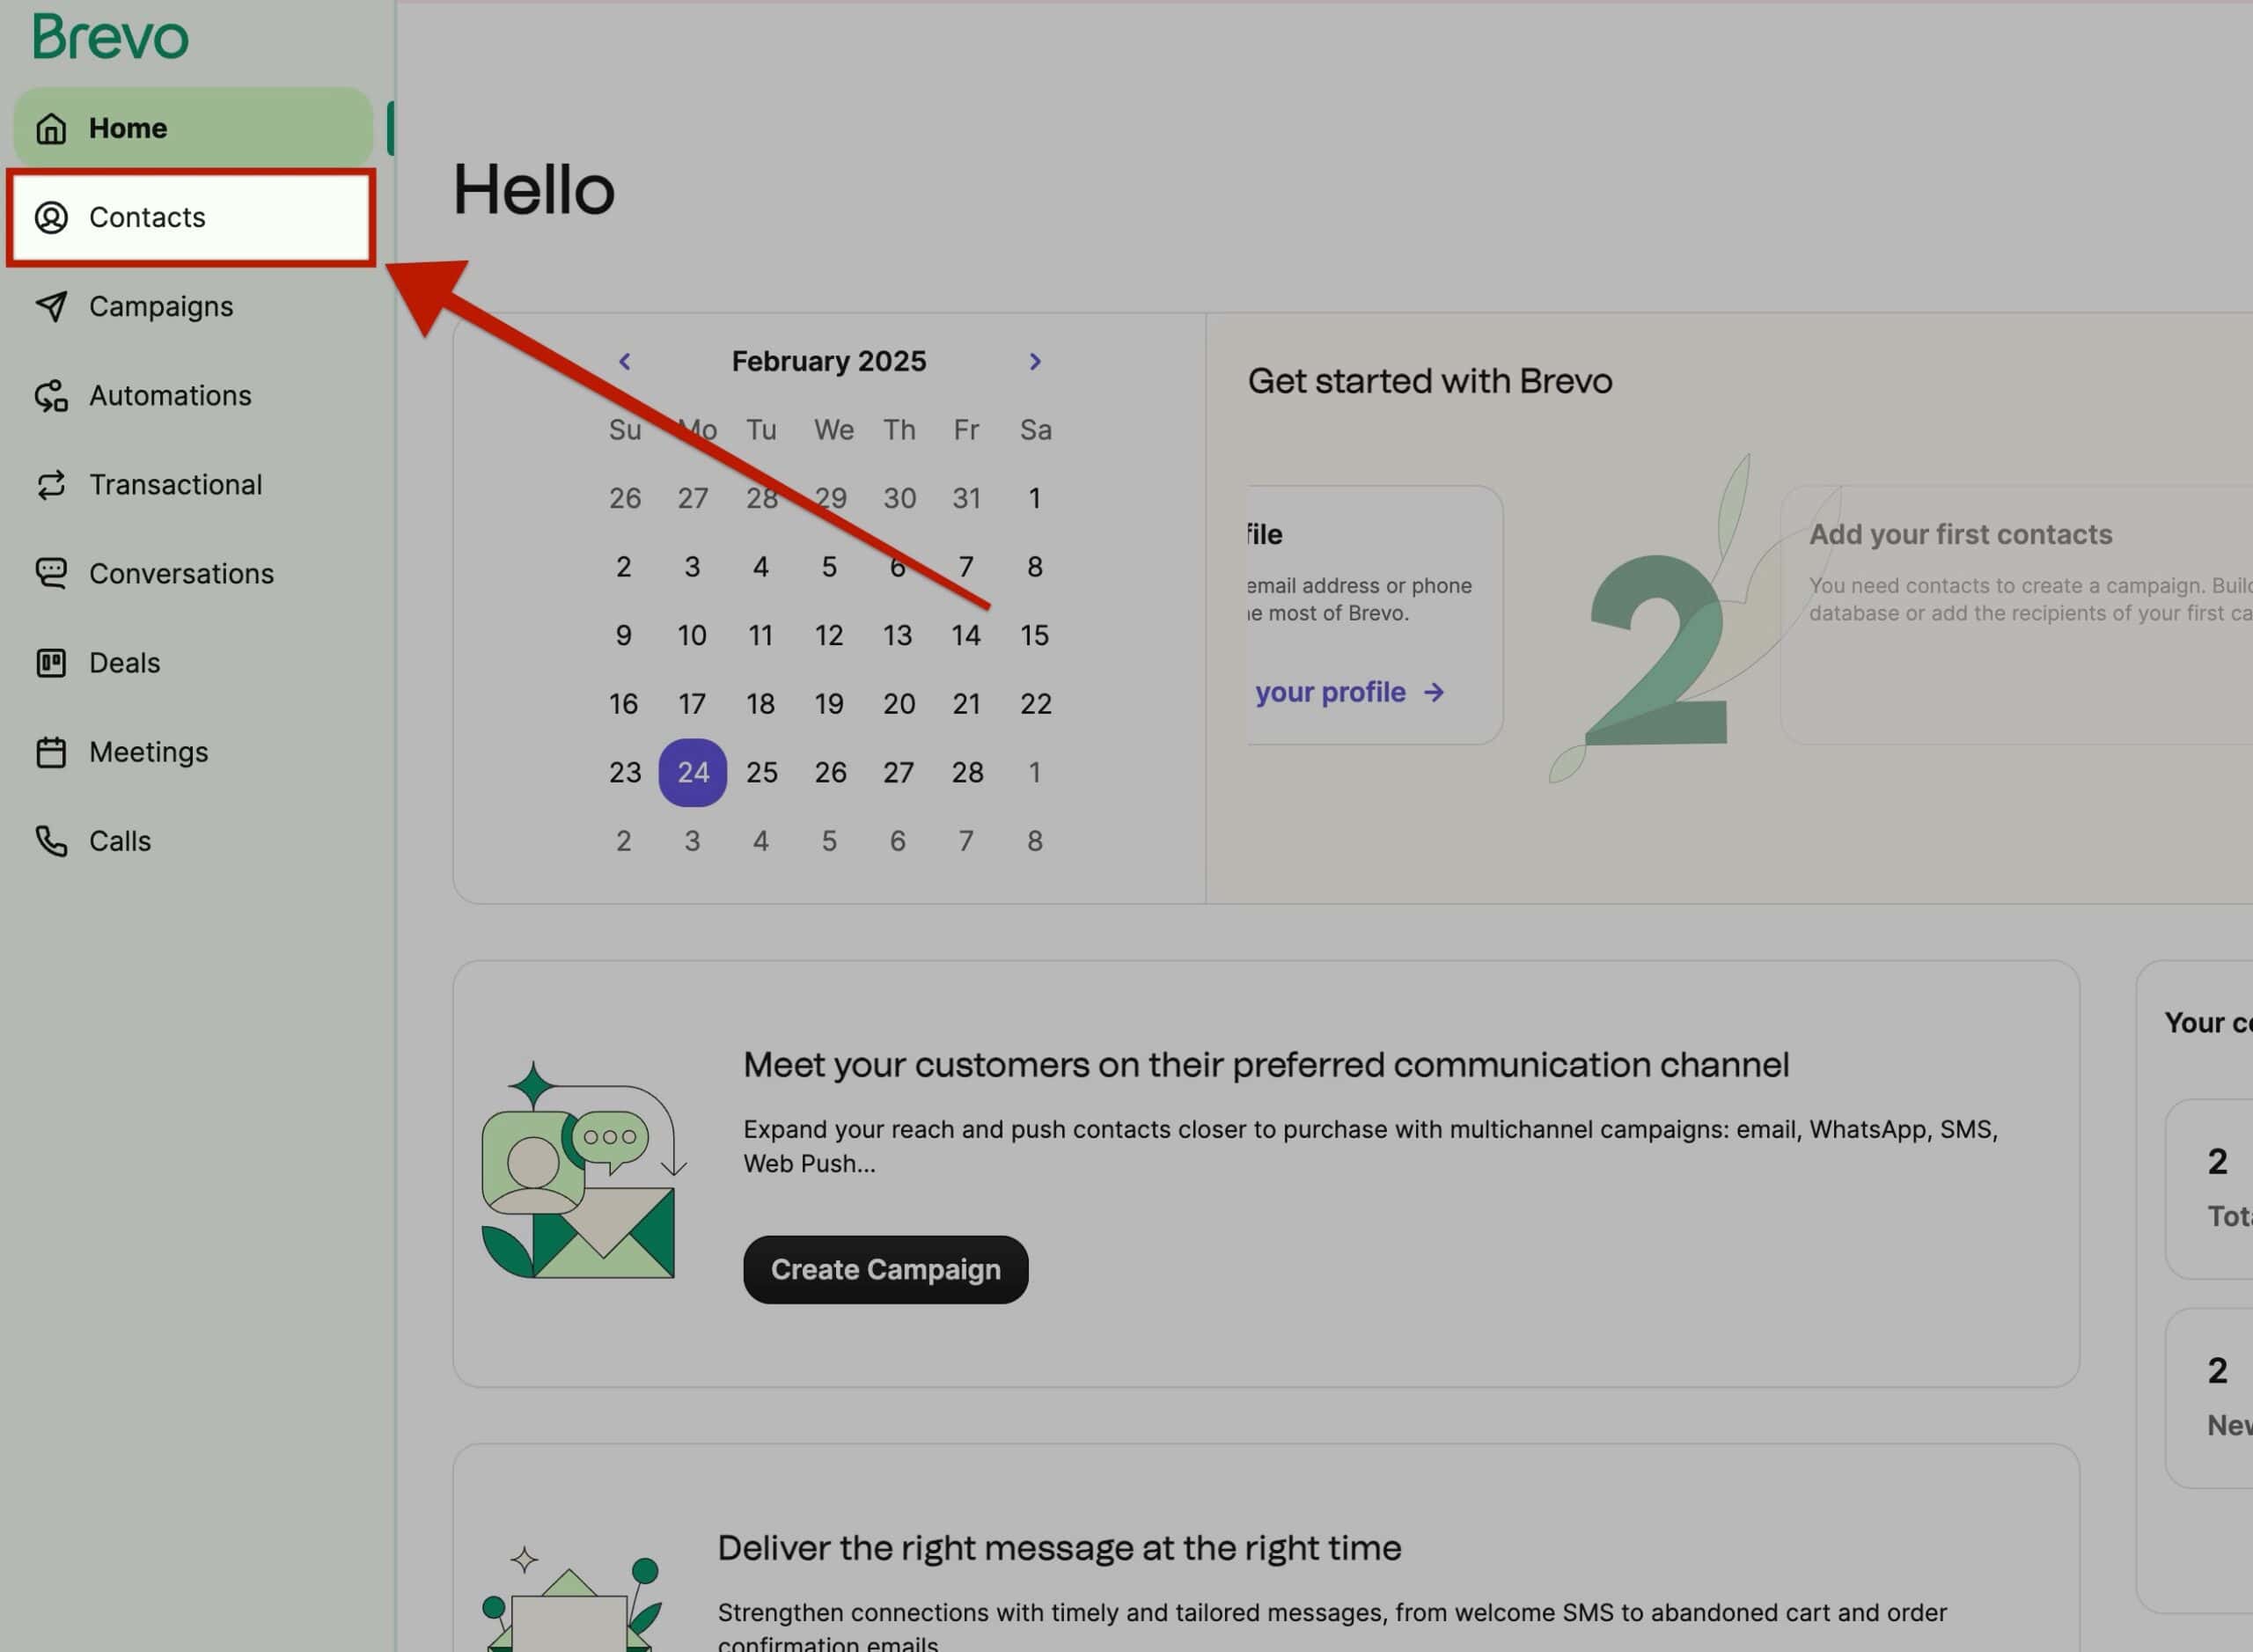
From the Brevo Dashboard, navigate to the Contacts section.
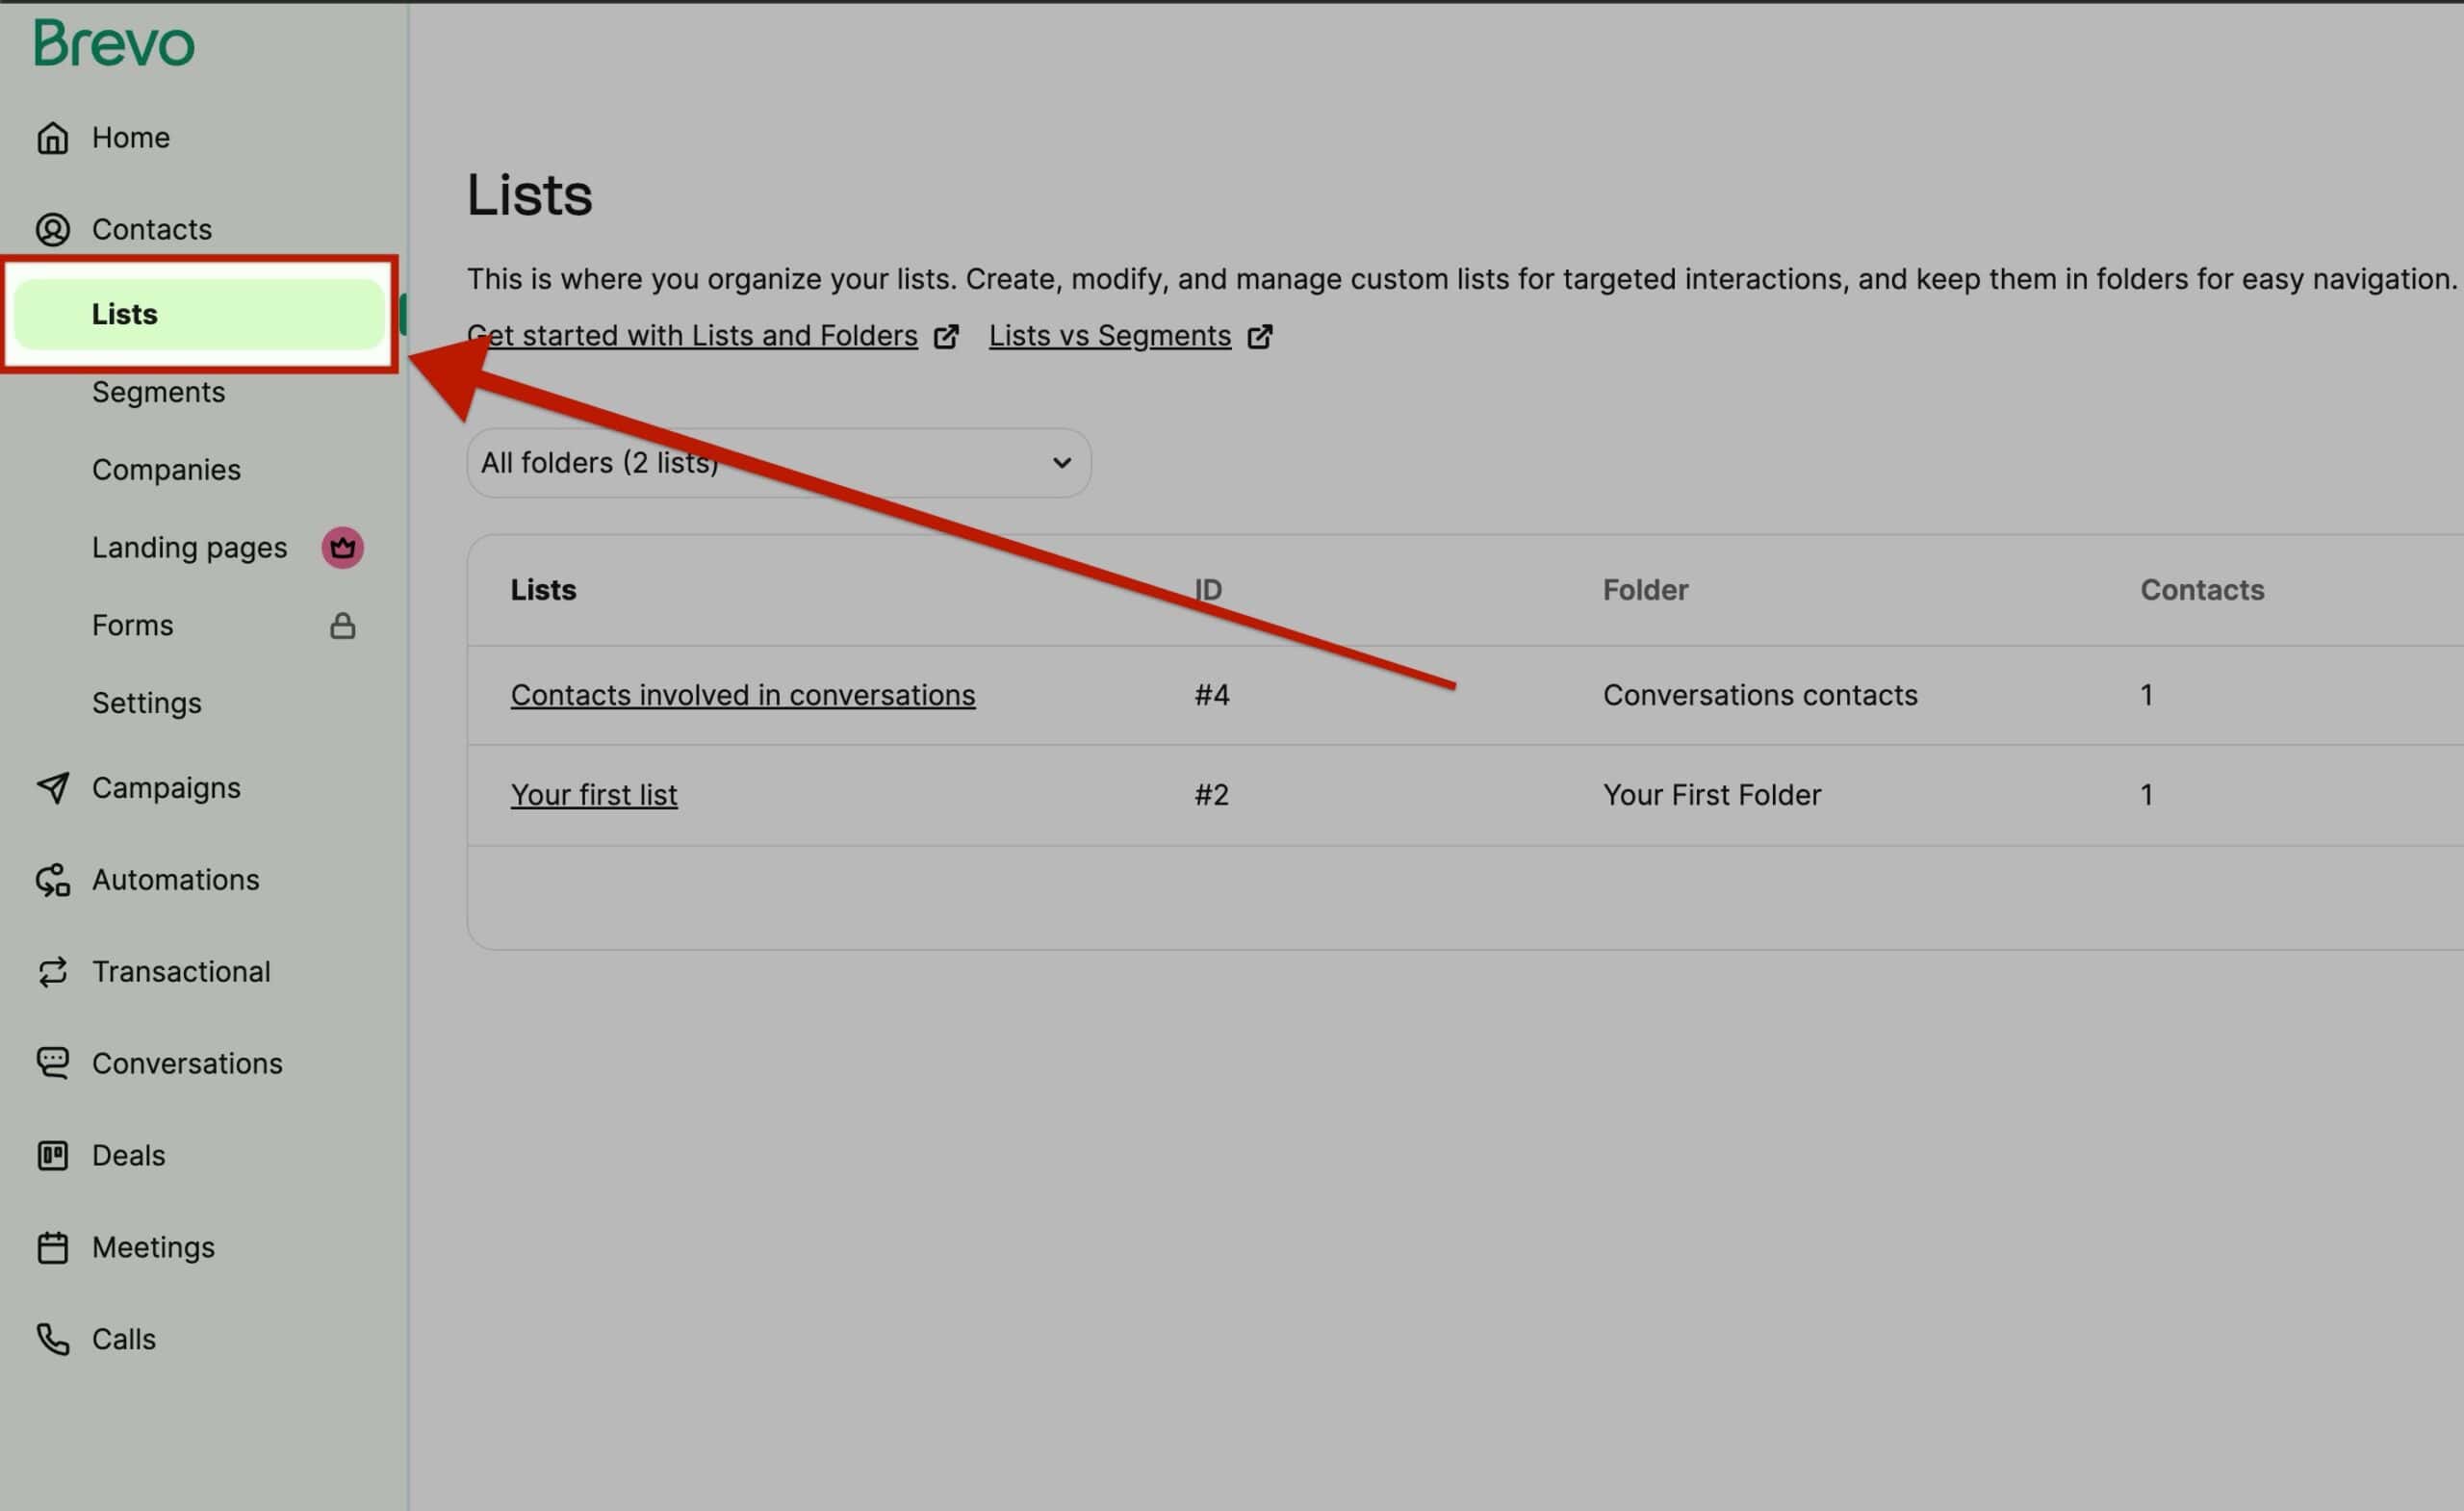
Once on the Contacts page, find the Lists tab and click on it.
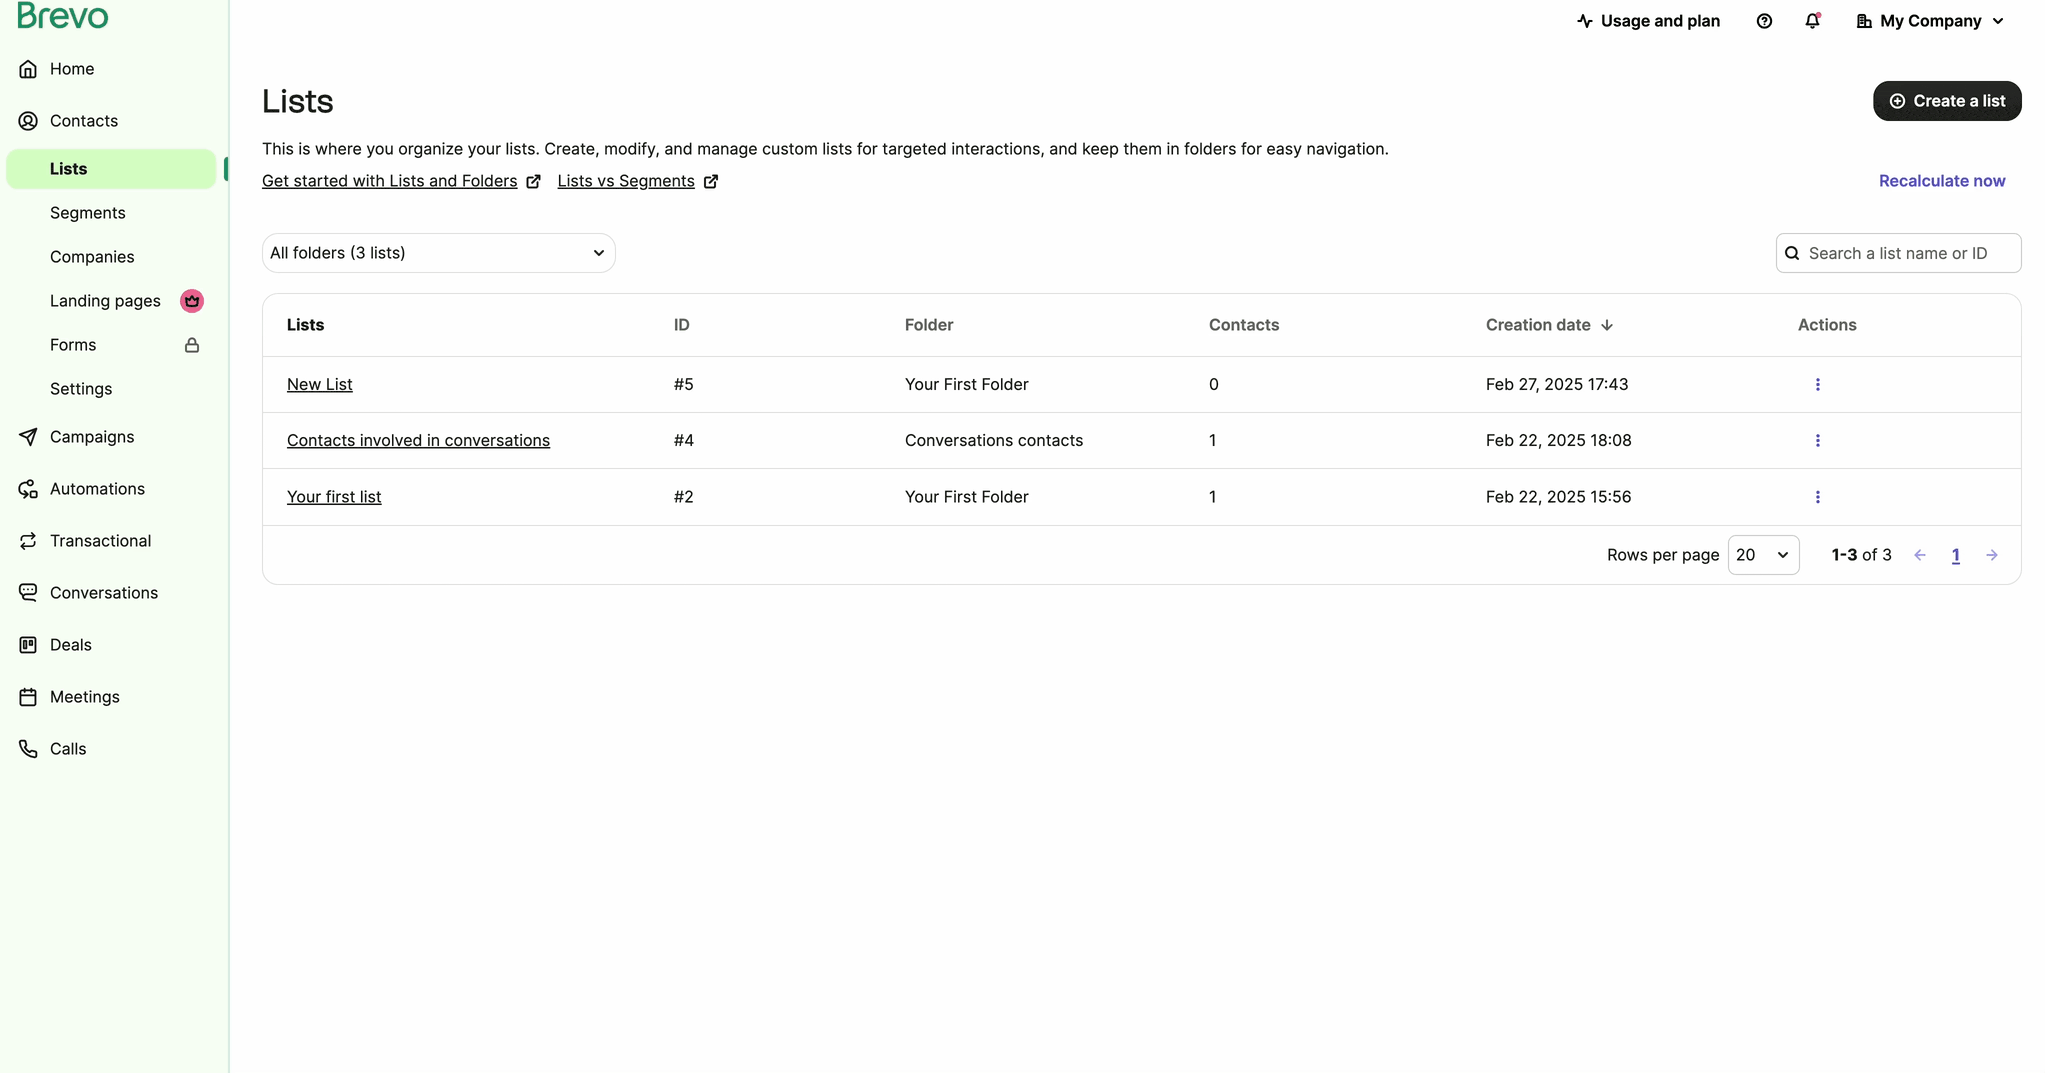
Click on the Create a new list button to create a new list. In the popup, enter a name for the list, then click on the Create button. By default, you may have two pre-made lists. You can edit and configure them or use them in general, if preferred.

Click on your newly created list to open its details. Brevo organizes contact information using attributes. To modify these attributes, click on the Customize Columns button. You can use the pre-made attributes available or configure Brevo with custom attributes. These attributes will map in and integrate with Kadence Form fields.
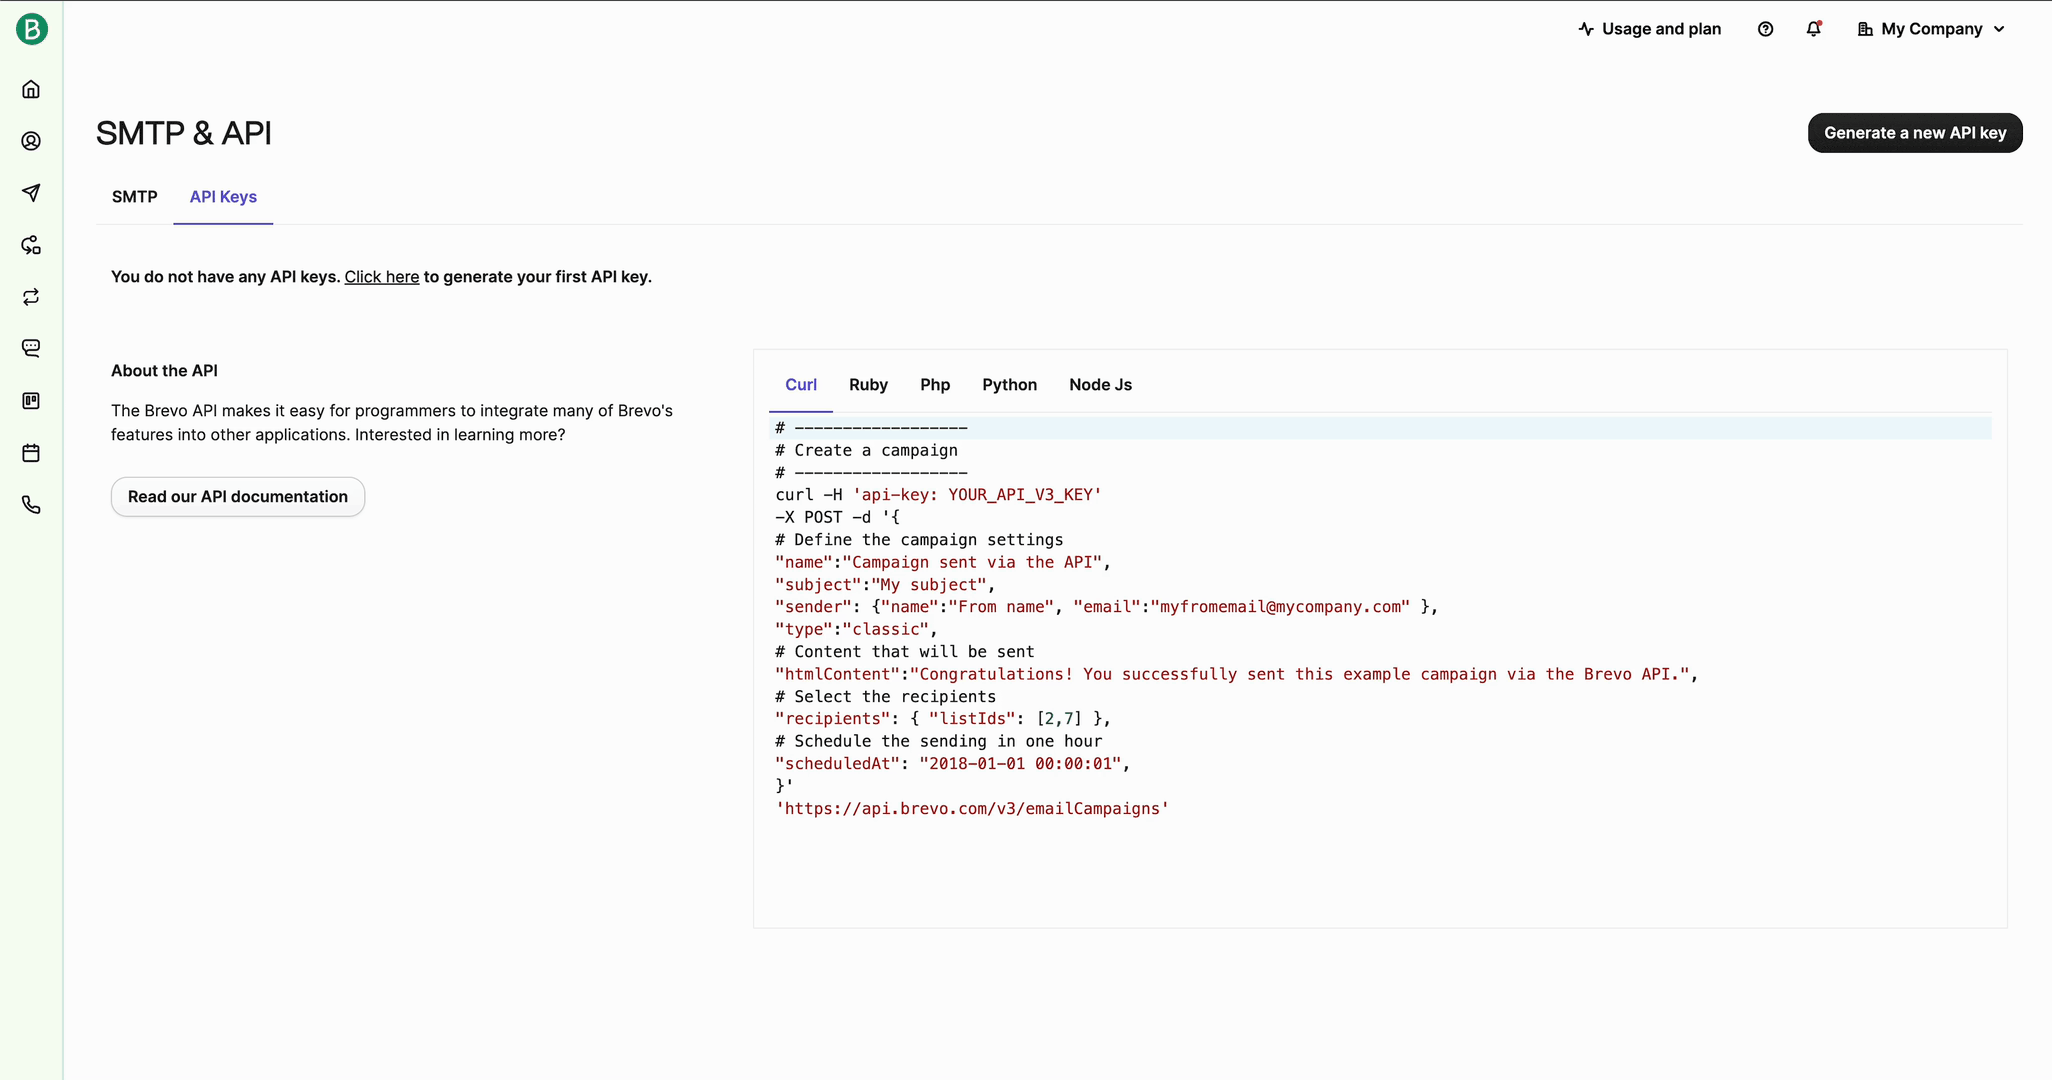
Obtaining an API Key
To connect Brevo with Kadence Form blocks, you need to generate an API Key. This key allows secure communication between your Kadence Form and your Brevo account.
From the Brevo dashboard, click on the username/company name dropdown in the top-right corner. From the dropdown menu, select SMTP & API.

On the API settings page, go to the API Keys tabs. If you don’t have an existing key, generate a new one. Copy the API Key and store it somewhere safe, as you’ll need it to complete the integration with Kadence Forms. (This key will not be viewable again. So you should save it, otherwise, if you lose the key, you will have to generate a new one.)
Using Brevo with the Kadence Form Block
Get started by adding a Form Block to a page.
Then, navigate to the Block Settings -> General Tab and expand the Actions After Submit tab.
Then click on the Checkbox selection option for Brevo.
Once Brevo is enabled, notice the new tab named Brevo Settings in the General Form Block Settings.
You can expand this tab to input your Brevo API Key. Once the key is set, click on the Save button to successfully connect to your Brevo API.
Afterward, you will be able to select a List from your Brevo account.
Once you have selected a List, you will notice the Kadence Form Fields within the Brevo Block Settings. Here, you can map your appropriate Kadence Form Field to sync. with the appropriate Brevo attribute.
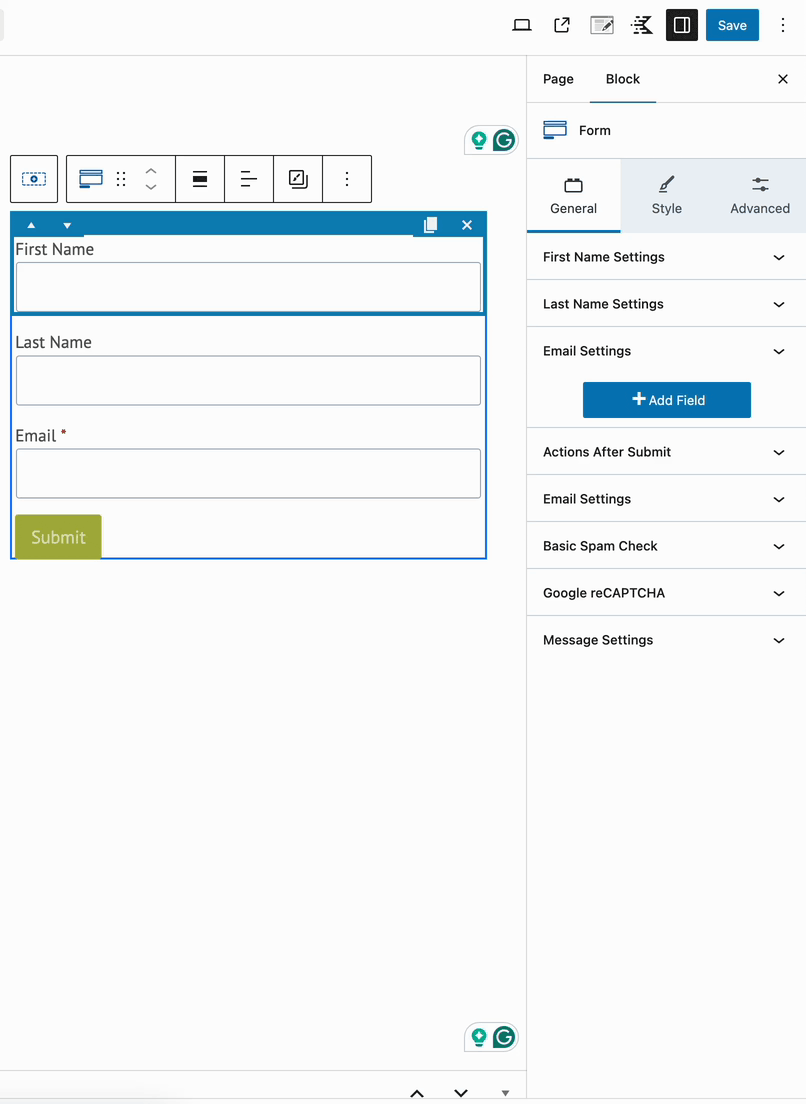
Once the Kadence Form is submitted, the appropriate fields will populate the attributes and add a new contact to the selected list on Brevo.
Using Brevo with the Kadence Form (Adv) Block
Get started by adding a Form (Adv) Block to a page.
Then, navigate to the Block Settings -> General Tab and expand the Submit Action tab. From the dropdown, select Brevo.
Once Brevo is enabled, there will be a new tab in the Form (Adv) block settings named Brevo Settings. Expand this tab and save the Brevo API Key to the Advanced Form.
Afterward, you will be able to select a List from your Brevo account.
Once you have selected a List, you will notice the Kadence Form Fields within the Brevo Block Settings. Here, you can map your appropriate Kadence Form Field to sync. with the appropriate Brevo attribute.
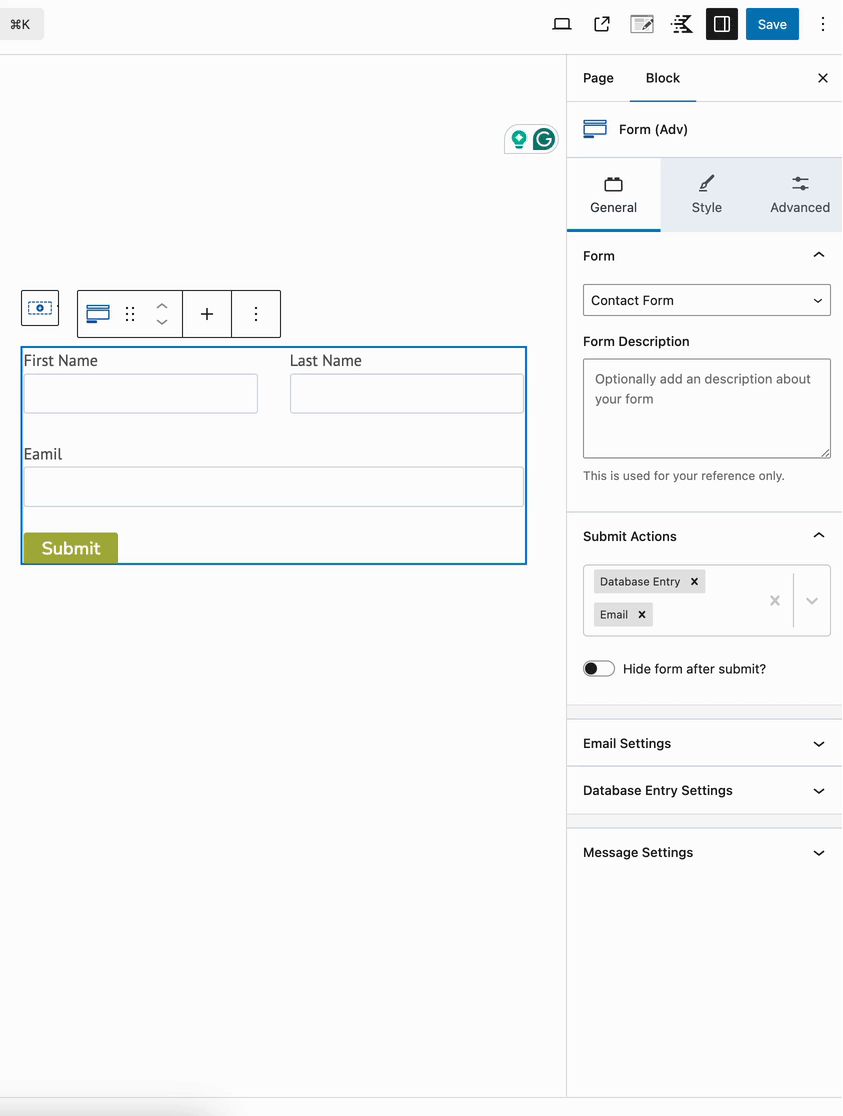
Once the Advanced Form is submitted, the appropriate fields will populate the attributes and add a new contact to the selected list on Brevo.
