
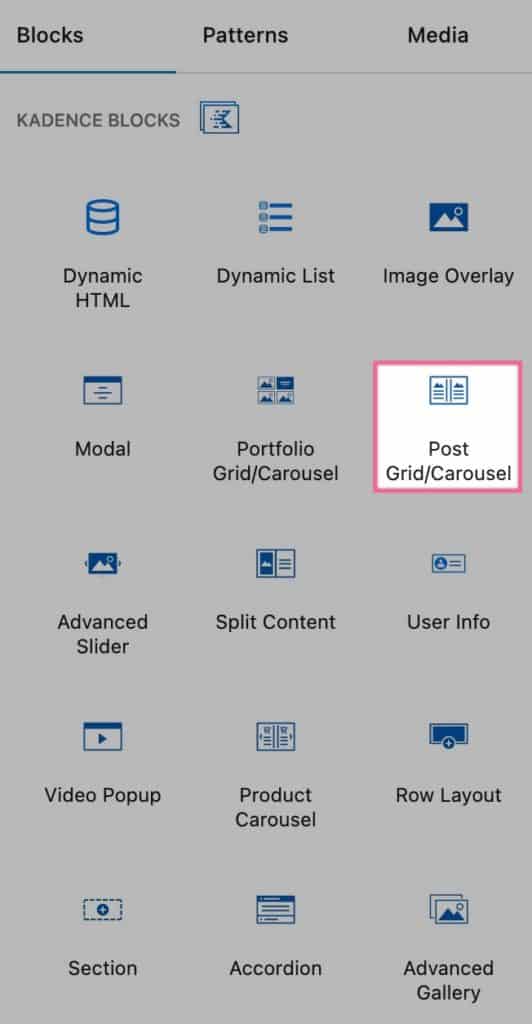
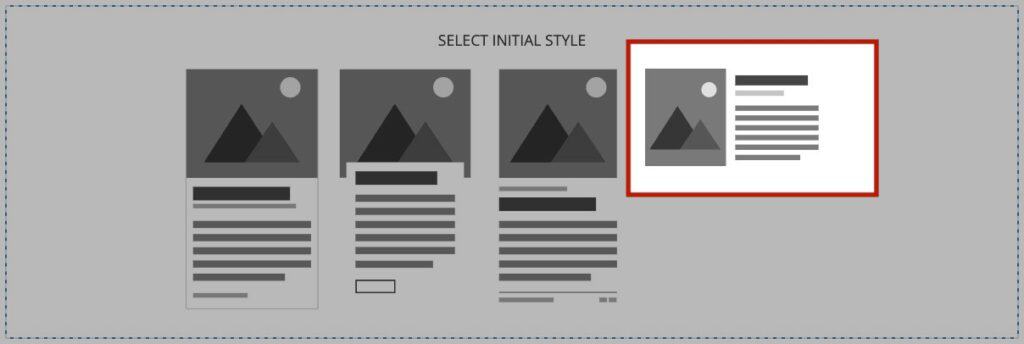
The Post Grid/Carousel Block will give you all the flexibility you could ever need when it comes to beautifully displaying your blog posts. It allows you to customize everything from the layout design to the excerpt title and footer. You can even create a custom-designed blog grid by individually selecting specific posts.
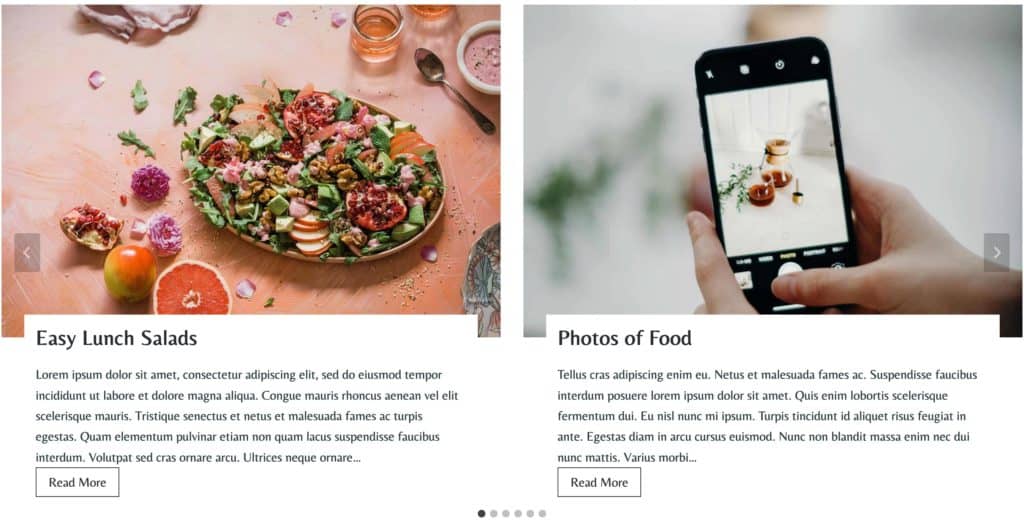
Post Grid/Carousel Example (Carousel Layout)
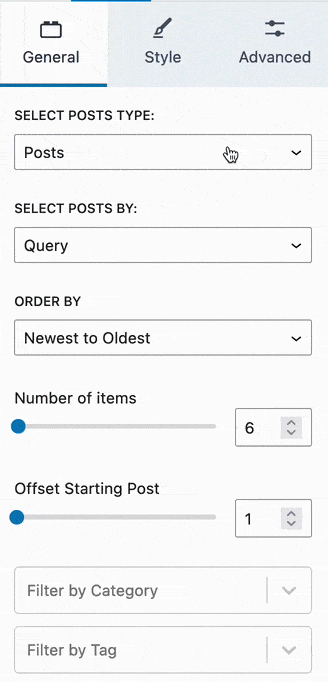
General Settings
The Post Type setting allows you to specify which Post Type you would like to show on your Post Grid/Carousel Block.
You can select the post by query or you can select them individually using the Select Posts By: setting.
The Order By setting allows you to order your posts from newest to oldest, oldest to newest, modified ascending, modified descending, A -> Z, Z -> A, menu order, or by a random order.
When using Individual Posts, the Post that you selected First will appear First, and the Post that you selected Last will appear Last.
You can adjust the Number of items displayed and set an Offset Starting Post. This can be used to offset recent posts from being shown.
Note: Enabling offset will deactivate the option to Use Pagination
You can also enable Pagination using the toggle.
Note: Enabling the pagination option will deactivate the filters configured in the Display Filter setting under the Advanced tab.
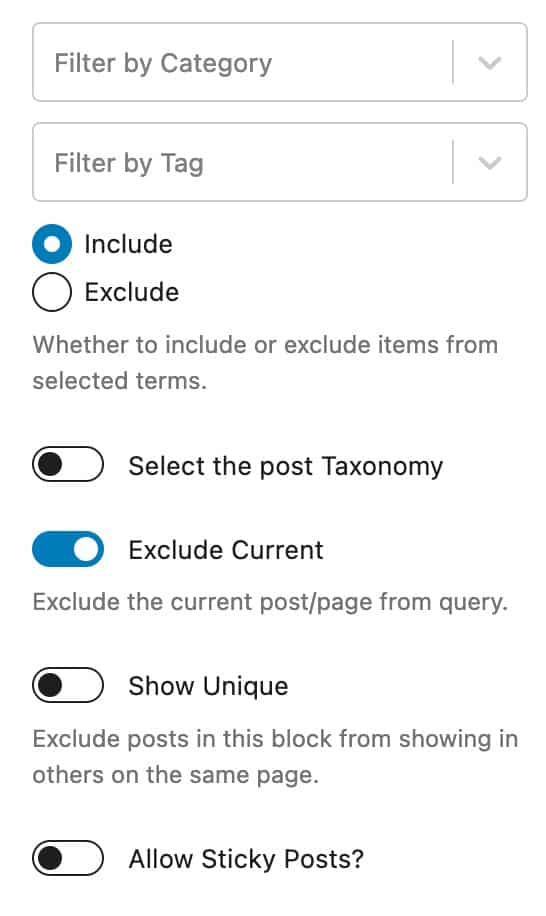
You can also use the Filter by Category and Filter By Tag settings to filter which posts are shown. You can either include or exclude the selected taxonomies.
The Select the post Taxonomy setting allows you to use a different taxonomy.
You can enable the Exclude Current setting to exclude the current post/page from the query.
The Show Unique setting allows you to exclude posts in the block from showing in others on the same page.
The Allow Sticky Posts? setting allows you to enable sticky posts on your post grid/carousel block.
Layout Settings
The Layout Settings allow you to customize the layout of your Post Grid/Carousel Block.
The Layout setting allows you to choose a Grid, Masonry Grid, or a Carousel Layout. Depending on which layout you use will depend on which Block Settings are shown.
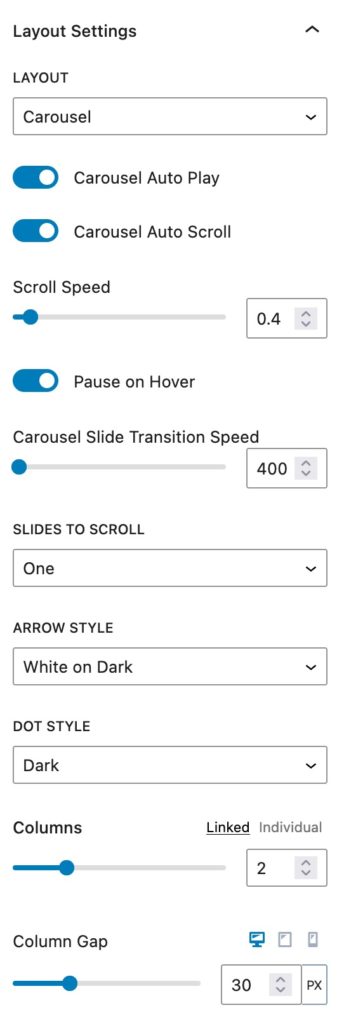
Carousel Layout Settings
You can enable Auto Play and Auto Scroll. You can adjust the Scroll Speed and Slide Transition Speed.
The Sides To Scroll option allows you to choose if users can navigate through the carousel one way or both ways.
You can adjust the Arrow Style. You can choose between White on Dark, Black on Light, Outline Black, Outline White, or None.
You can also adjust the Dot Style. You can choose between Dark, Light, Outline Dark, Outline Light, or None.
You can adjust the number of Columns displayed. You can control these Linked to all screen sizes, or you can select a different number for different screen sizes using the Individual option.
You can also adjust the Column Gap for desktop, tablet, and mobile devices.
Grid and Masonry Layout Settings
Whenever you select the Grid Layout or the Masonry Layout, the block settings will differ.
You can adjust the number of Columns by Linked or Individual.
You can set the Column Gap for desktop, tablet, and mobile devices.
You can also set the Row Gap for desktop, tablet, and mobile devices.
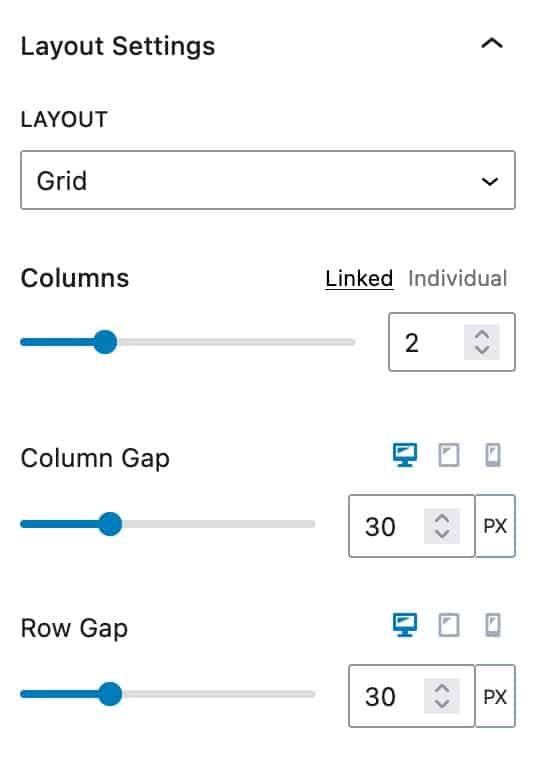
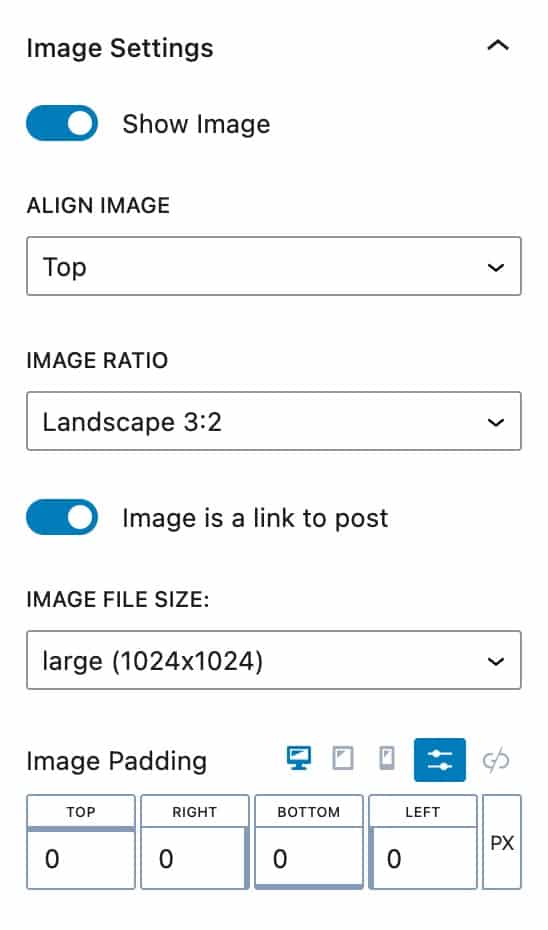
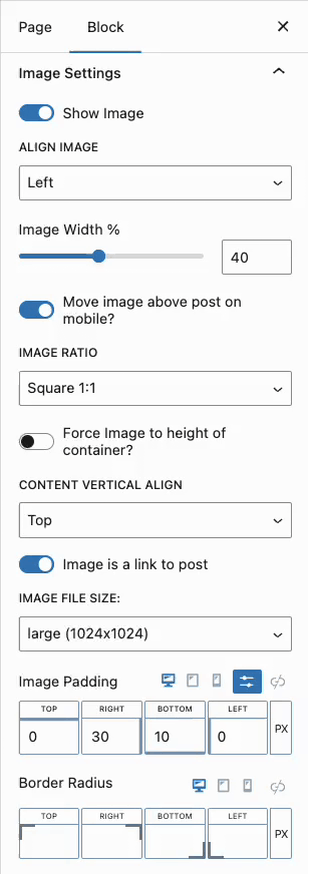
Image Settings
The Image Settings allow you to customize the images on your Post Grid/Carousel Block.
You can enable or disable the option to Show Images.
The Align Image setting allows you to align the image to the top or left.
The Image Ratio setting allows you to select the ratio you would like to use.
You can enable or disable the option to use the Image as a link to the post.
Use the Image Padding settings to set an Image Padding for desktop, tablet, and mobile devices.
Use the Border Radius settings to add a border radius to the Post Grid/Carousel Image.

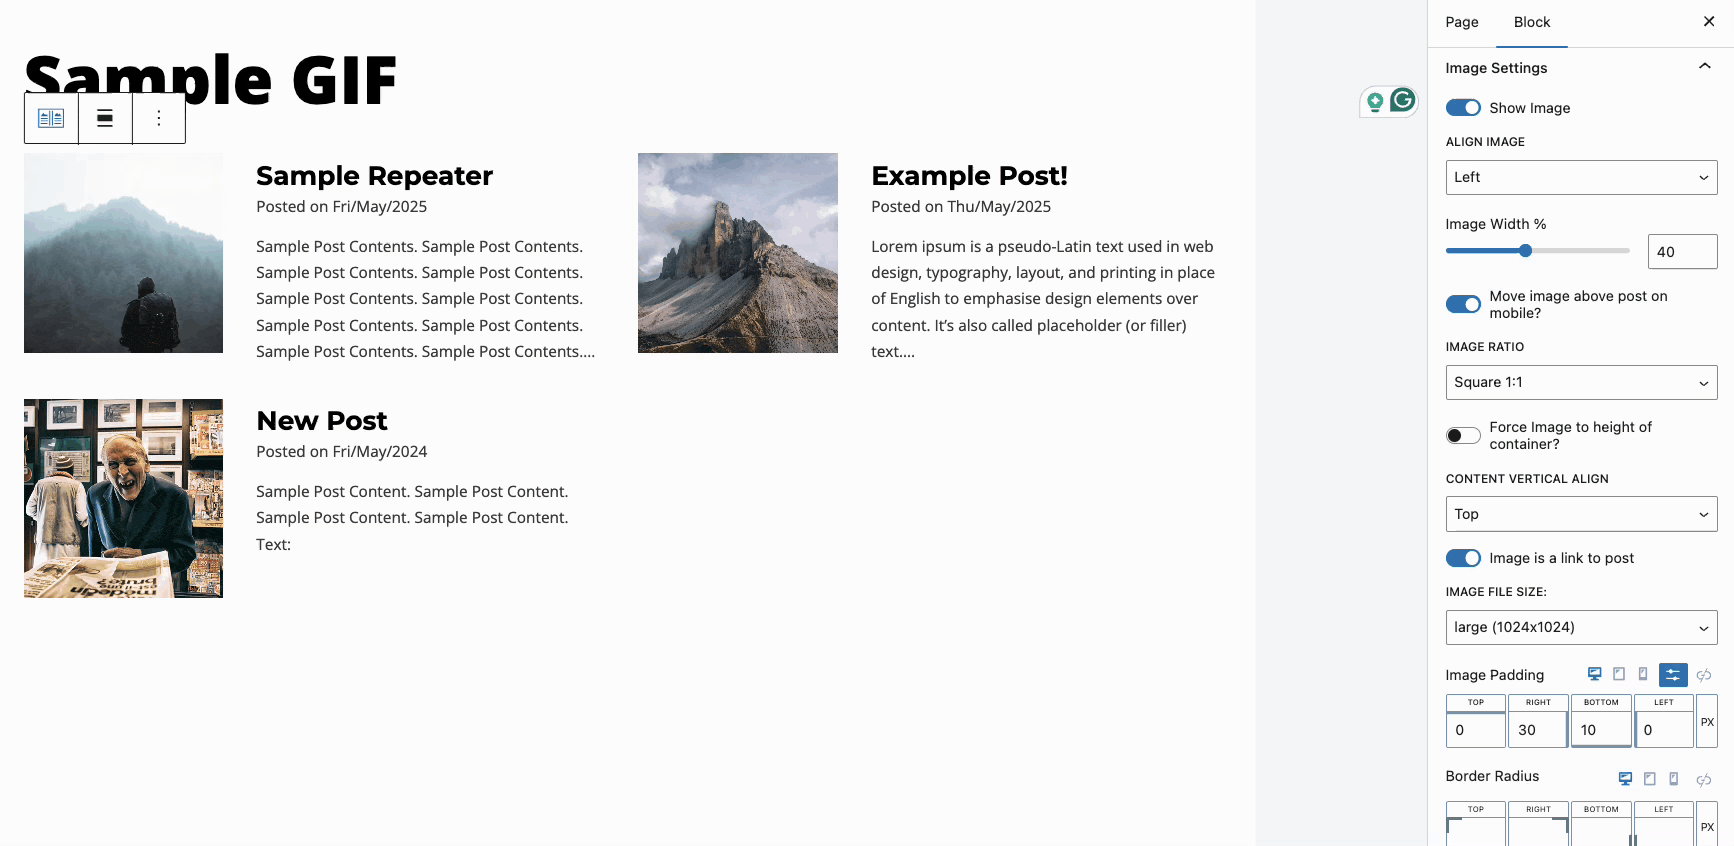
Respecting Aspect Ratios in Side Image Layouts
When using a Post Grid/Carousel with a layout where the image is on the side of the content, you may notice the aspect ratio isn’t always respected when the Force Image to Height of Container setting is enabled. This is because the image in this design is intended to cover the available space rather than use an aspect ratio.
Use the Respect Aspect Ratio setting to ensure all Post Grid/Carousel images respect the current image ratio when set to full height. (See the GIF below for reference.)
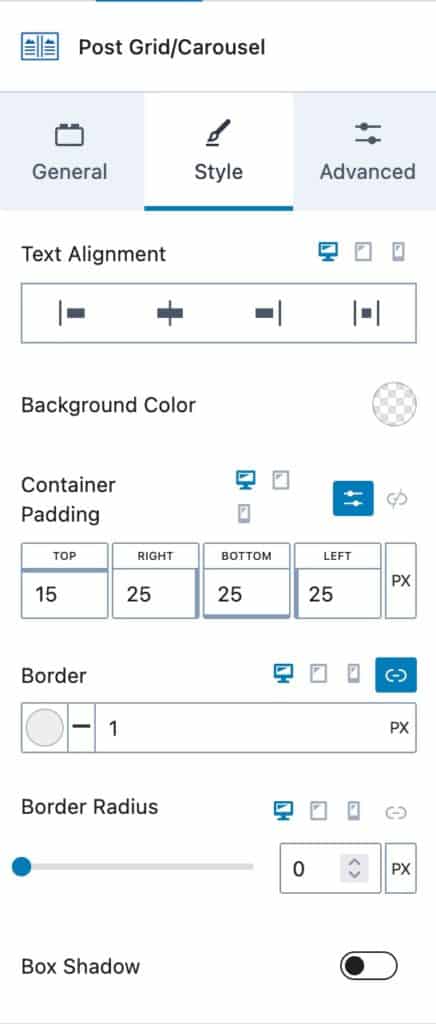
Style Settings
The Style Settings allow you to adjust the styling of your block.
You can use the Text Alignment setting to set an alignment for desktop, tablet, and mobile devices.
You can use the Background Color setting to set a background.
The Container Padding option allows you to set a padding for the container for desktop, tablet, and mobile devices.
You can use the Border setting to add a border. You can also set the Border Radius for desktop, tablet, and mobile devices.
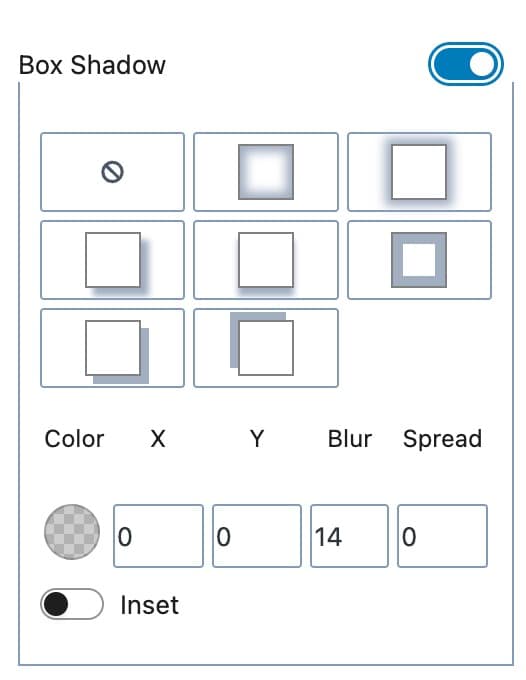
You can also enable and use a Box Shadow.
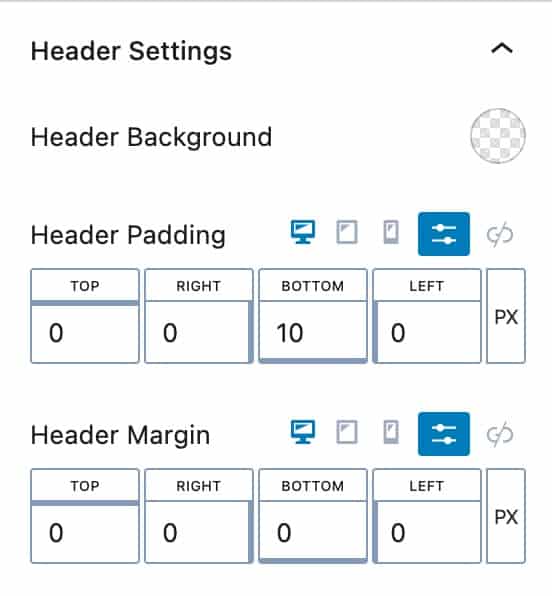
Header Settings
The Header Settings allow you to adjust the header section of each post.
You can adjust the Header Background color. You can also adjust the Header Padding and Header Margin for desktop, tablet, and mobile devices.
Content Settings
The Content Settings allow you to adjust the content section of each post.
You can adjust the Content Background color. You can also adjust the Padding and Margin.

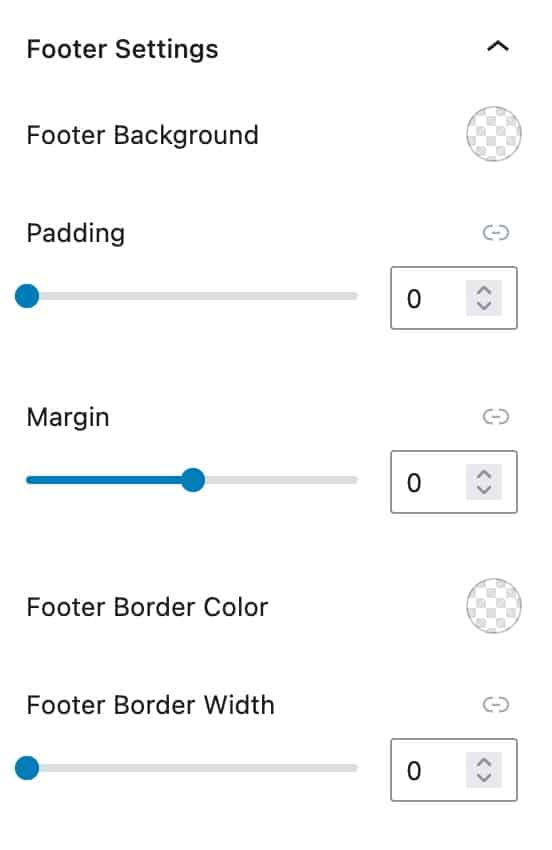
Footer Settings
The Footer Settings allow you to adjust the footer section of each post.
You can adjust the Footer Background color. You can also adjust the Padding and Margin.
You can use the Footer Border Color and Footer Border Width settings to add a border.
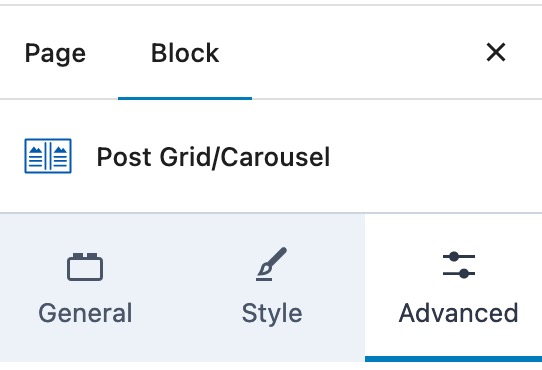
Advanced Settings
You can use the Advanced Settings to adjust the more advanced settings on your block. There are multiple tabs that you can expand and adjust. We will go over each advanced setting.
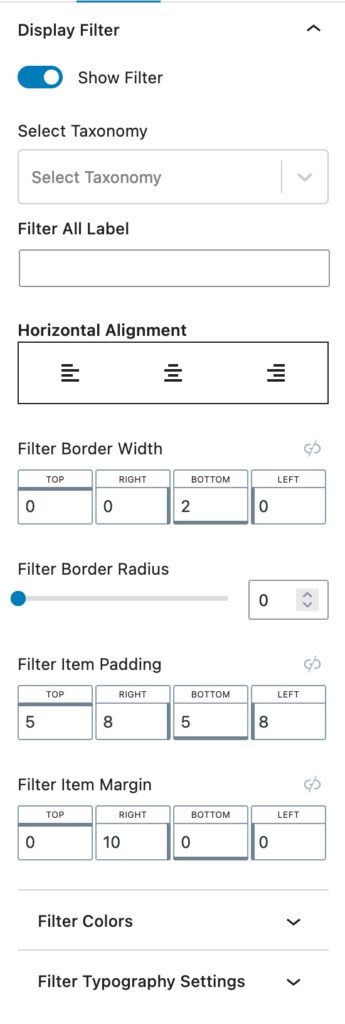
Display Filter Settings
The Display Filter settings allow you to display and customize a filter.
You can select which taxonomy type and the taxonomies using the Select Taxonomy setting.
You use the Filter All Label to customize the All text.
You can use Horizontal Alignment setting to set a left, center, or right alignment to your filter.
You can add a Filter Border Width and a Filter Border Radius to your filter.
You can also adjust the Filter Item Padding and Filter Item Margin on your filter.
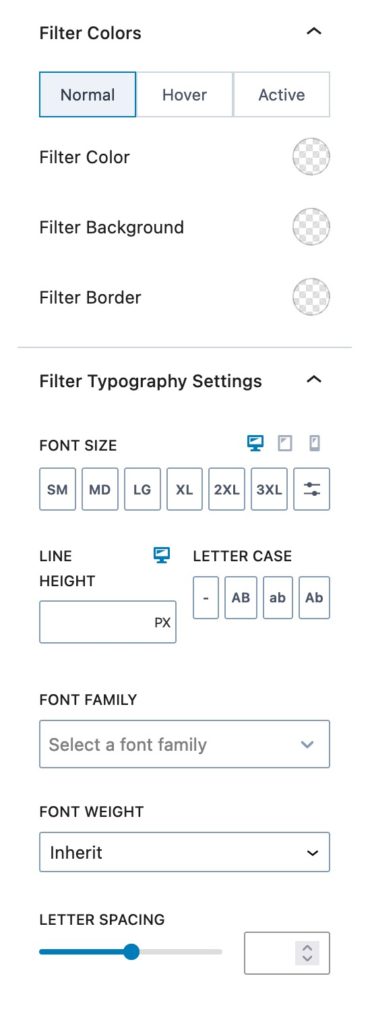
Filter Colors
You can expand the Filter Colors setting to adjust the colors of your filter.
You can set a Filter Color, Filter Background, and Filter Border for Normal, Hovered, or Active filters.
Filter Typography Settings
You can set a Font Size for desktop, tablet, and mobile devices.
You can also set a Line Height and Letter Case.
The Font Family setting allows you to change the filter font. You can also change the Font Weight and Letter Spacing.
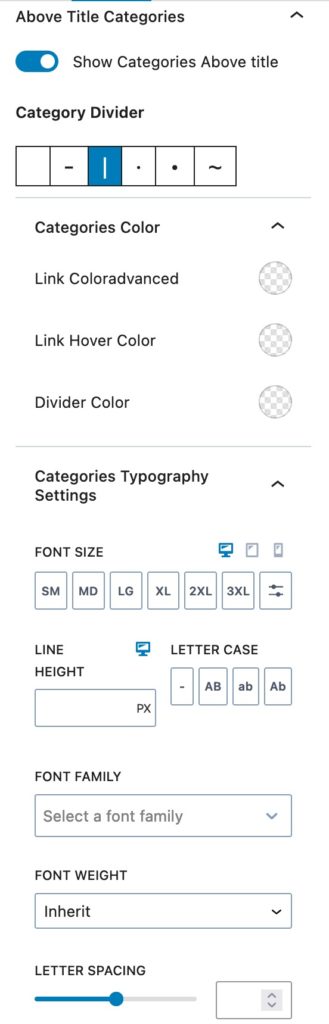
Above Title Categories Settings
You can enable and Show Categories Above the Title.
You can use the Category Divider setting to change your divider type.
You can use the Categories Color setting to change the Link Color, Link Hover Color, and Divider Color.
The Categories Typography Settings allow you to change the typography of your categories.
You can adjust the Font Size for desktop, tablet, and mobile devices.
You can also set a Line Height and Letter Case.
The Font Family setting allows you to change the filter font. You can also change the Font Weight and Letter Spacing
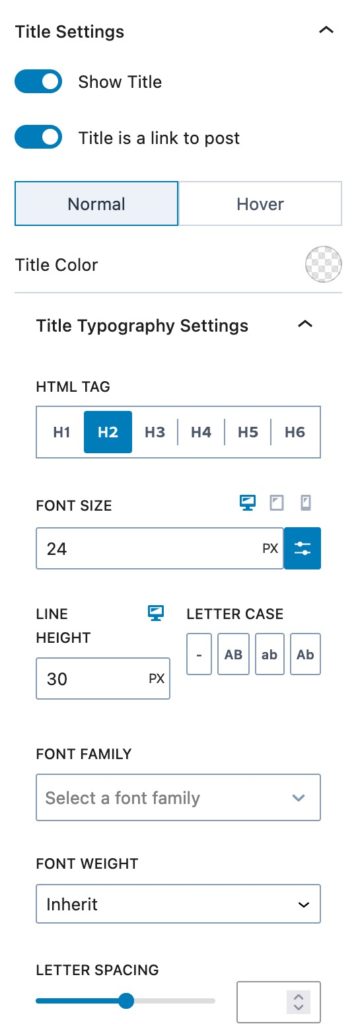
Title Settings
The Title Settings allow you to Show the Title and set the Title as a Link to post.
You can set the Title Color for the Normal and Hover state.
The Title Typography Settings allow you to customize the typography of your Title.
You can set the HTML Tag of your title.
You can adjust the Font Size for desktop, tablet, and mobile devices.
You can also set a Line Height and Letter Case.
The Font Family setting allows you to change the filter font. You can also change the Font Weight and LetterSpacing
Below Title Meta
You can enable different Below Title Meta Elements.
You can enable/disable the Show Date setting and you can set a Date Pre-Text.
You can enable/disable the Show Modified Date setting and you can set a Modified Date Pre-Text.
You can enable/disable the Show Author setting and you can set an Author Pre-Text.
You can enable/disable the Show Category setting and you can set a Category Pre-Text.
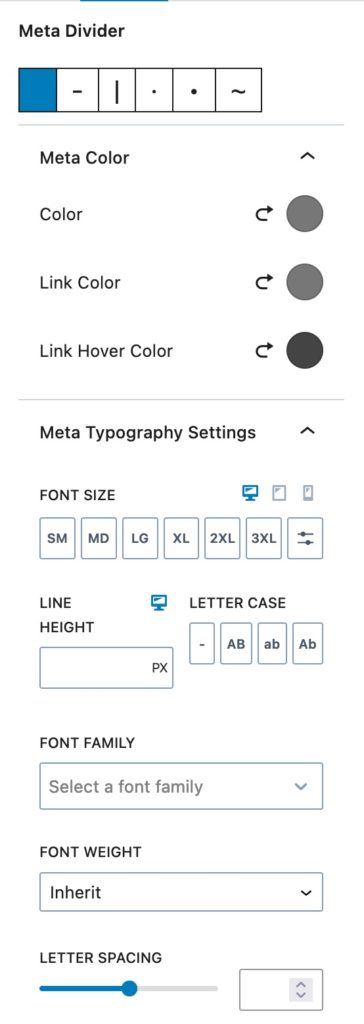
Meta Divider
The Meta Divider setting allows you to select a Meta Divider style. You can also adjust the Meta Colors and Meta Typography Settings.
The Meta Colors allow you to set the normal Color, Link Color, and Link Hover Color.
The Meta Typography Settings allow you to customize the typography of the meta items.
You can adjust the Font Size for desktop, tablet, and mobile devices.
You can also set a Line Height and Letter Case.
The Font Family setting allows you to change the filter font. You can also change the Font Weight and LetterSpacing
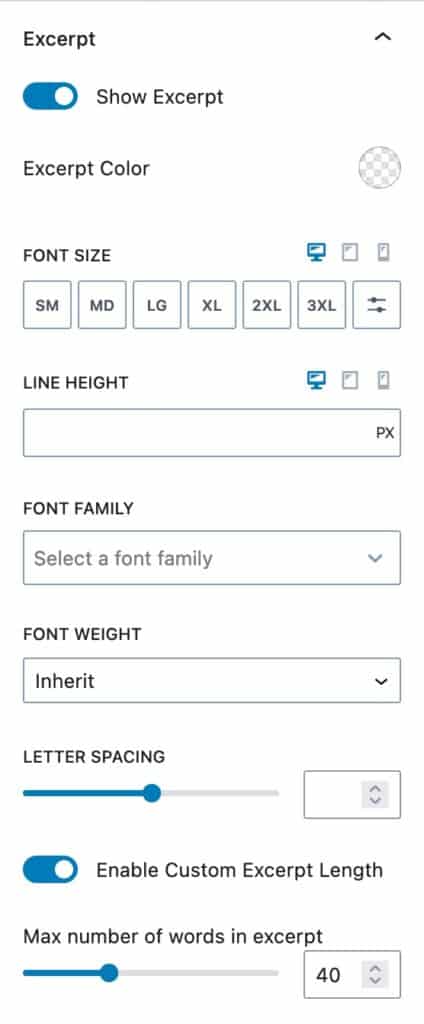
Excerpt
You can enable and customize the Excerpt. You can use the Excerpt Color setting to set a color for the excerpt text.
You can set a Font Size for desktop, tablet, and mobile devices.
You can also set a Line Heigh The Font Family setting allows you to change the filter font. You can also change the Font Weight and LetterSpacing.
You can use the Enable Custom Excerpt Length and Max number of words in excerpt settings to customize the excerpt length.
Read More
You can enable the option to Show Read More.
You can enable Read More Align Bottom to ensure all buttons align to the bottom of your posts.
You can use the Read More Text setting to change the read more text.
You can set a Read More Border Width and a Read More Border Radius.
You can set the Read More colors for the Normal and Hover state.
You can set the Text Color, Background Color, and Border Color.

You can adjust the Font Size for desktop, tablet, and mobile devices.
You can also set a Line Height
The Font Family setting allows you to change the filter font.
You can also change the Font Weight and LetterSpacing
You can add Padding or Margin to the read more text.

Footer Meta
You can force the footer to align to the bottom of the post container.
You can enable the option to Show Date, Show Categories, Show Tags, Show Author Icon, and Show Comment Count in your Footer Meta settings.
You can also set the Text Color, Link Color, and Link Hover Color.
You will also be able to adjust the standard typography settings for the Footer Meta.

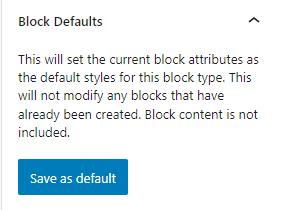
Block Defaults
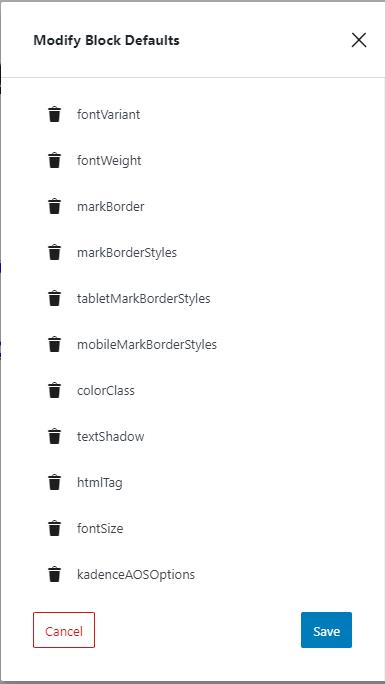
Kadence blocks have a Block Defaults section under the Advanced tab in the block settings. After you adjust the settings to the desired defaults, find the Block Defaults section and click the button that reads Save as Default.
After clicking the button, you will find two new links in the section to Modify Attributes and Reset Defaults. If you choose to Modify Attributes, you can delete the default settings individually. If you choose to Reset Defaults, all the default settings are removed.
Remember, the default settings only apply to newly added blocks, not existing blocks.
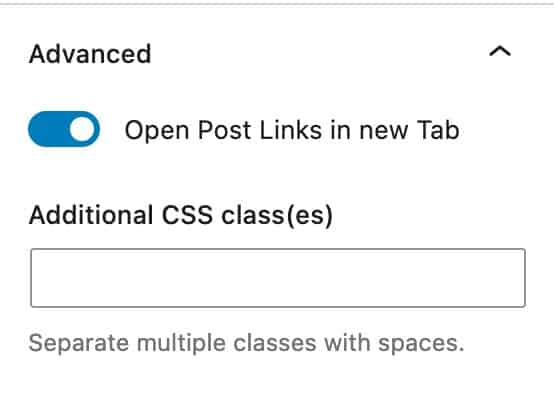
Advanced Settings
The Advanced Settings allow you to enable the option to Open Post Links in new Tab.
You can also add Additional CSS class(es) to your block.
Customizations
Pagination button colors
The pagination buttons inherit colors from the Kadence Theme’s color palette:
- Background color (Normal): Uses the 9th color. Fallback color is white.
- Background color (Active): Uses the 4th color. Fallback color is #777.
- Text color (Normal): Uses the 5th color. Fallback color is #AAA.
- Text color (Active): Uses the 9th color. Fallback color is white.
- The border is 2px by default, and the color is the 5th color. Fallback color is #AAA.
Should you want to change these values, add a CSS code like this:
.kt-blocks-page-nav .nav-links>a,
.kt-blocks-page-nav .nav-links>span {
    background: var(--global-palette9, #fff);
    border: 2px solid var(--global-palette5, #aaa);
    color: var(--global-palette5, #aaa);
}

/* For the current/active page button: */
.kt-blocks-page-nav .nav-links>.current {
    background: var(--global-palette4, #777);
    border-color: var(--global-palette4, #777);
    color: var(--global-palette9, #fff);
}