
This guide explains how to use the Hooked Elements feature in Kadence Theme Kit Pro to replace the sidebar content for posts within specific categories or taxonomies. If you aren’t familiar with Kadence Elements, refer to our document on How to Use Element Hooks.
Note: Make sure that your Posts are using a Sidebar Layout. Go to the Kadence Theme’s Customize > Posts/Pages Layout > Single Post Layout settings to confirm that. If they’re not using a sidebar layout, the element will not replace anything.
Create a New Hooked Element
- In your WordPress dashboard, go to Appearance → Kadence → Elements.
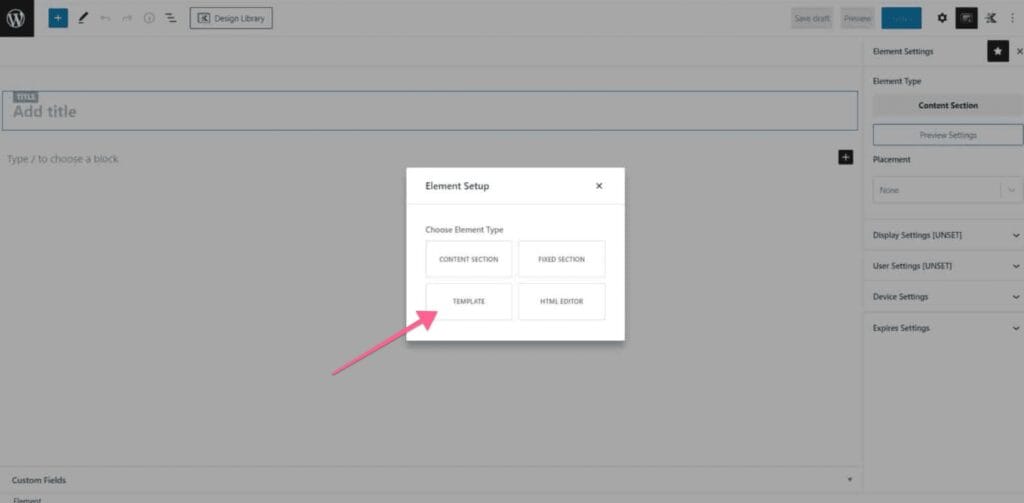
- Click Add New and select Element Type: Template or Content Section.
- Give your new element a descriptive name, such as Custom Sidebar for Category X and Tag X.
Add Sidebar Content
You can add blocks to compose the intended sidebar content for the posts under a specific group(s). Format and style the content to match your design preferences.
Configure Placement Settings
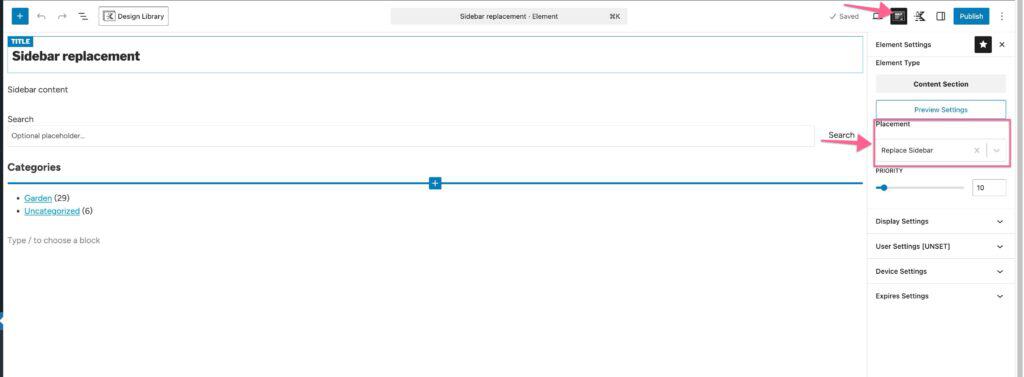
- In the Element Settings panel, locate Placement Settings.
- Under Placement, select Replace Sidebar. This ensures that your element replaces the default sidebar area on the designated posts.
Configure Display Settings
- In the Display Settings section, set Display On to Single Posts.
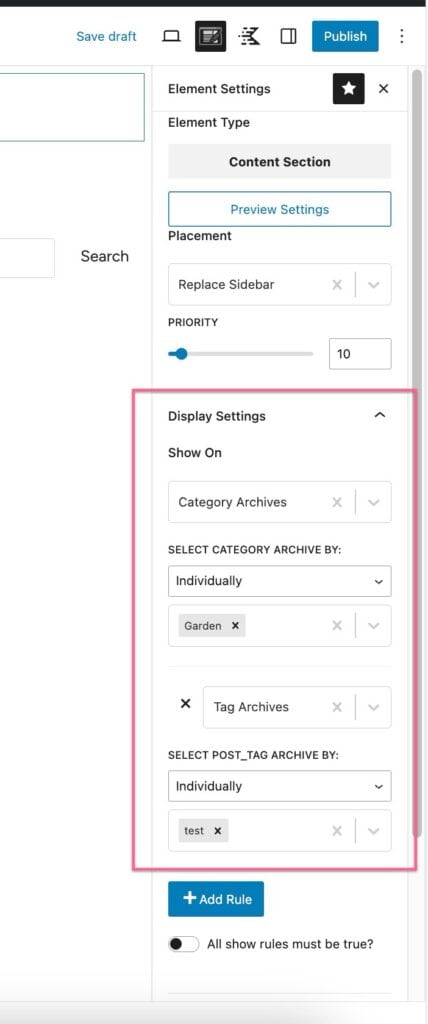
- Under Show On, select the specific taxonomy or category where the custom sidebar should appear.
For example, choose a particular Category or Tag if you only want the sidebar replaced for posts in those groups.
Publish
After you design your element, publish it to replace the sidebar contents of your posts.
