
The Kadence Form and Form (Adv) blocks both support integration with FluentCRM. This guide will show you how you can start using Kadence Forms with FluentCRM.
NOTE: FluentCRM integrations are available using Kadence Theme (FREE) and Kadence Blocks (also FREE).
FluentCRM Setup
FluentCRM is available in two versions: Free and Pro. Which one you use will depend on your needs and budget. For a comparison of the two, please see the FluentCRM Free vs. Pro Comparison.
Installing FluentCRM
Installing FluentCRM will vary depending on which version you are using. For the Free version, you can install it directly in WordPress by going to Plugins → Add Plugin. Search for FluentCRM and click Install then Activate.
For the Pro version, you’ll need to purchase a license on the FluentCRM website. You can then download the FluentCRM Pro plugin as a ZIP file. Next, go to Plugins → Add Plugin and select Upload Plugin. Locate and install the downloaded ZIP file and then Activate the plugin.
After activation, you should now see a FluentCRM menu item in your WordPress menu. Clicking that will launch the Setup Wizard that will walk you through setting up your list and tags as well as some additional setup tasks.
For additional assistance installing and configuring FluentCRM, please check the FluentCRM documentation.
Using FluentCRM with the Kadence Form Block
Using FluentCRM with the Kadence Form Block is easy.
Get started by adding a Form Block to a new or existing page.
Then, navigate to the Block Settings → General tab and expand the Actions After Submit tab.
Click on the checkbox next to FluentCRM.

Once FluentCRM is enabled, there will be a new tab in the Form block settings titled FluentCRM Settings. Expand this tab to configure your FluentCRM integration.
Select List – During the FluentCRM setup, you should have created one or more Lists. Select your desired List.
Select Tags – Optionally, assign one or more tags to your submissions.
Map Fields – Each form field needs to be mapped to a corresponding FluentCRM field.
Optionally require Double Opt In.

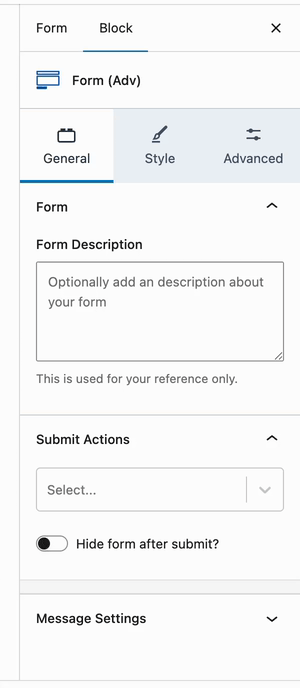
Using FluentCRM with the Kadence Form (Adv) Block
Get started by adding a Form (Adv) Block to a new or existing page.
Then, navigate to the Block Settings → General tab and expand the Actions After Submit tab.
Click on the dropdown toggle and select FluentCRM from the list of selectable options.
Once FluentCRM is enabled, there will be a new tab in the Form block settings named FluentCRM Settings. Expand this tab to configure your FluentCRM integration.
Select List – During the FluentCRM setup, you should have created one or more Lists. Select your desired List.
Select Tags – Optionally, assign one or more tags to your submissions.
Map Fields – Each form field should be mapped to a corresponding FluentCRM field.
Optionally require Double Opt In.
FluentCRM Dashboard
Once users have subscribed to a Form, you can control the rest of the process through the FluentCRM Dashboard. Navigate to FluentCRM → Dashboard to access FluentCRM.

That’s all you need to get started using Kadence Forms with FluentCRM.
