
This guide provides detailed instructions for creating an Advanced Navigation Menu using the Advanced Navigation Block. The steps cover adding navigation links, creating sub menus, and setting up mega menus, along with customization tips. By following this guide, a fully customized and functional advanced menu can be developed for a website.
Creating a New Navigation
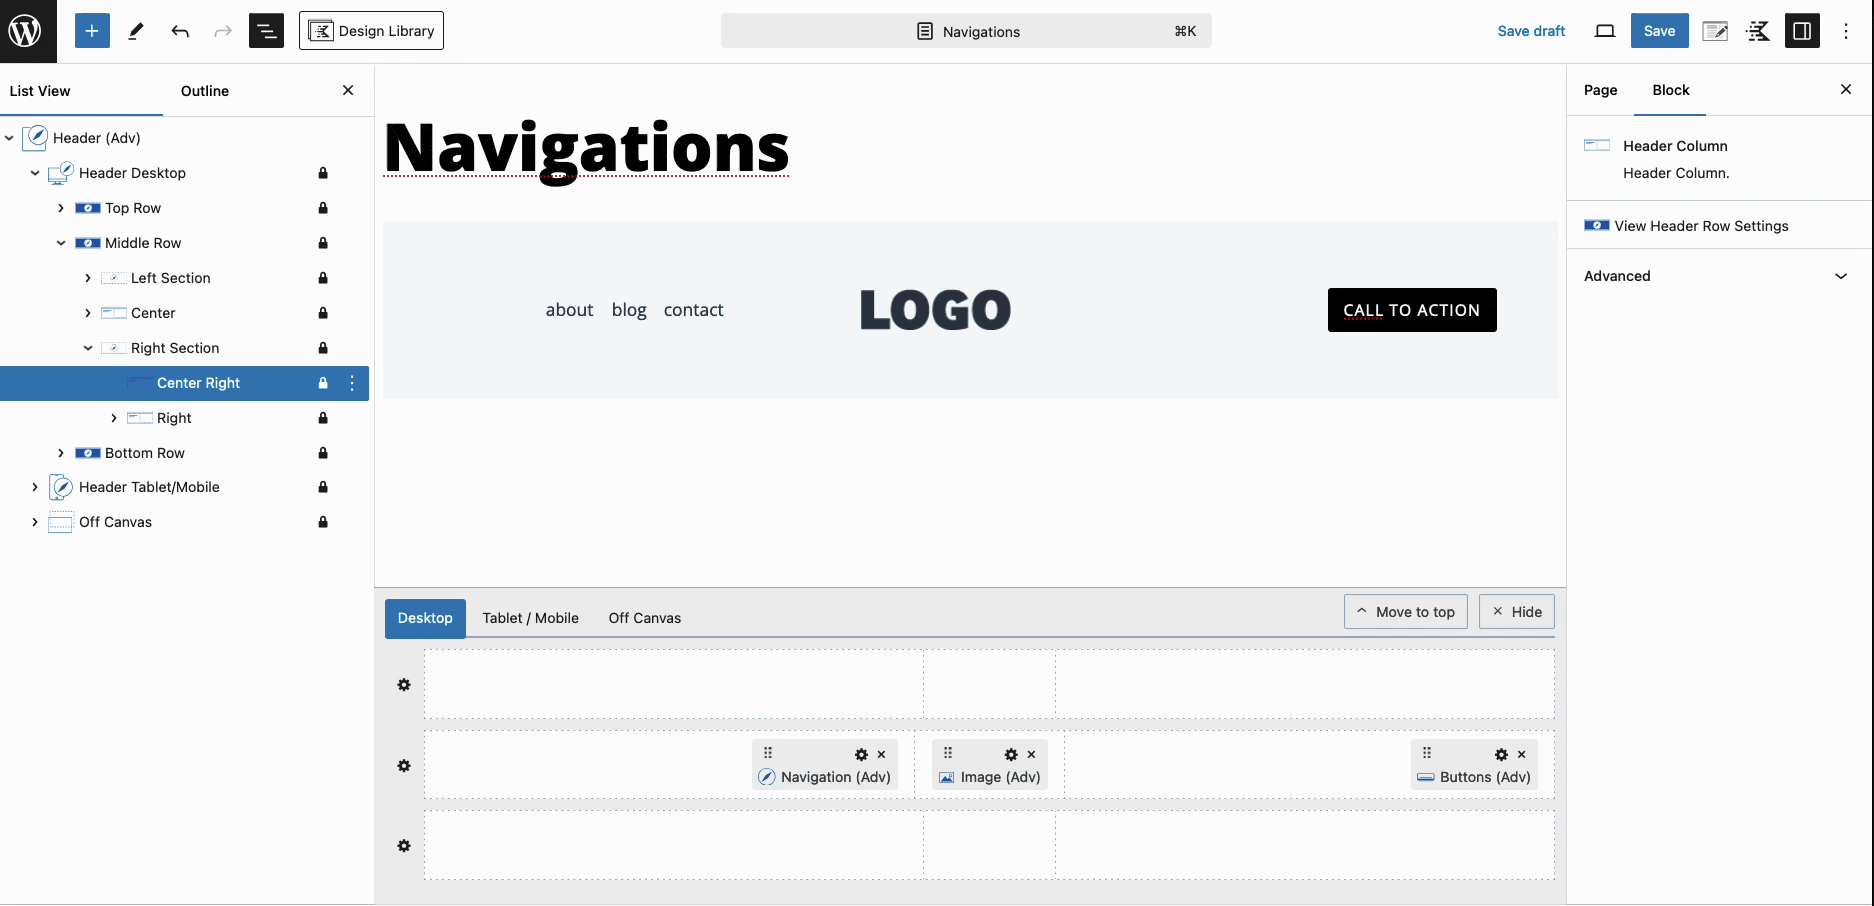
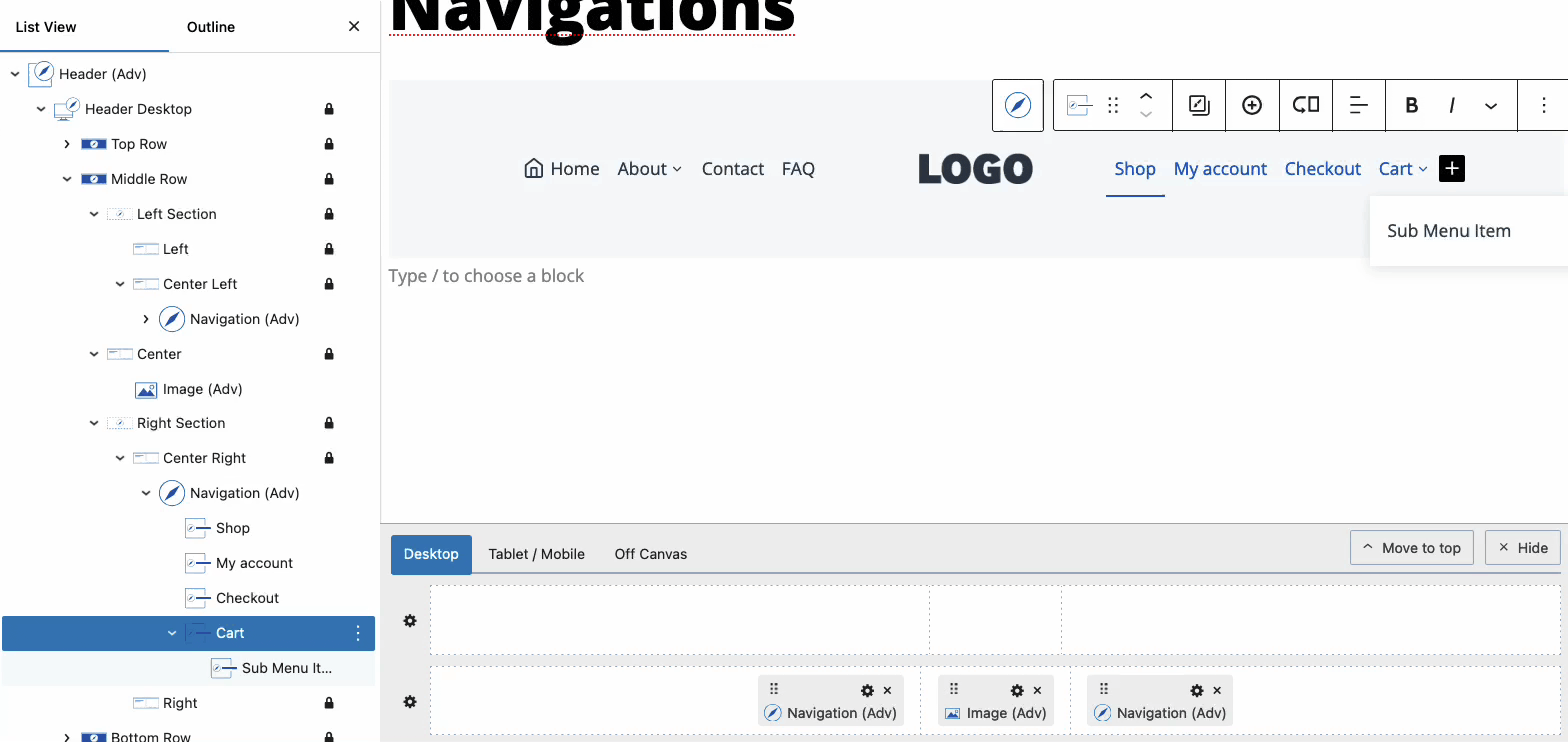
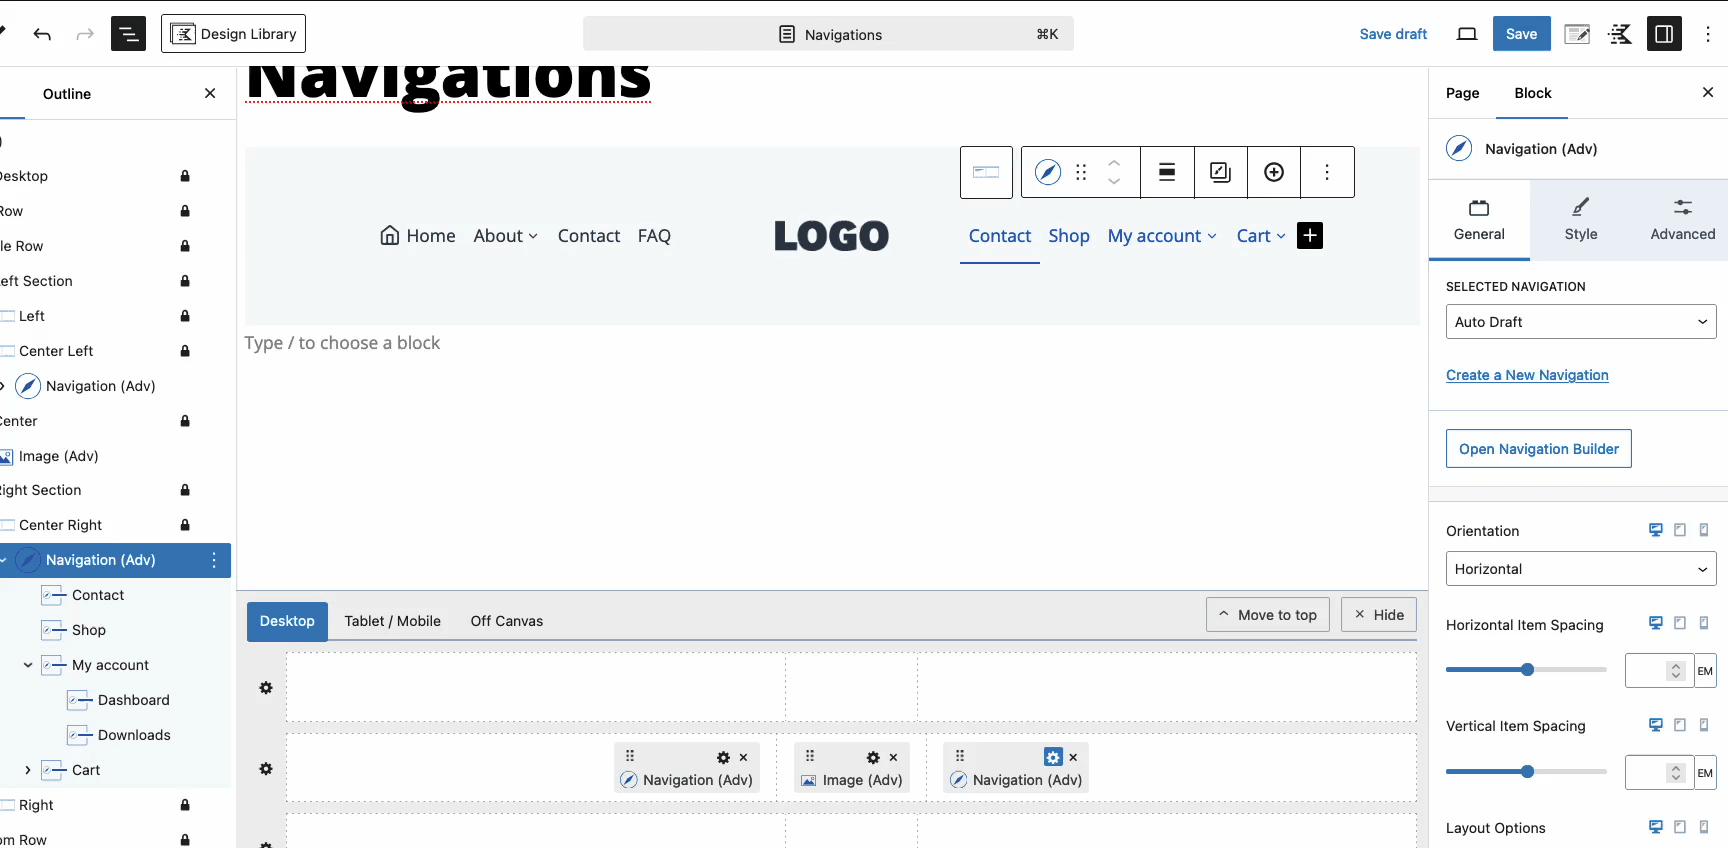
The first step in building your advanced menu is to create a new Navigation. This is achieved using the Navigation (Adv) Block. Begin by adding the Navigation (Adv) Block to your Advanced Header Block. This will serve as the foundation for your menu, where you’ll add and customize navigation links, sub menus, and mega menus. If using a Header Template, click on a Navigation Menu to select or create a new Advanced Navigation
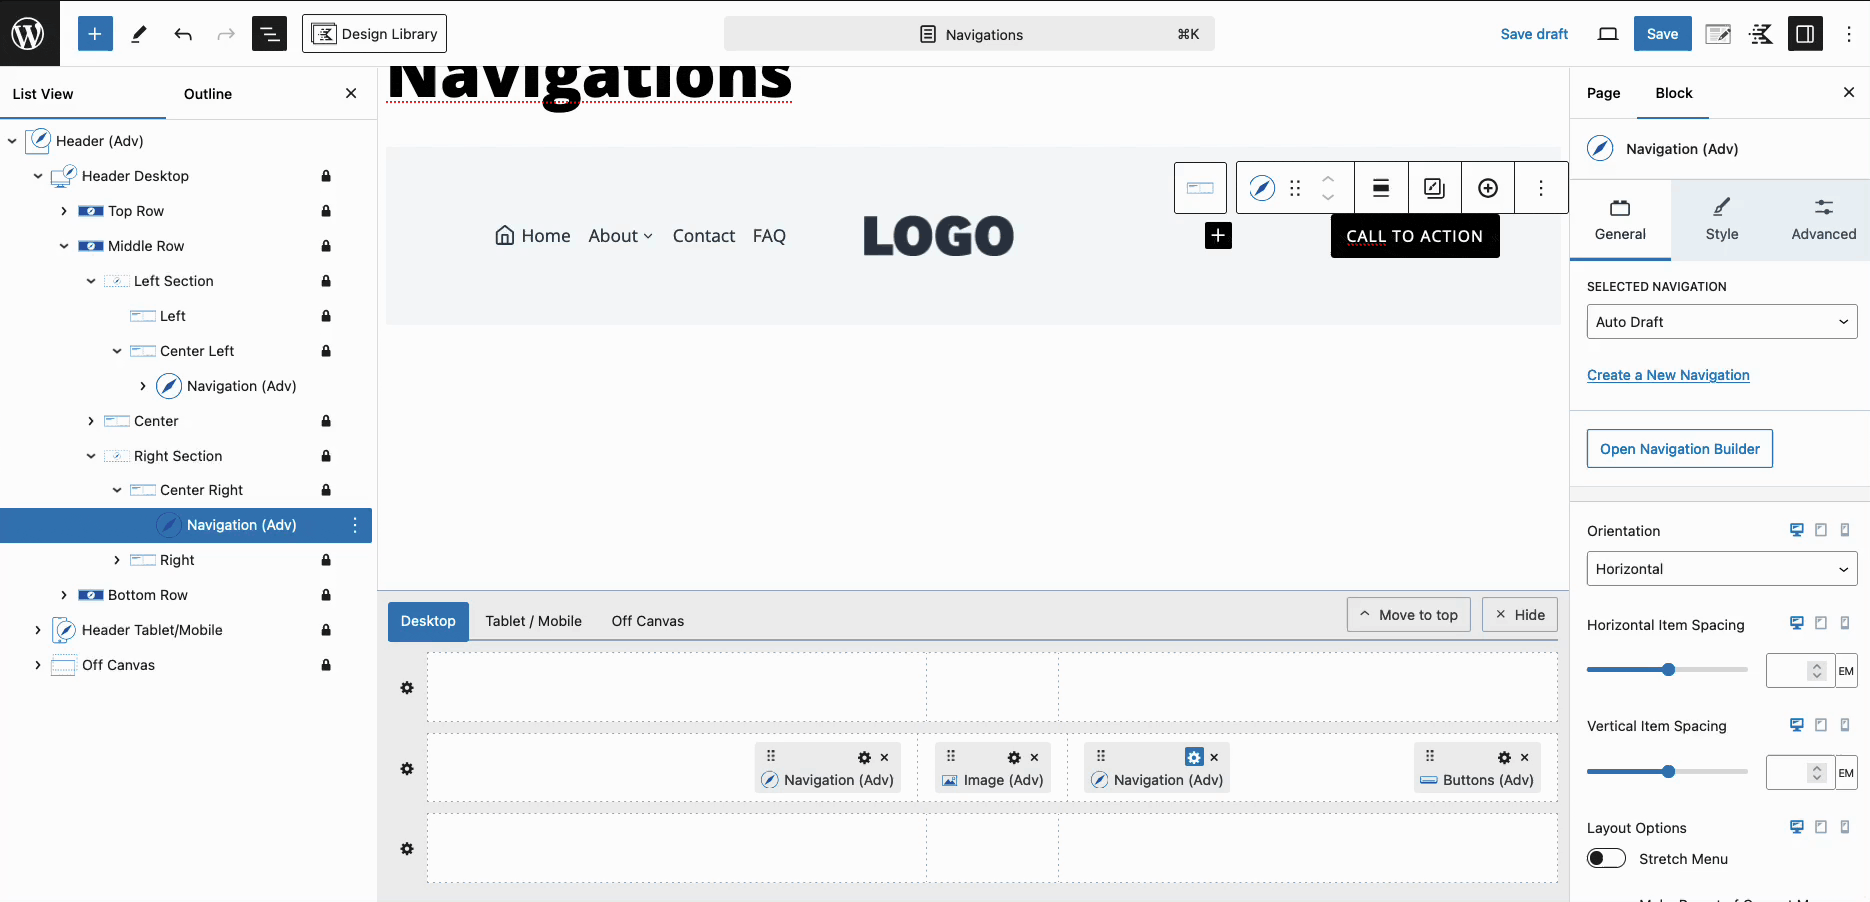
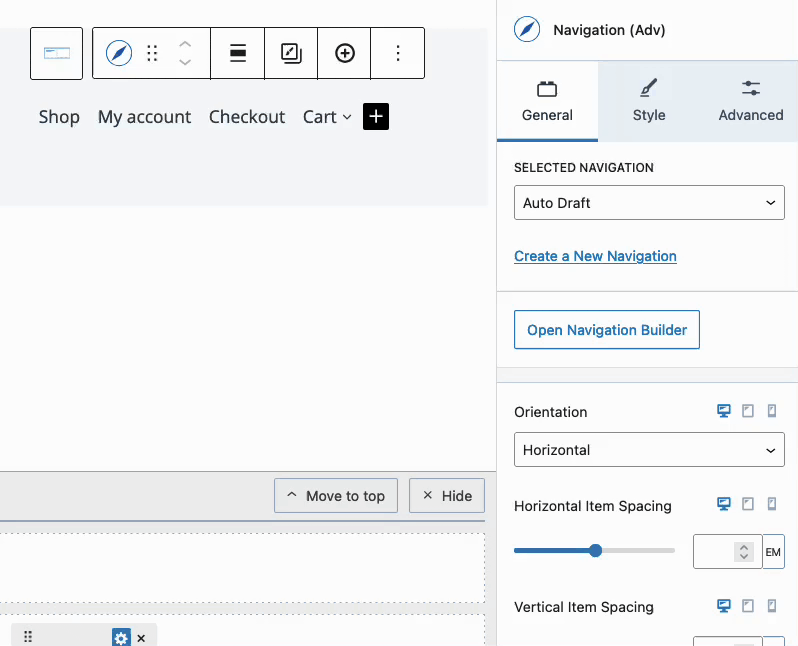
If an Existing Navigation is available, it will appear in the dropdown list. Select the desired navigation to use it. Note that editing an existing Navigation will apply changes universally to all instances where that navigation is being used. If no existing navigation is available, click the Create New button to open the Navigation Builder and begin building your Navigation.
The Navigation Builder and Adding Links
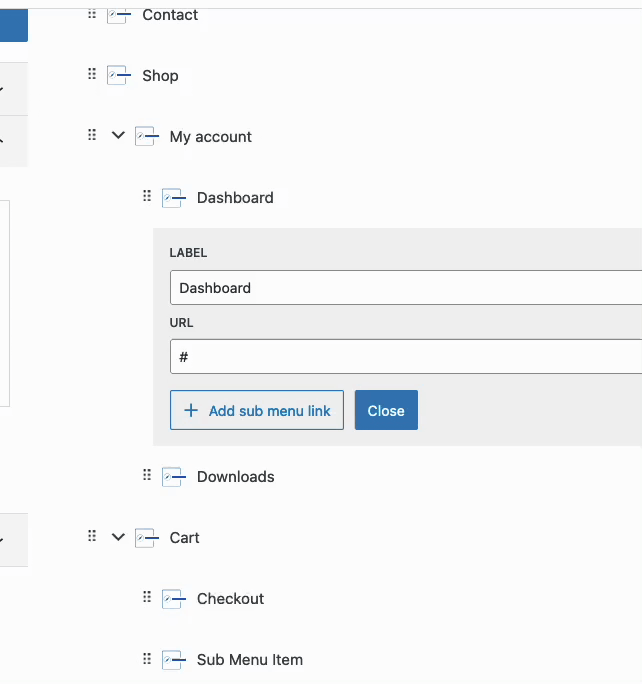
Use the Navigation Builder to create your initial navigation. This builder operates similarly to the Classic Navigation Builder in WordPress, allowing you to add custom links or directly include navigation items from the Posts, Pages, and Products tabs. When a new navigation is created, the Navigation Builder will open automatically. To access the Navigation Builder later, select the Navigation (Adv) Block and click the Open Navigation Builder button in the General Block Settings.
From the Navigation Builder, add Pages, Posts, and other Post Types, such as Products, directly to the navigation. This process will automatically inherit the current Title and URL of the selected item. To rearrange the navigation items, simply drag and drop them into your preferred order.

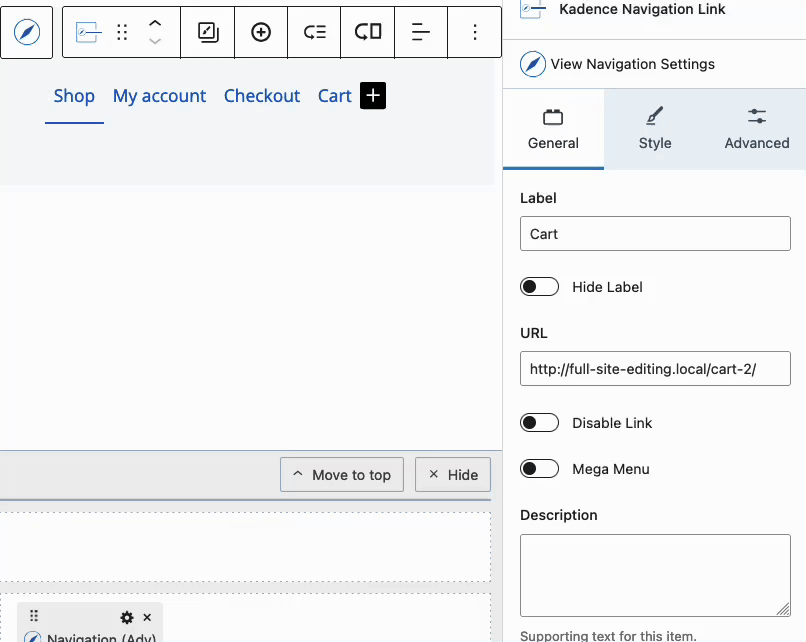
Click on Navigation Items to expand them for manual editing of the Title and/or URL. Additionally, use the Custom Link button to add a custom link manually.
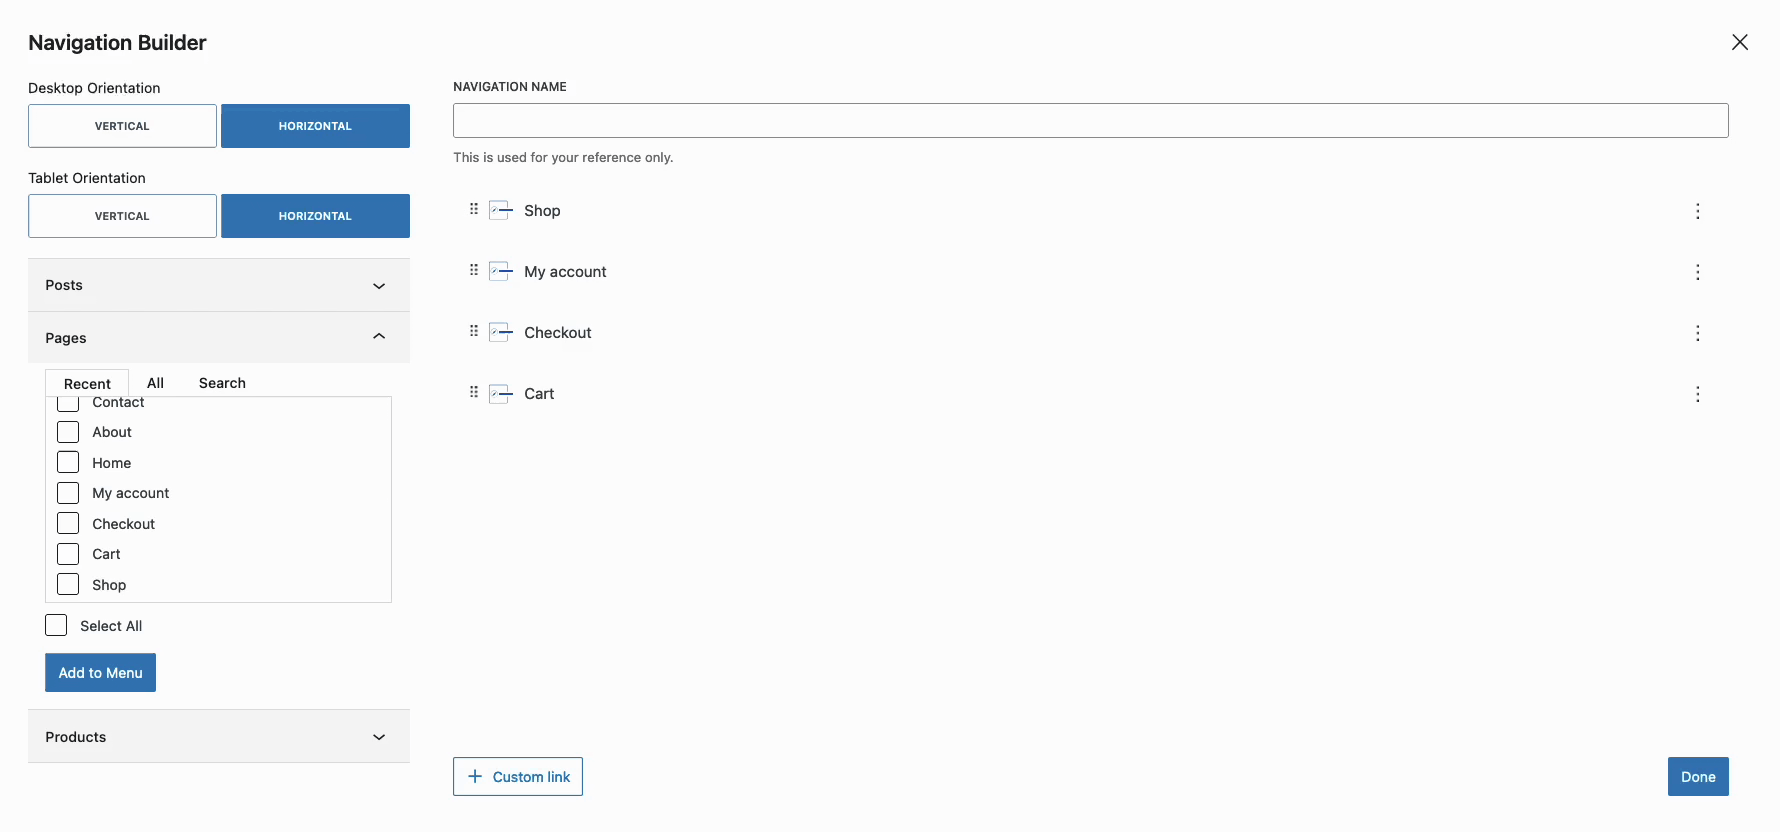
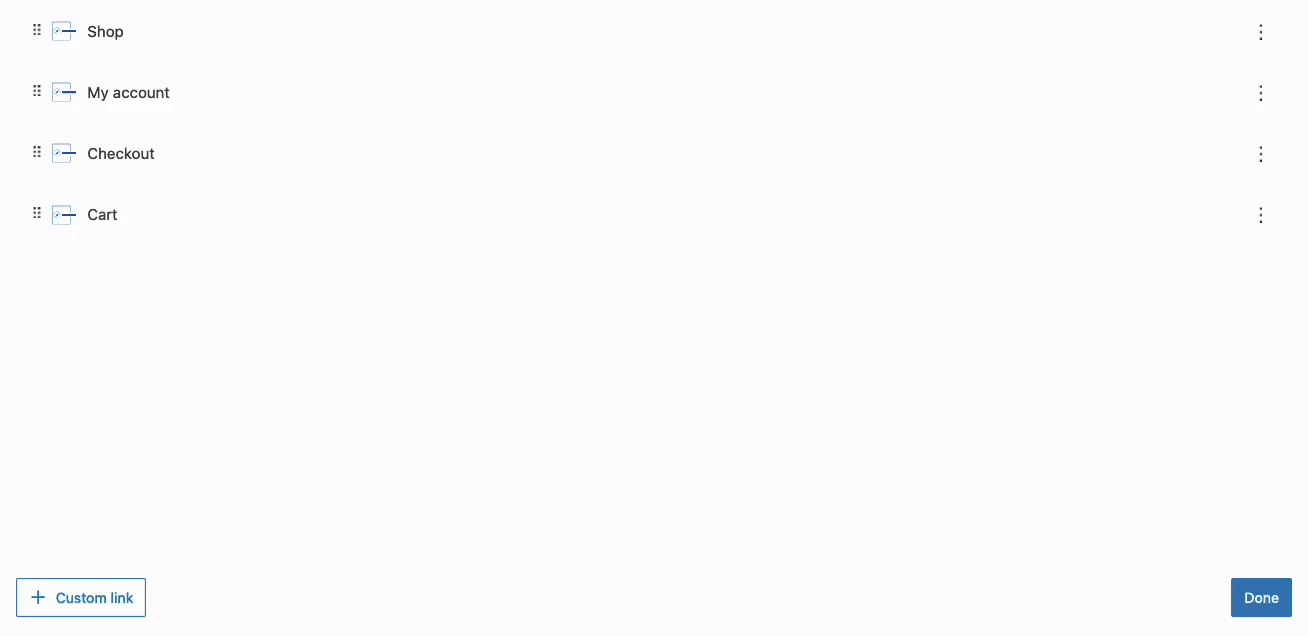
Click the Done button in the bottom right corner when finished. Each navigation item created in the navigation will be added as navigation link blocks nested within the main Advanced Navigation block.
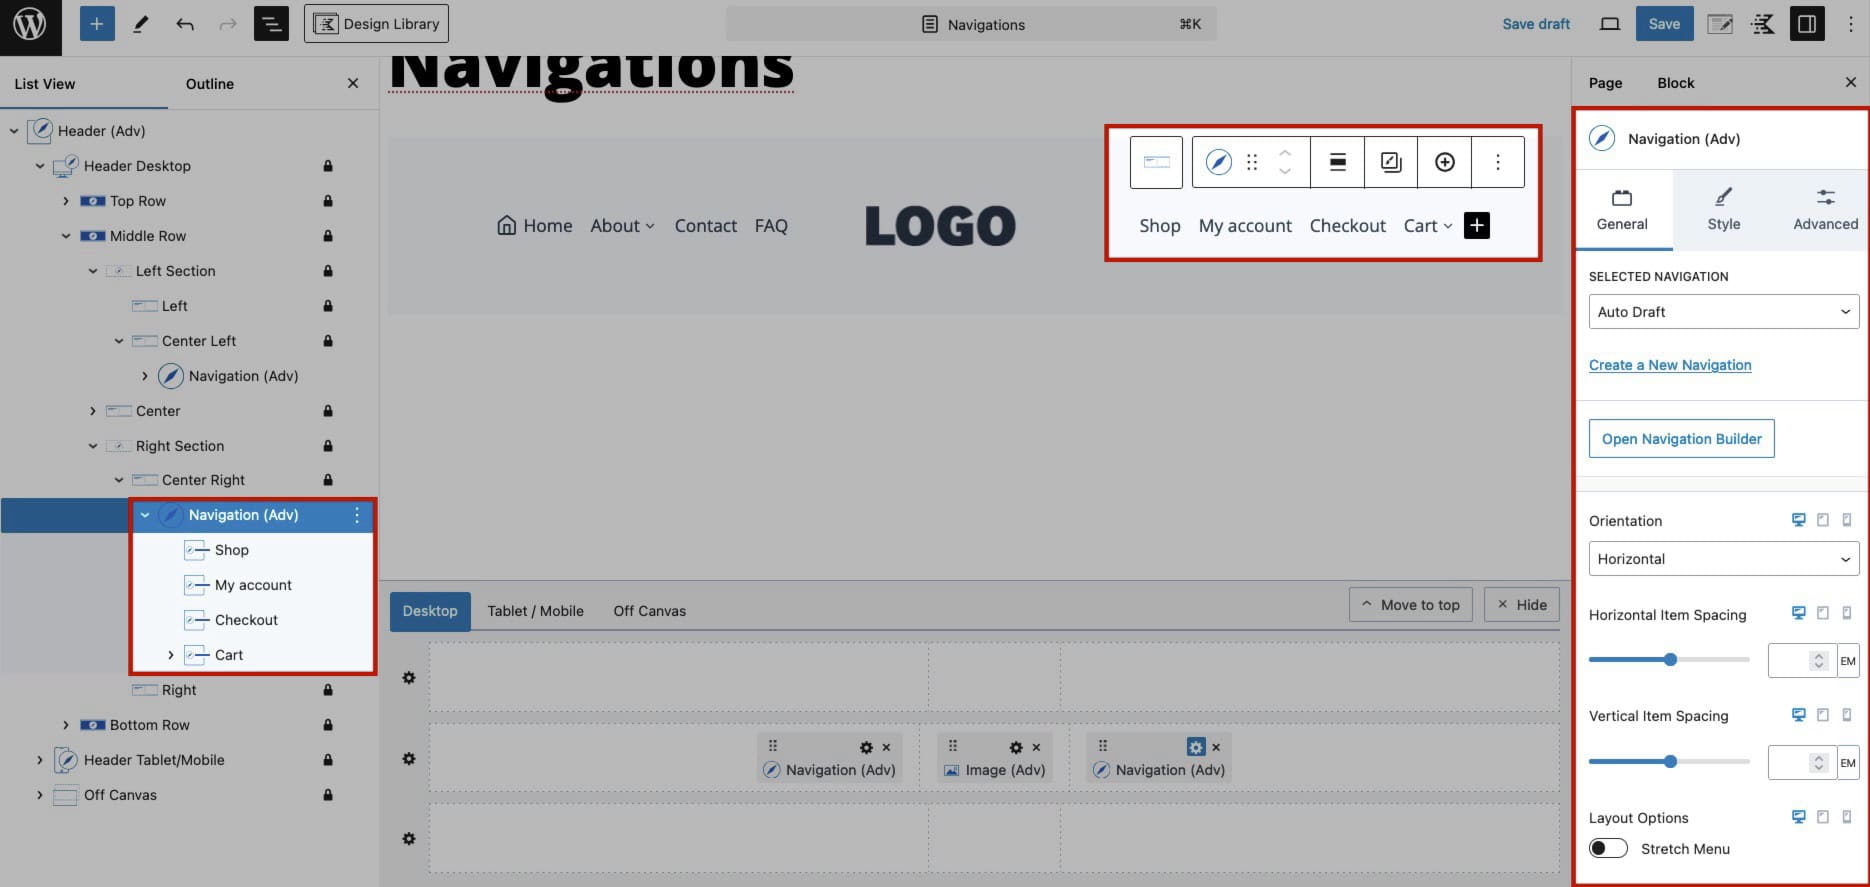
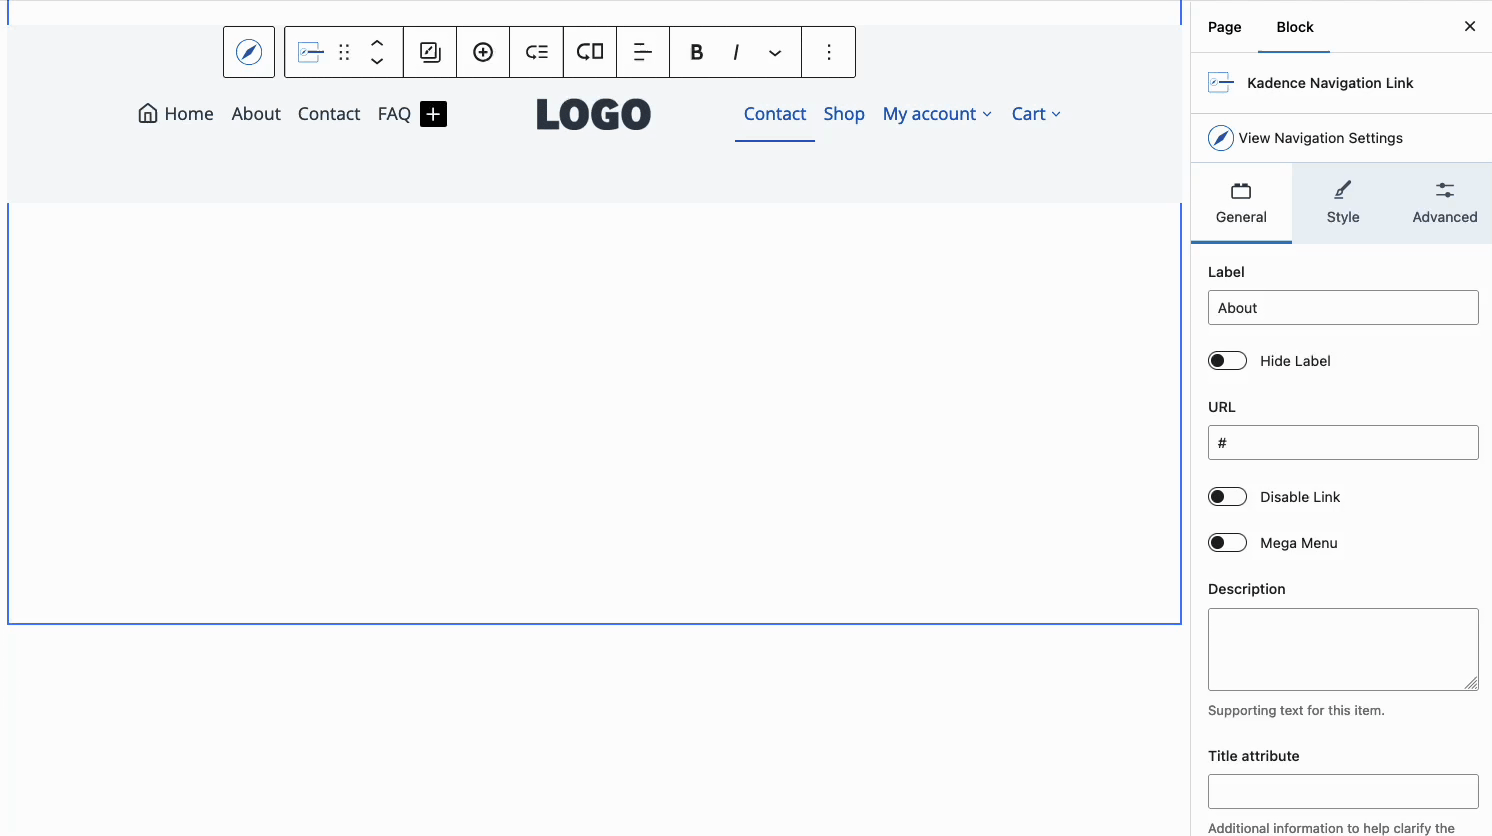
Additional navigation links can be added both inside and outside of the Navigation Builder. When selecting an Advanced Navigation, click the Plus Icon in the Block Toolbar to manually add a navigation link. Then, use the General Block Settings to set a Title and URL for the link.
This navigation link will apply to the overall navigation, including within the Navigation Builder.
Customizing Navigation Links
Once the navigation is set up, the next step is to customize the Navigation Links. This can be accomplished through the Navigation (Adv) Block Settings. Styles applied to the main Advanced Navigation Block will be universally applied to all Navigation Links contained within it. Learn about the available Advanced Navigation Block Settings by clicking here.
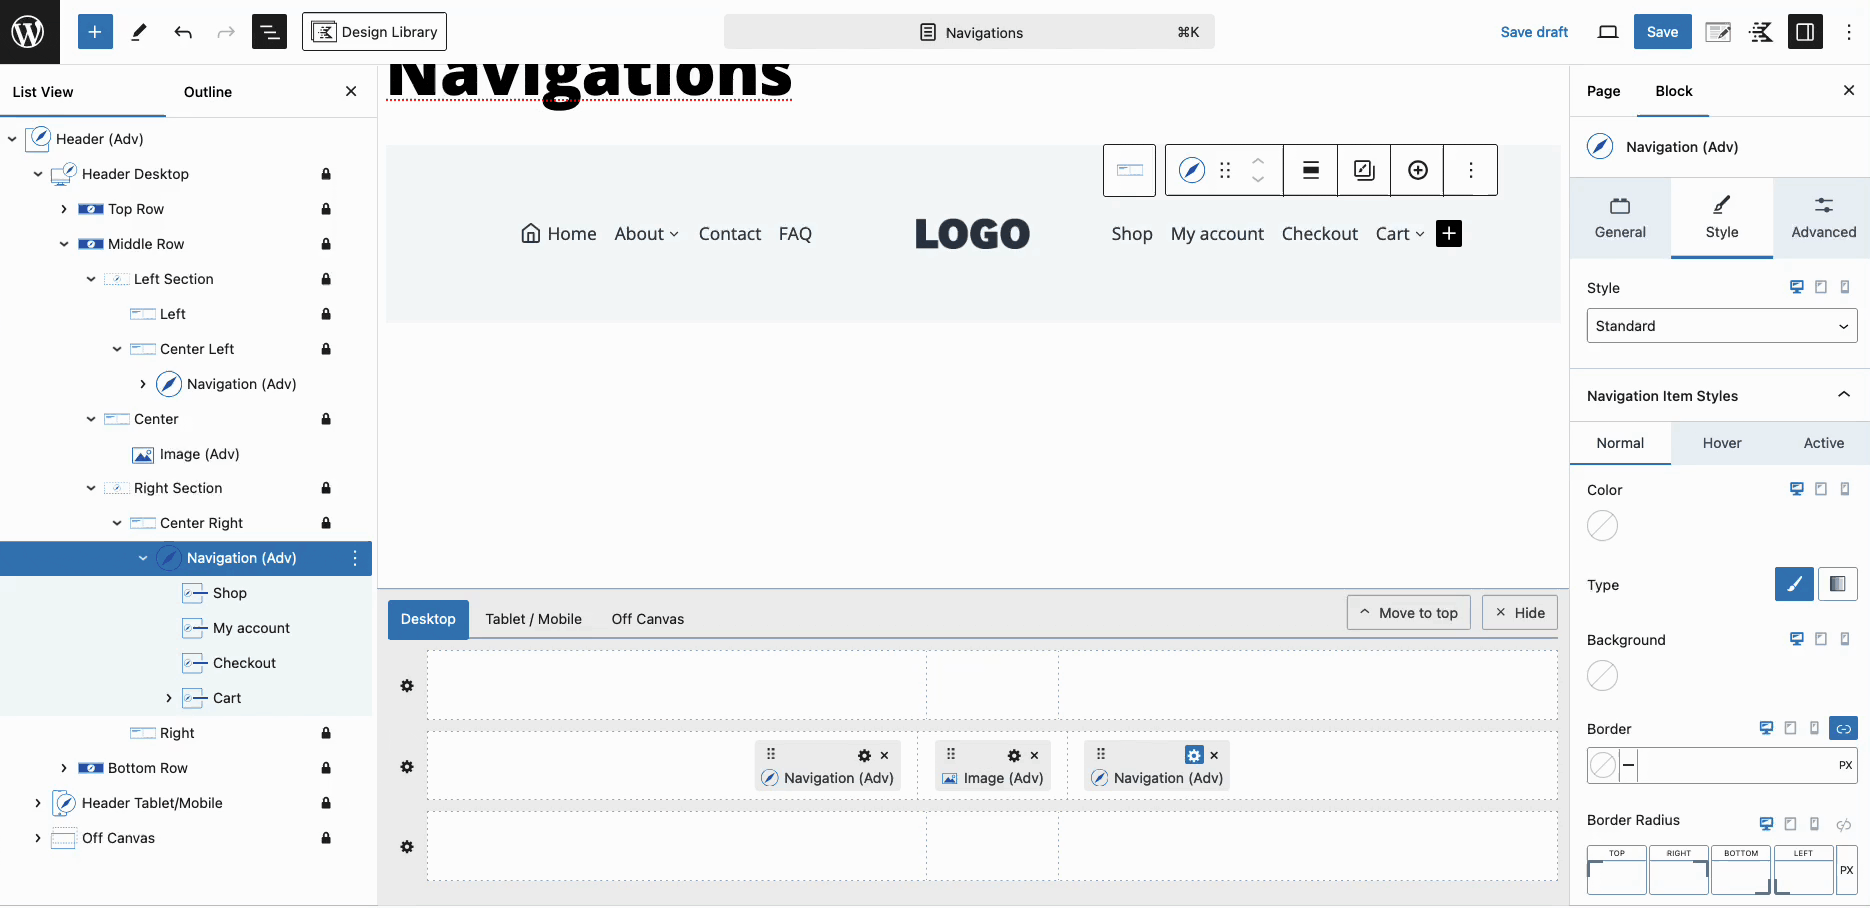
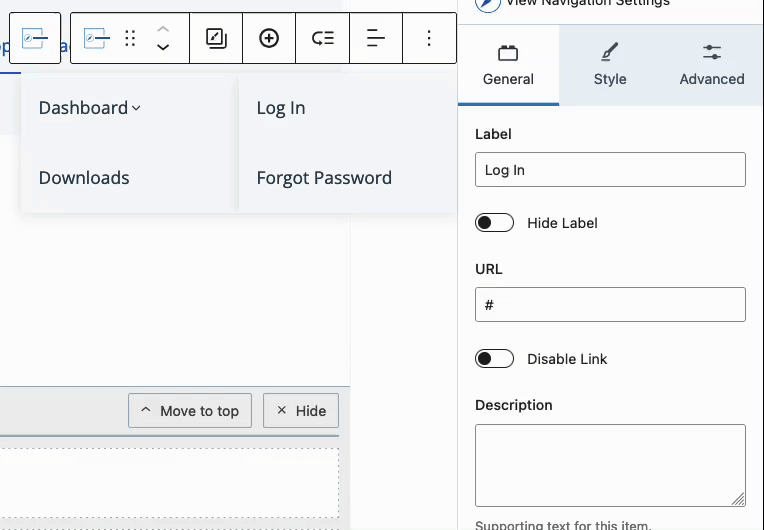
Additionally, Navigation Links can be customized individually, providing complete control over each link. Changes made in the Navigation Link Block Settings will override the styles applied in the Advanced Navigation Block Settings. For a detailed overview of the available Navigation Link Block Settings, click here.
Creating Sub Menus
To further organize your navigation, you can create a Sub Menu, which allows you to group related items under a single parent link, generating a dropdown effect when the parent link is hovered over or clicked. This can be accomplished using the Visual Builder; for instructions on adding a Sub Menu using the Visual Builder, refer to the section above.
To create a Sub Menu outside of the Visual Builder, select the Navigation Link Block that will serve as the parent item. Then, use the Block Toolbar to add a Sub Menu by clicking the icon resembling an arrow pointing toward three horizontal lines, similar to the shape of an off-canvas trigger.
Moreover, the List View can be used to drag Navigation Link Blocks and nest them to create new Sub Menus or add to existing ones.
Sub Menu Styles
Customize Sub Menus using the Sub Menu Styles. For consistent styling across all Sub Menus in an Advanced Navigation, use the Advanced Navigation Sub Menu Styles found in the Advanced Navigation Style Block Settings.
Individual Sub Menus can also be designed by adjusting the Parent Navigation Link Sub Menu Styles located in the Navigation Link Sub Menu Style Block Settings.
Creating Hierarchical Menus
For more complex structures, create Hierarchical Menus by nesting Sub Menus within other Sub Menus. This establishes a multi-level navigation system where child items are nested under parent items, enhancing usability for websites with multiple categories or sections. Users can navigate through different levels of content seamlessly.
To create a Hierarchical Menu, simply add another level of Sub Menu Items to an existing Sub Menu Item. This can be accomplished using either the Visual Builder or the Block Toolbar, as previously mentioned. Once the initial Dropdown Menu appears, hovering over a Sub Menu Item with an additional Sub Menu will display those nested items.
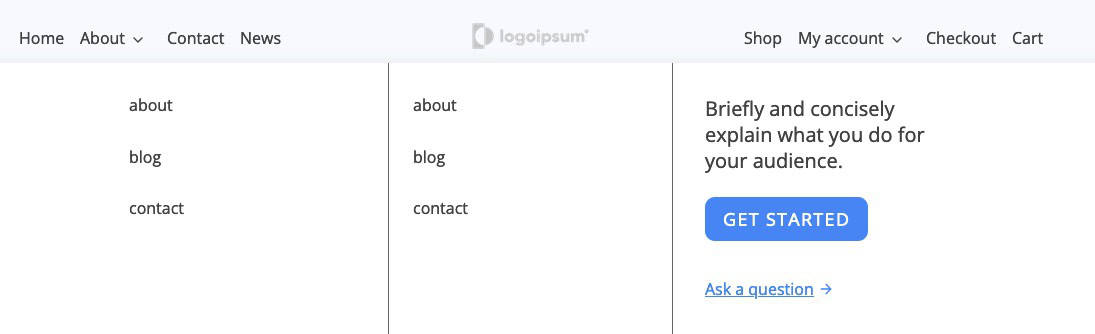
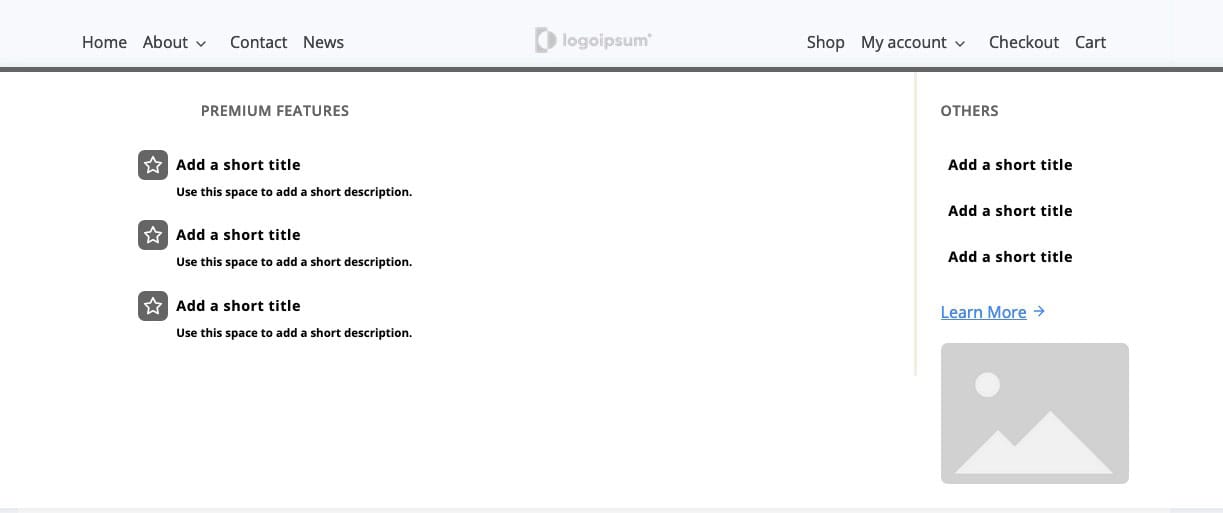
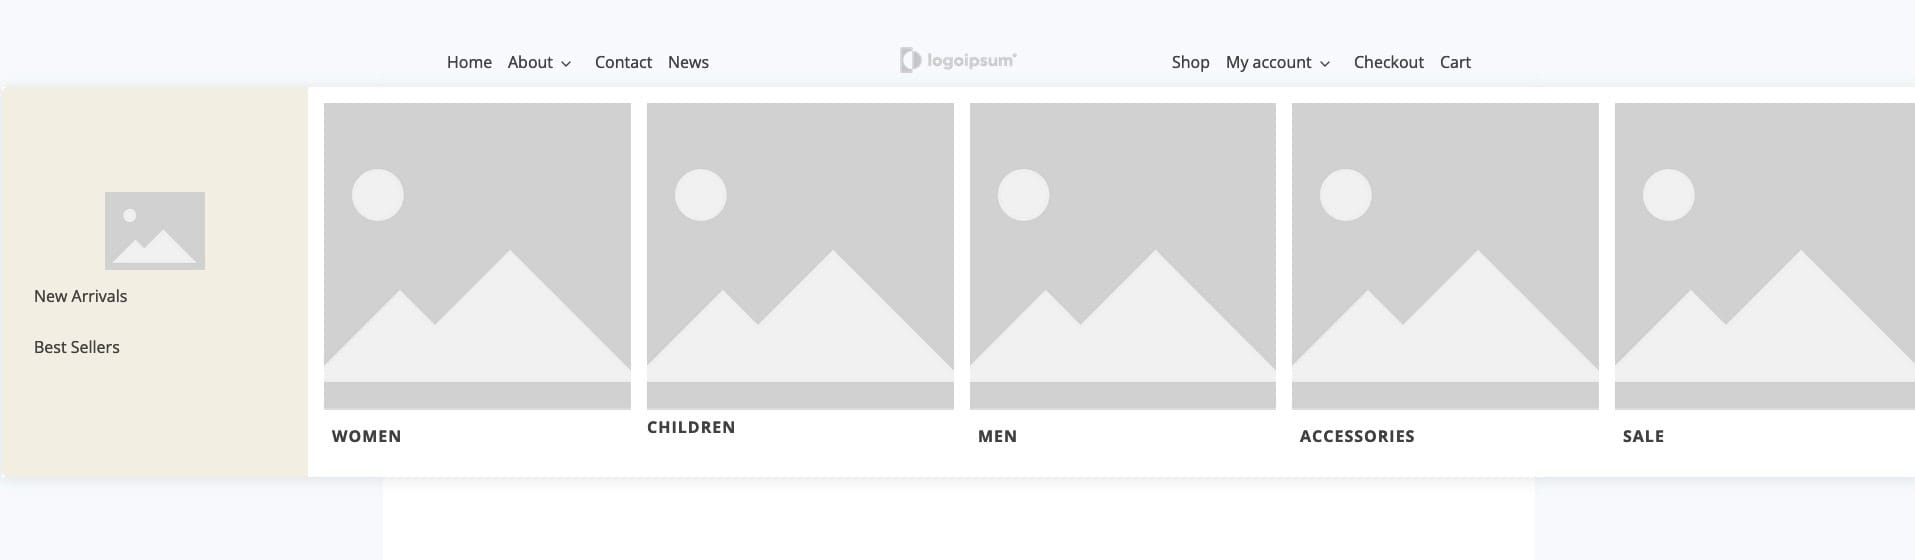
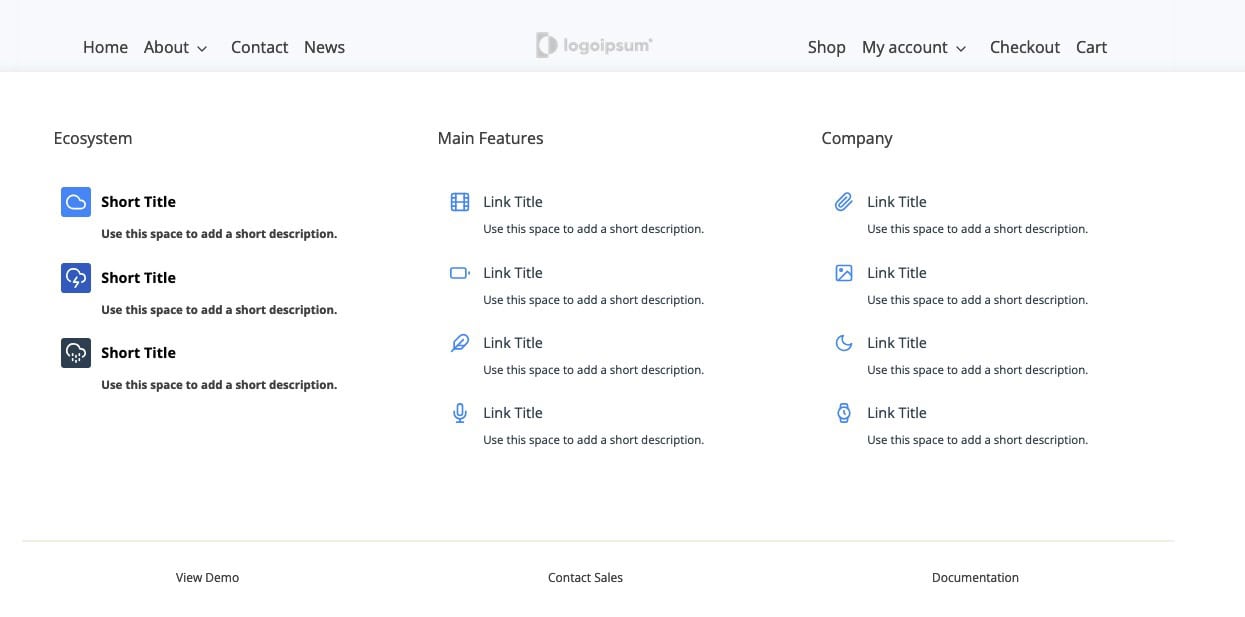
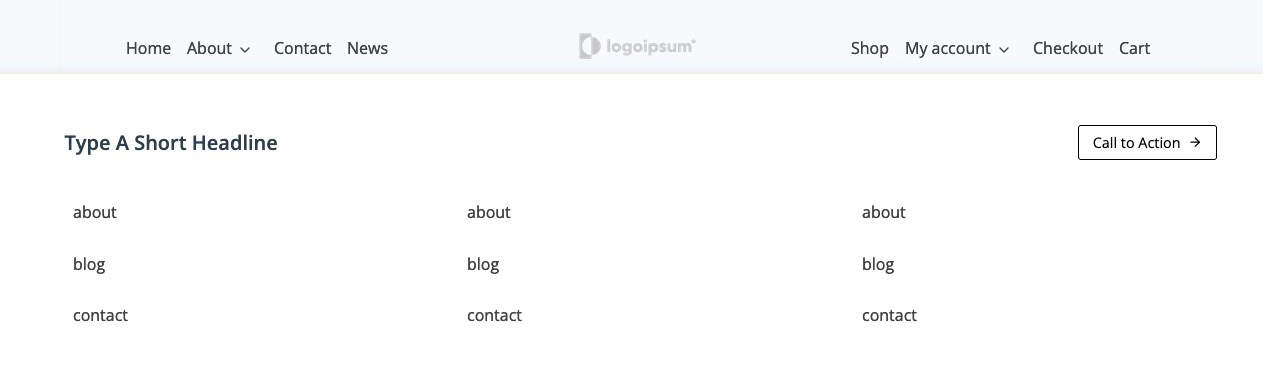
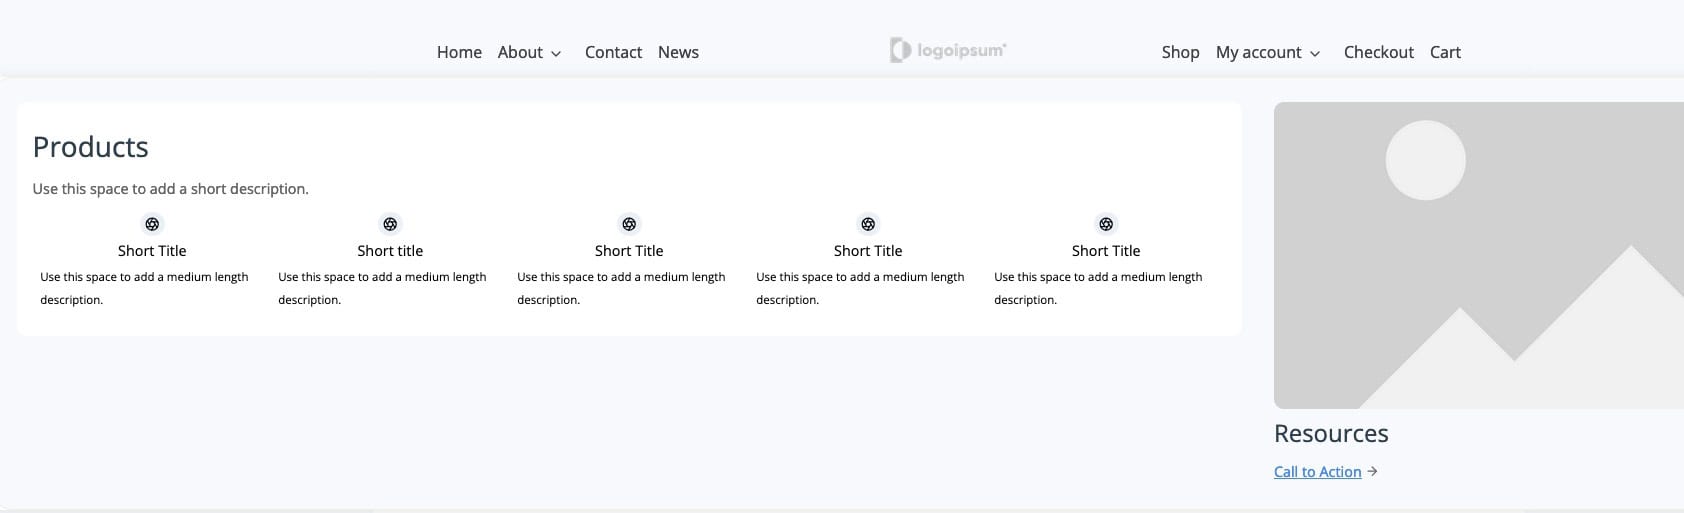
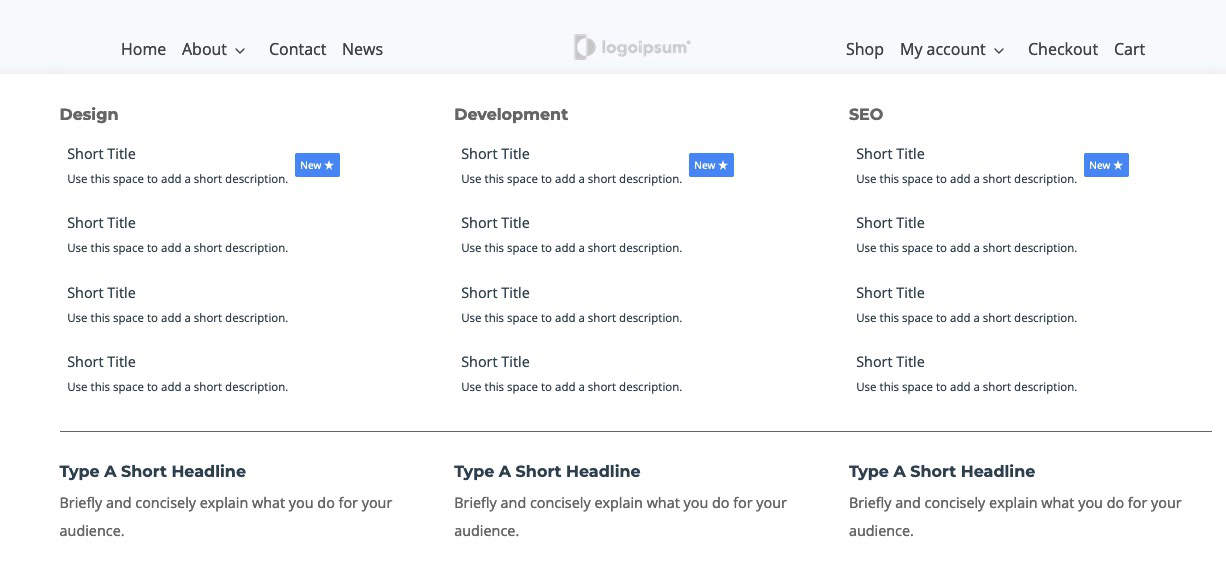
Creating Mega Menus (Pro)
Mega Menus are another powerful feature for Advanced Navigations. These are large, multi-column dropdowns that can contain various types of content, such as images, icons, and even additional Navigation Links.
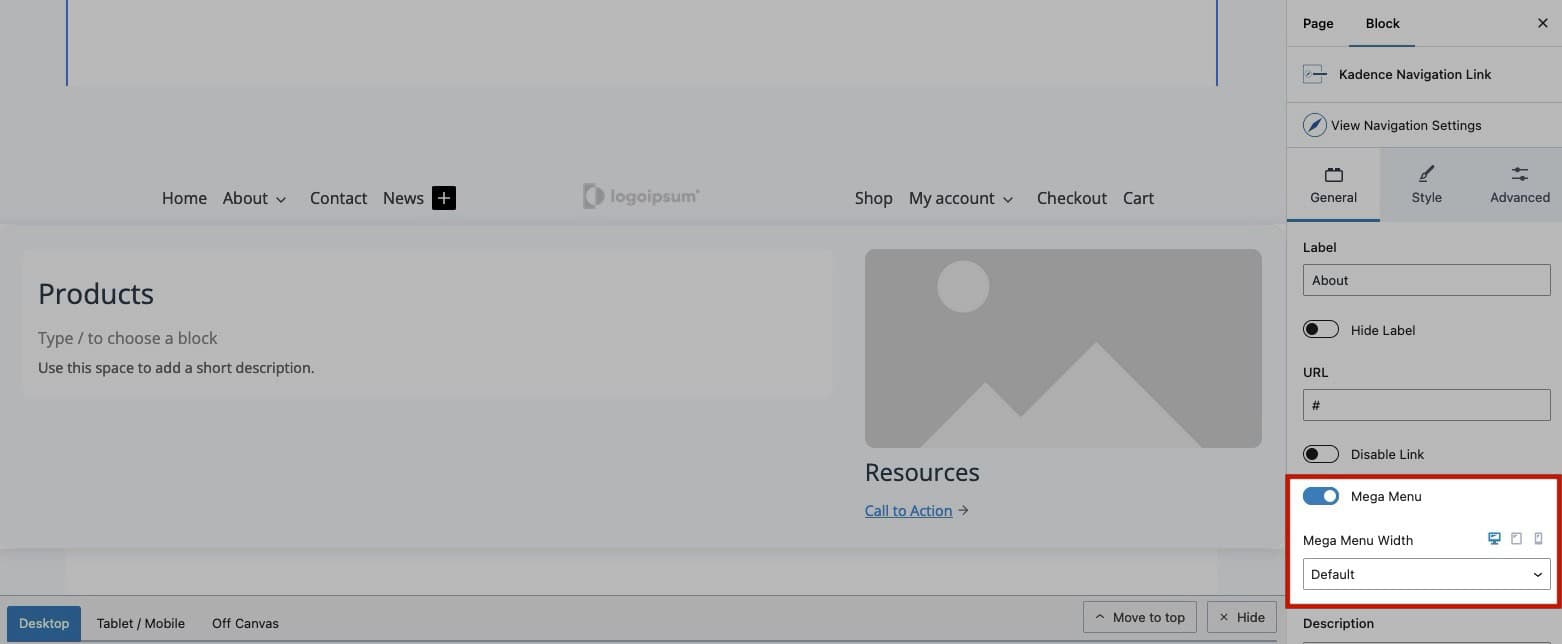
To create a Mega Menu, select a Navigation Link and enable the Mega Menu setting in the Block Settings. You can then choose a pre-made layout or start from scratch, adding and styling content as needed.
Mega Menus can also be created through the Block Toolbar. To do this, select a Parent Navigation Link Block and click on the icon of an arrow pointing to a rectangle.
Use the Navigation Link Block Settings of the Mega Menu Link to adjust the Width of the Mega Menu. Learn more about Mega Menu Widths by clicking here.
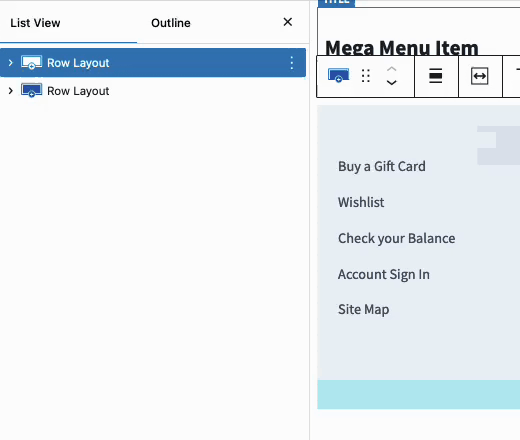
Pre styled Mega Menus will come with Blocks and Navigations already added and ready to be modified and used. Customize Advanced Navigation and Navigation Link Blocks to take complete control over your Navigation Styles.
Add Blocks, such as Row Layout Blocks and other blocks to further customize the Mega Menu Contents.
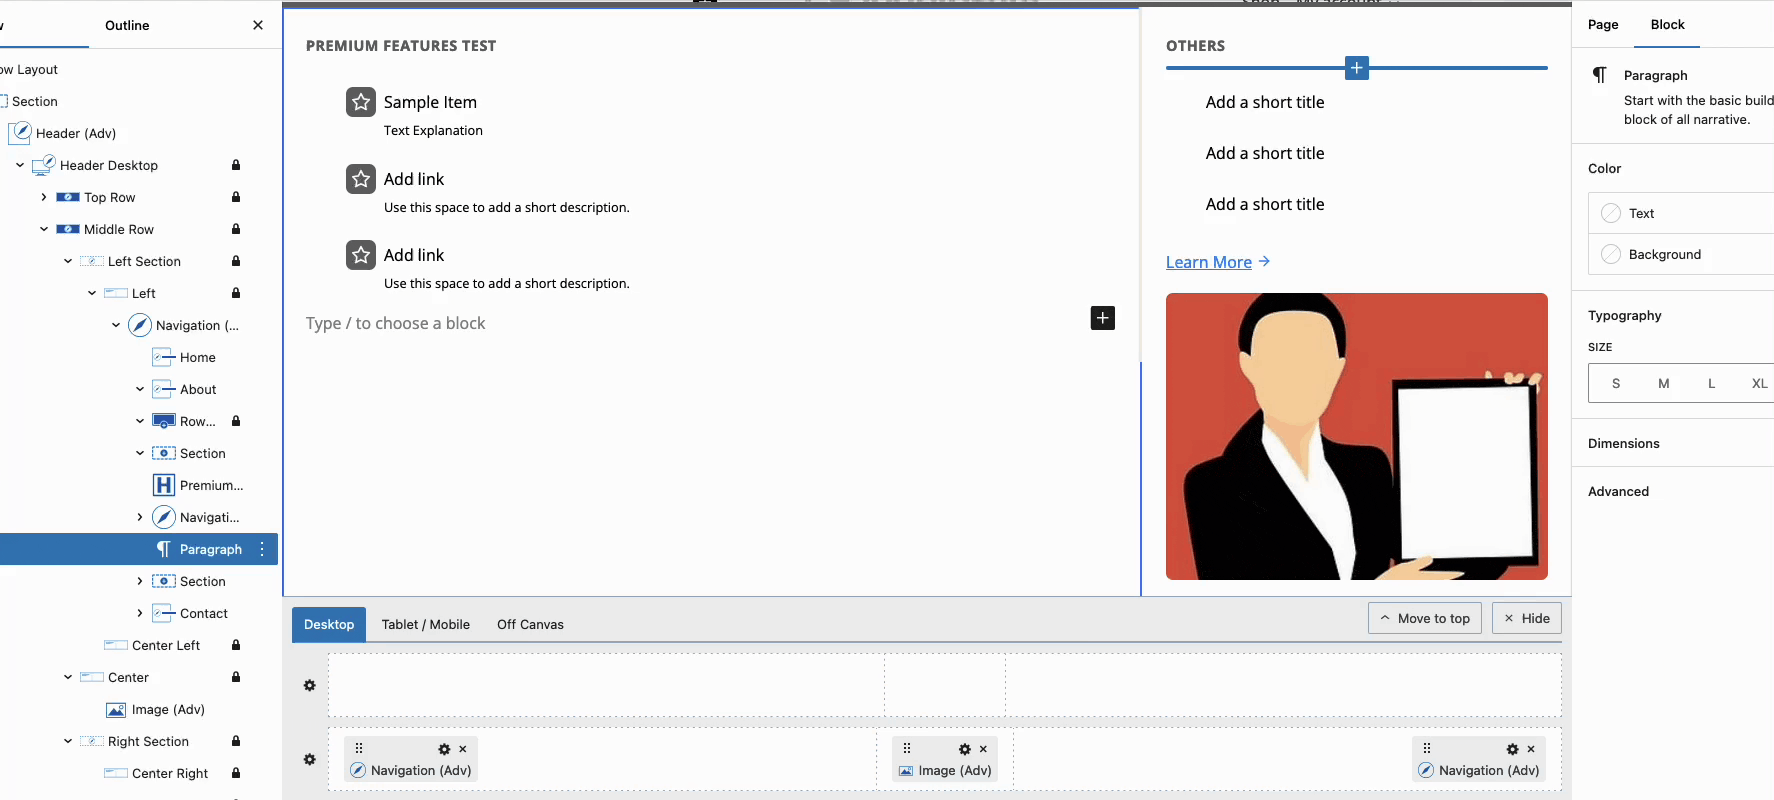
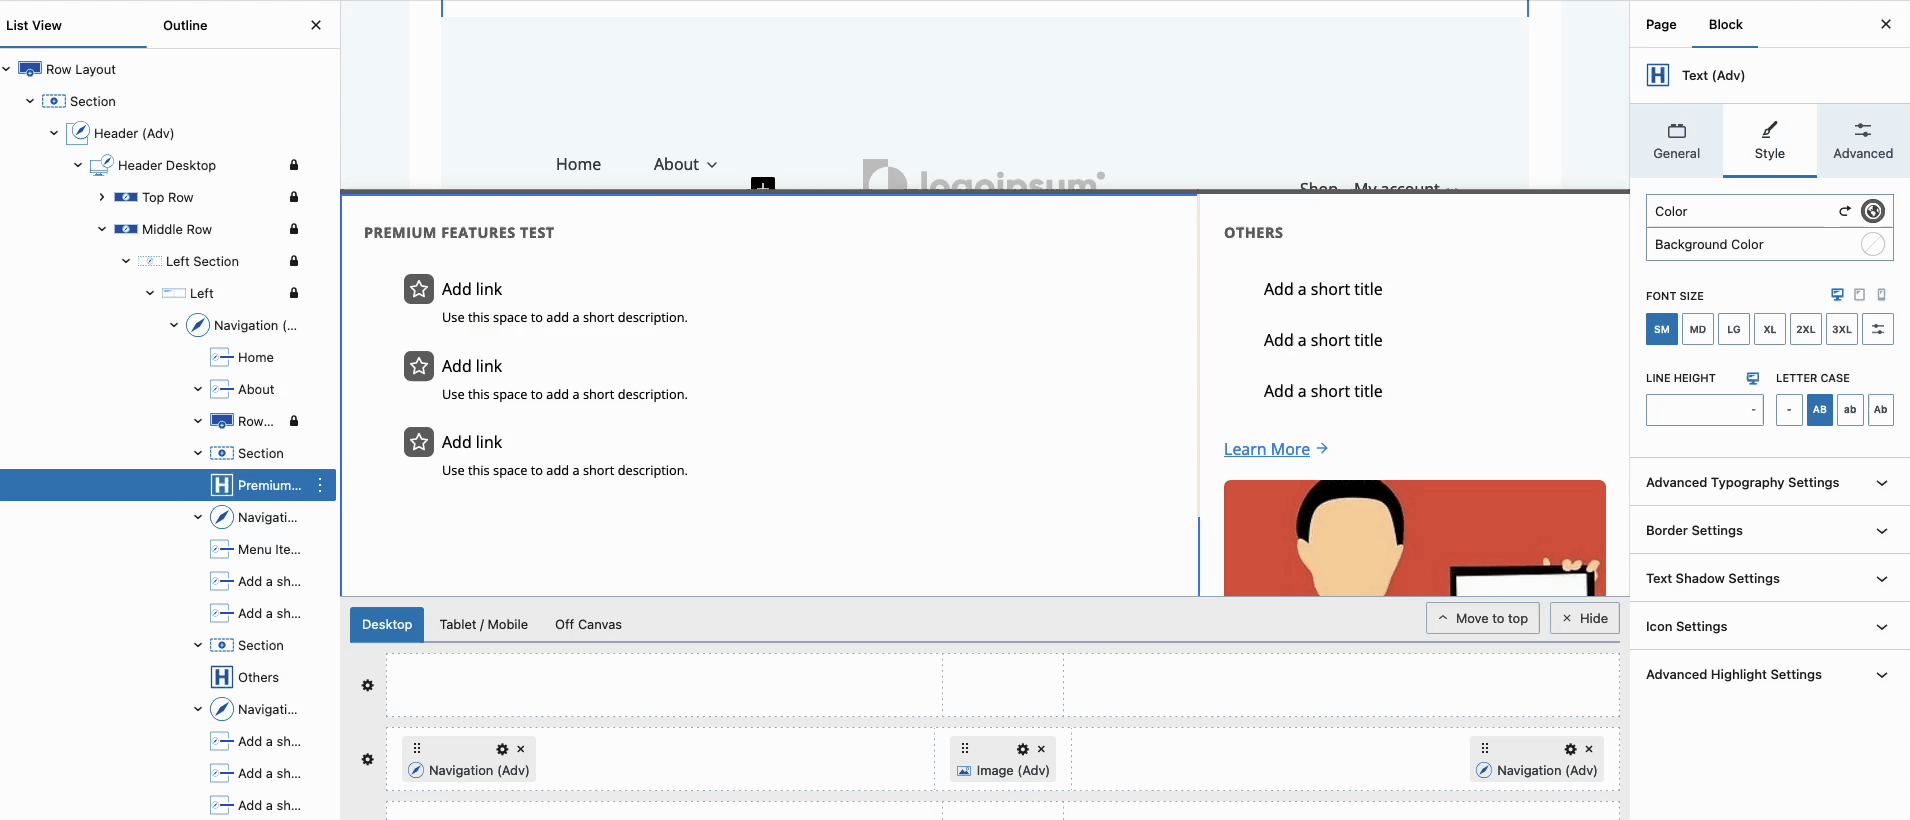
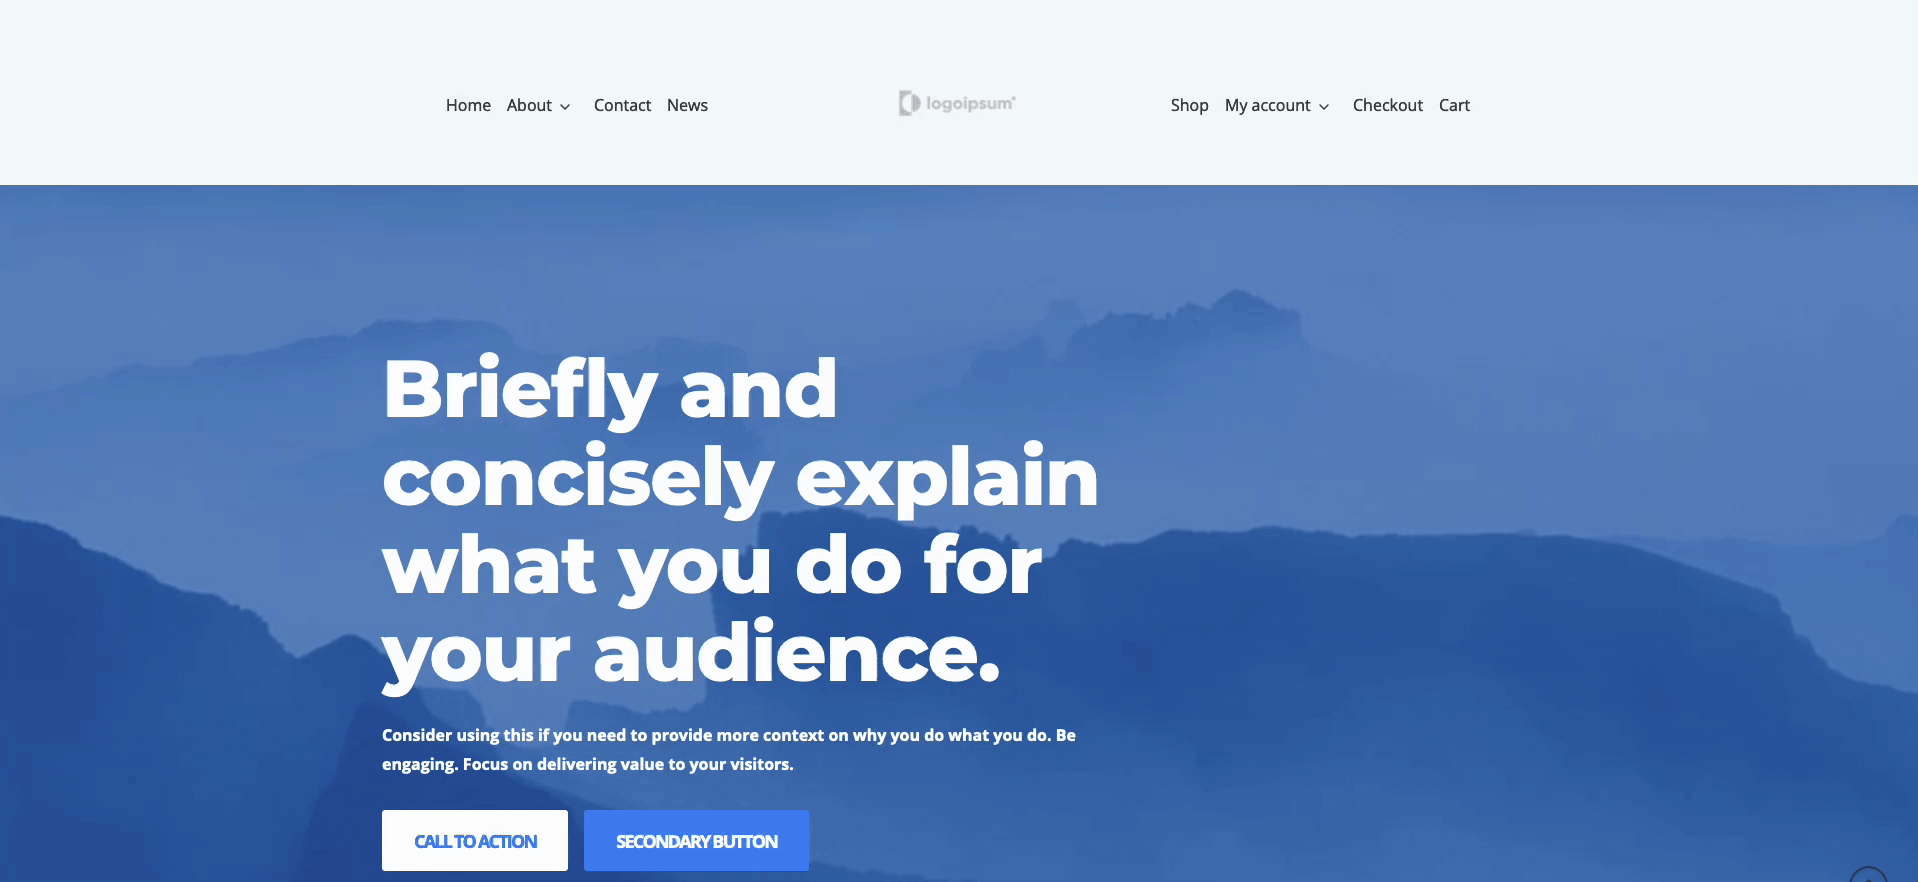
Pre Styled Mega Menus
View examples of some of the Pre Styled Mega Menus below.
Combining Sub Menus and Mega Menus
For even greater flexibility, you can combine Sub Menus and Mega Menus within the same navigation. This allows you to create a comprehensive navigation system that caters to different needs. For example, you could use a Sub Menu for simple dropdowns and a Mega Menu for more complex, content-rich sections. By combining these elements, you can create a navigation experience that is both intuitive and visually appealing.
Moving Kadence Mega Menus Elements to Advanced Headers
If you have a Mega Menu created with the Kadence Theme and Elements, you can copy its contents and use them within an Advanced Header.
To do this, navigate to Appearance -> Kadence -> Elements, and edit the Element used for the Kadence Theme Mega Menu. Once inside, select all of the blocks within the Element to copy them for use in the Advanced Header.
To select all the blocks within the Element, open the List View and click on the first block in the list. Then, hold down the Shift key and select the last block. This will highlight all the blocks in between. Next, click the three dots for more options and choose the Copy option.
After copying the blocks to the clipboard, navigate to the Advanced Header Block. Select the Navigation Link you want to convert into a Mega Menu and enable the Mega Menu option. Choose the Start Blank option to begin.
Finally, add a new block and either right-click and select Paste or hold down Ctrl + V (or Command + V for Macs) to paste the copied blocks.
