When refining your website’s layout and design, padding and margin are two fundamental tools you’ll often work with. When using Kadence Blocks, you’ll often see options to adjust padding and margin values. Padding and margin are universal in web development and are always in use as you navigate various types of websites.
This guide will walk you through what these settings do, how they’re different, and where you can find and adjust them throughout the Kadence Blocks ecosystem.
What is Margin & Padding?
Margin is the space outside of an element. Think of it as the distance between one block and the next. Adding a margin pushes the entire element away from other elements surrounding it.
For example, adding a bottom margin to a Row Layout block creates extra space beneath it, pushing the next block further down the page.
Padding is the space inside an element, between the content and the border of the block or container it’s in. For example, if you have a Section block with a background color applied, the inner content may need spacing away from the edge. This is where padding can come in handy.
Commonly, Kadence Block settings include options for both padding and margin. These two tools often work hand-in-hand and can sometimes feel interchangeable, but they each serve a unique purpose depending on what you’re trying to achieve.
For example, if you’re adding space inside a block (like around the content), you’d use padding. If you’re creating space outside a block (like between two elements), you’d use margin. In most cases, you can experiment with both to get your layout just right for the use case. But for specific tasks, like creating space around a background color or image, padding is the standard choice.
Want to dive deeper? Check out the resources below for a full breakdown of how padding and margin work.
Adding Margin & Padding to Kadence Blocks
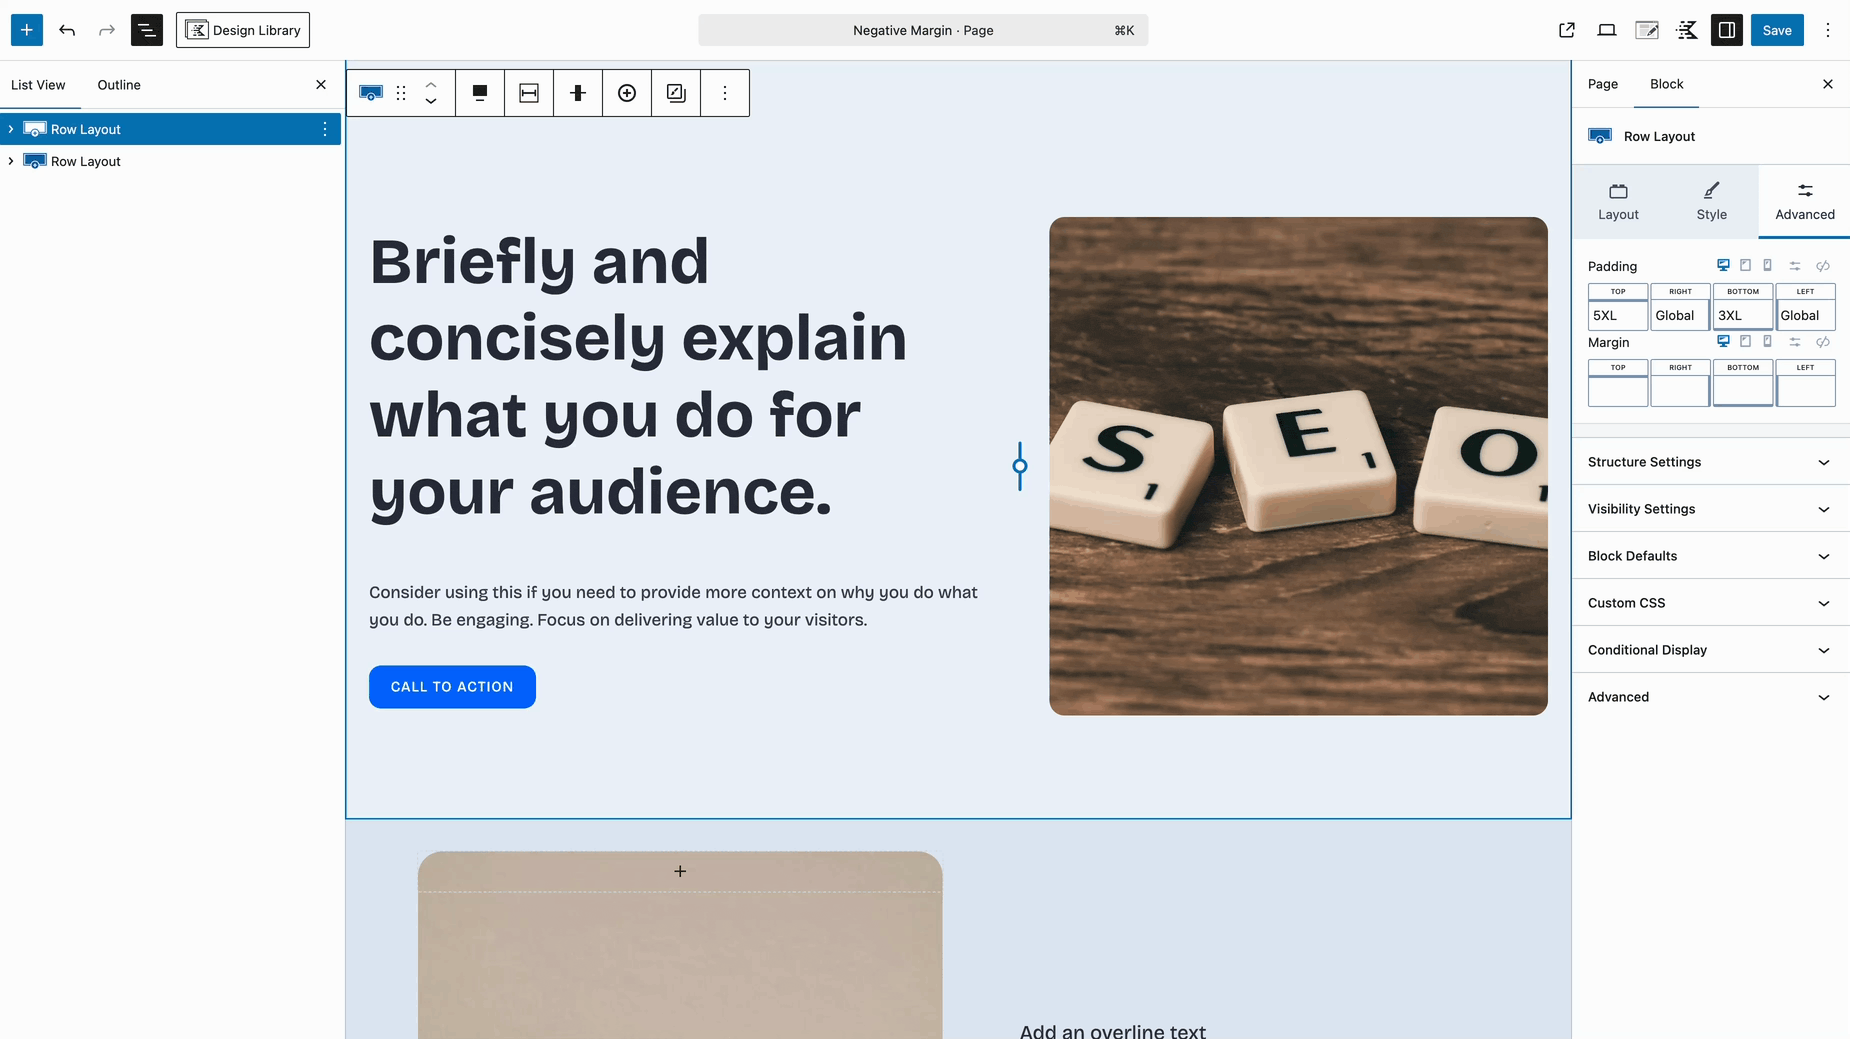
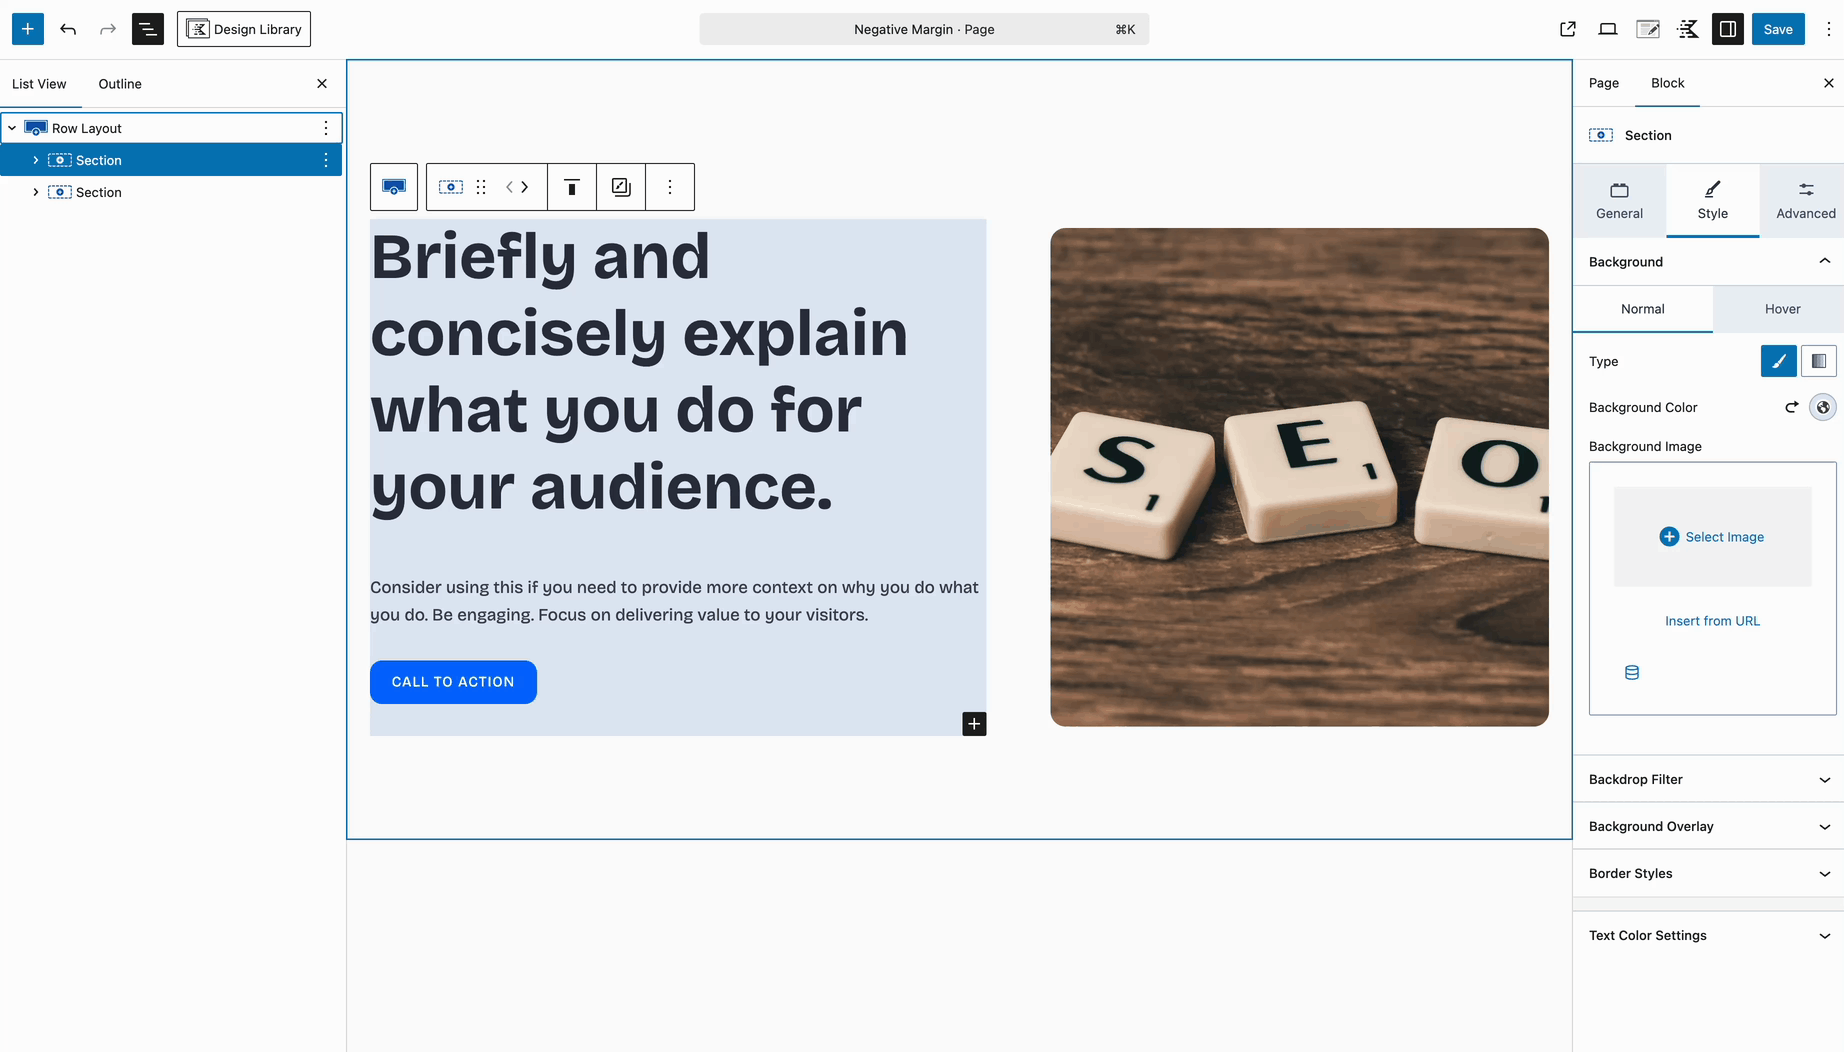
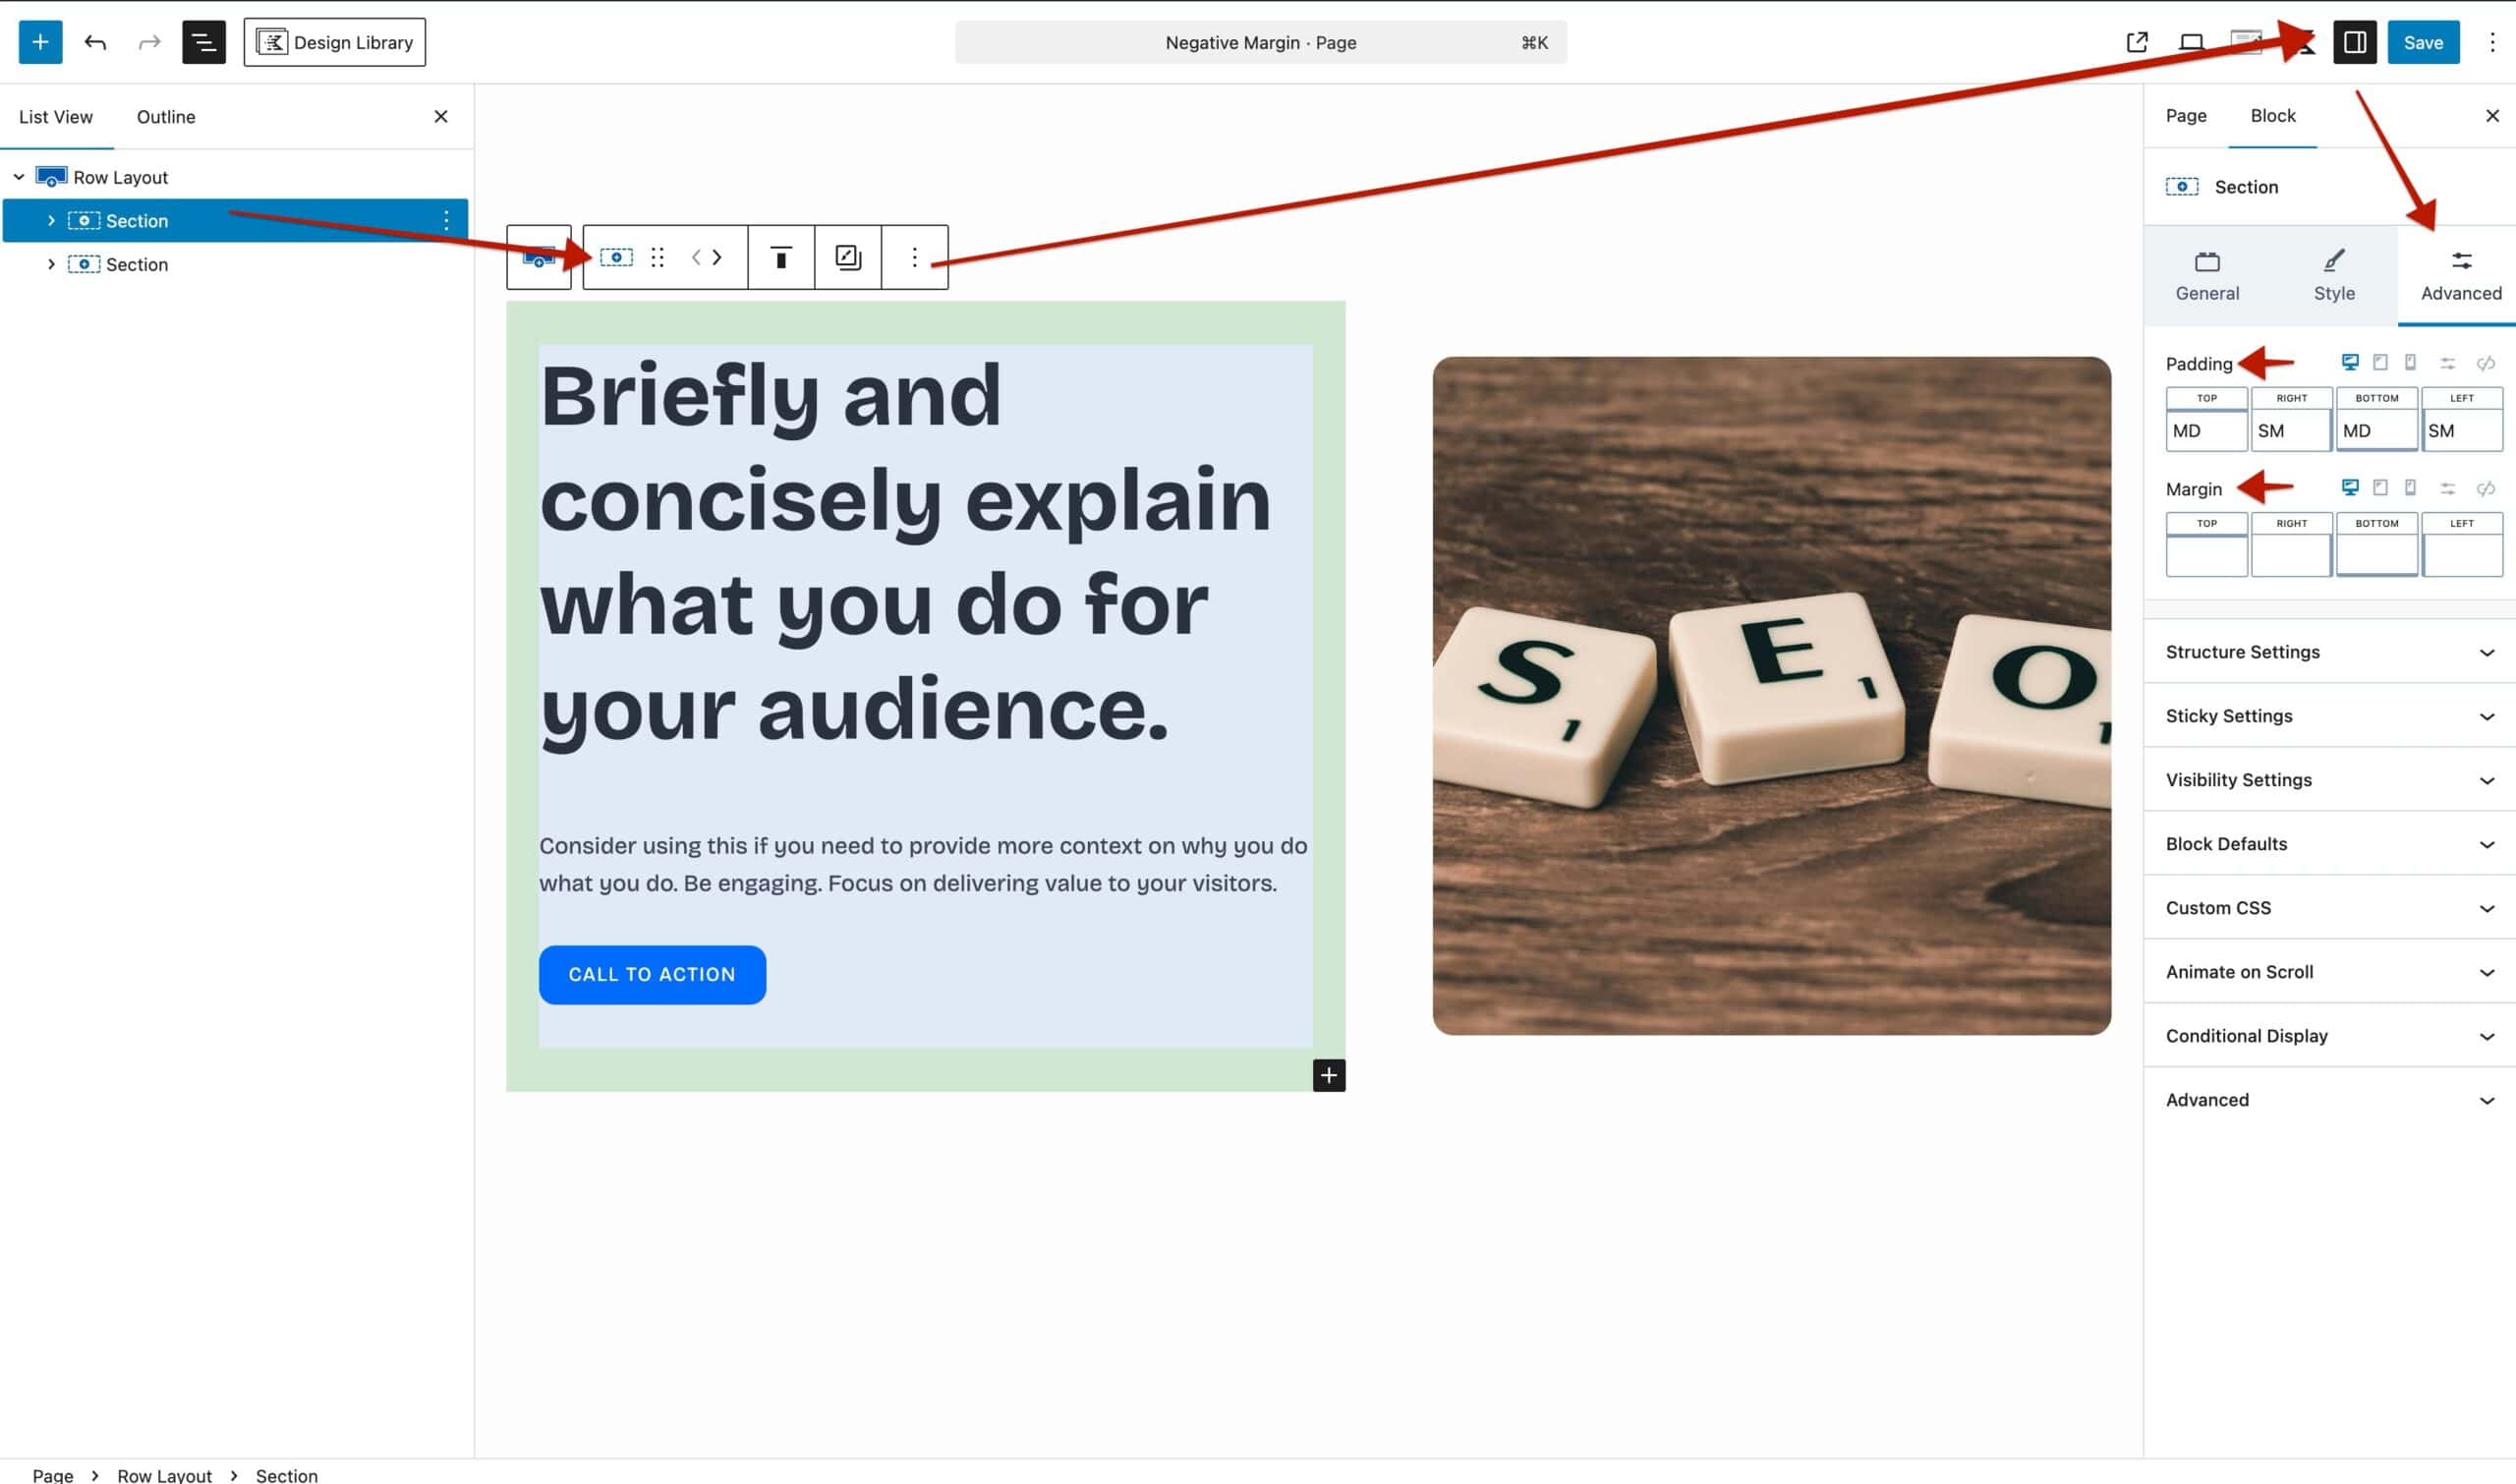
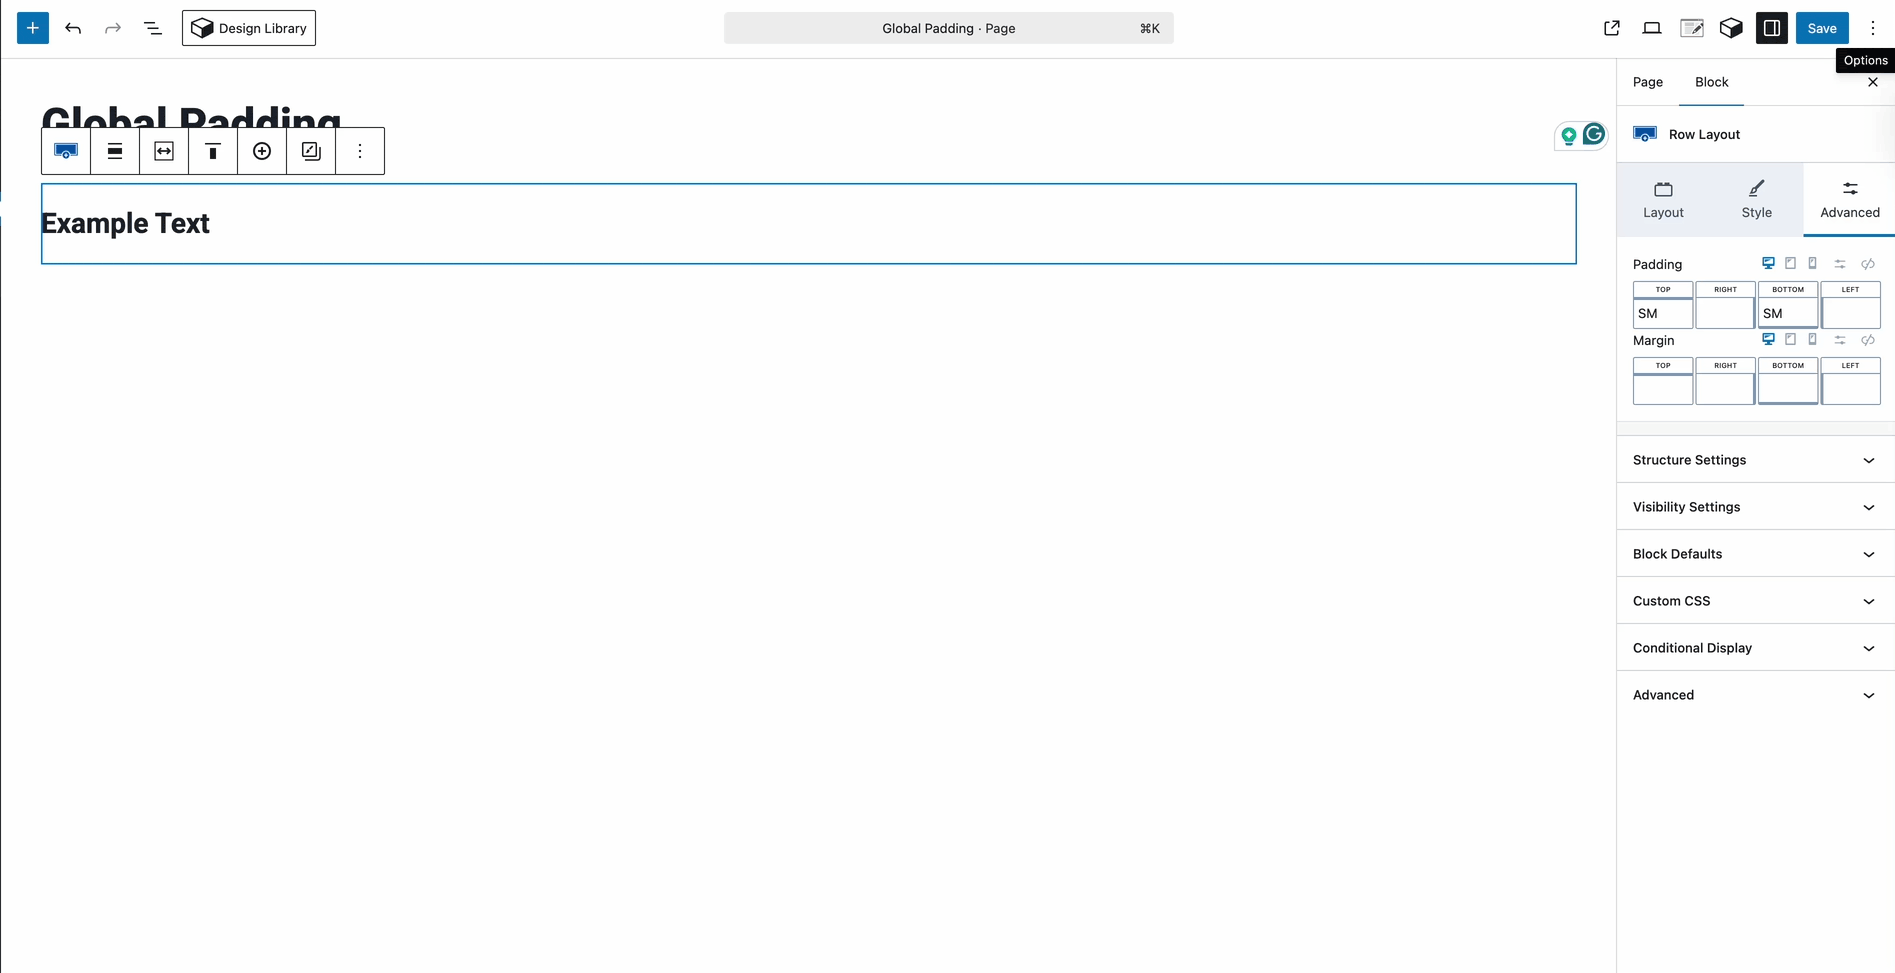
When using Kadence Blocks, you’ll often find padding and margin settings in the Advanced section of the block settings panel. These controls let you apply spacing to the entire block you’ve selected.
Global Paddings in Blocks
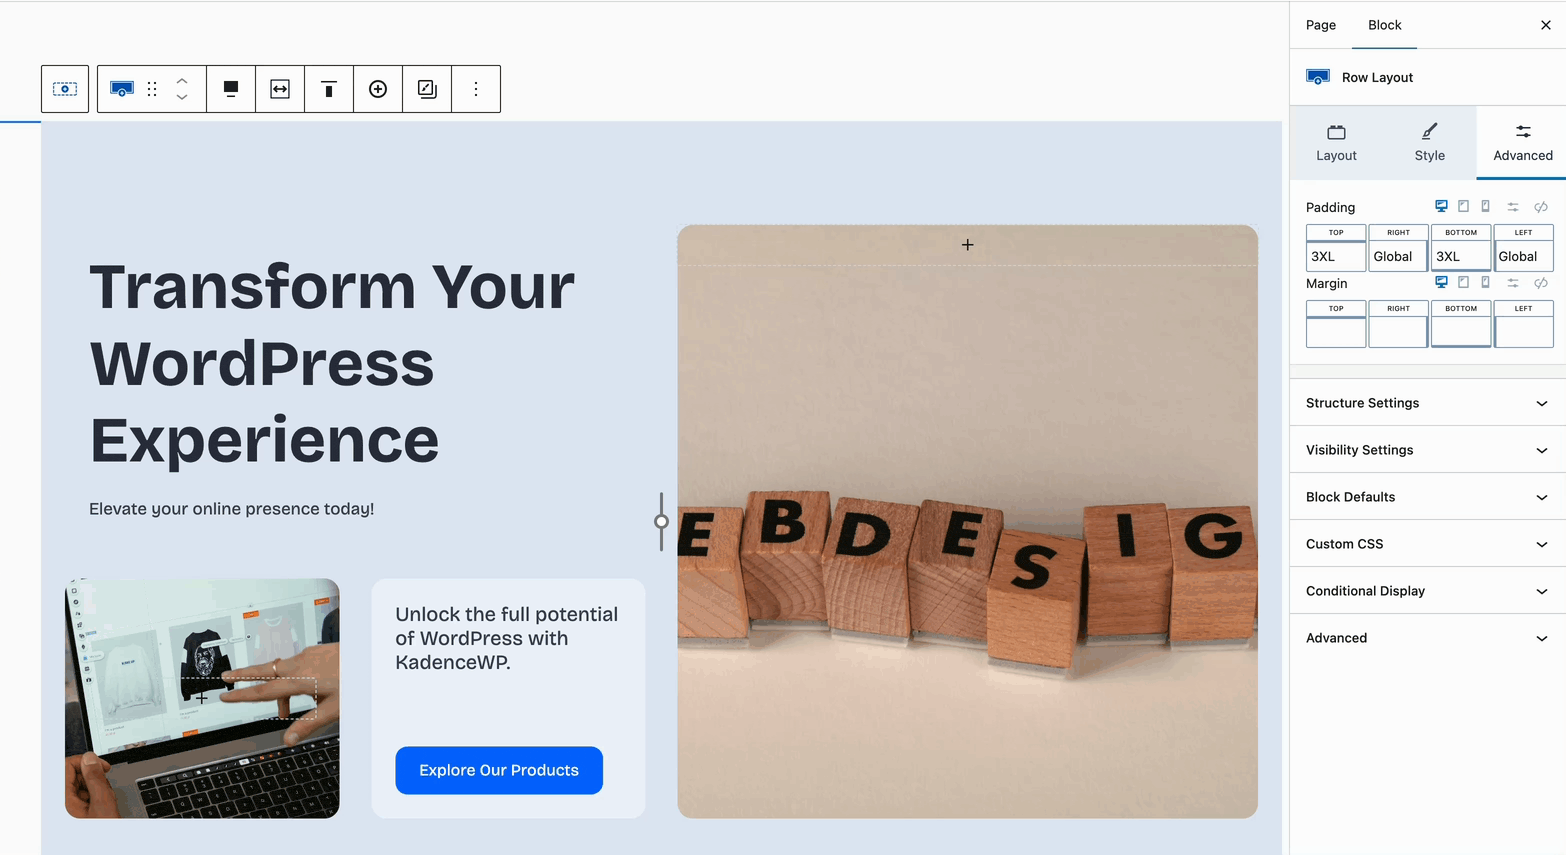
When you add a background to blocks, such as a Section Block or a Row Layout Block, Kadence automatically applies Global Left and Right Padding. This ensures that the content inside the Block remains visible and doesn’t sit directly on the edge.
For example, if you place text inside a Row Layout Block without a background, it will align directly with the block edge. Once a background is added, the Global Padding is applied to create spacing on the left and right.
Note: Global Padding is only applied if those padding values have not already been set before the background is added.
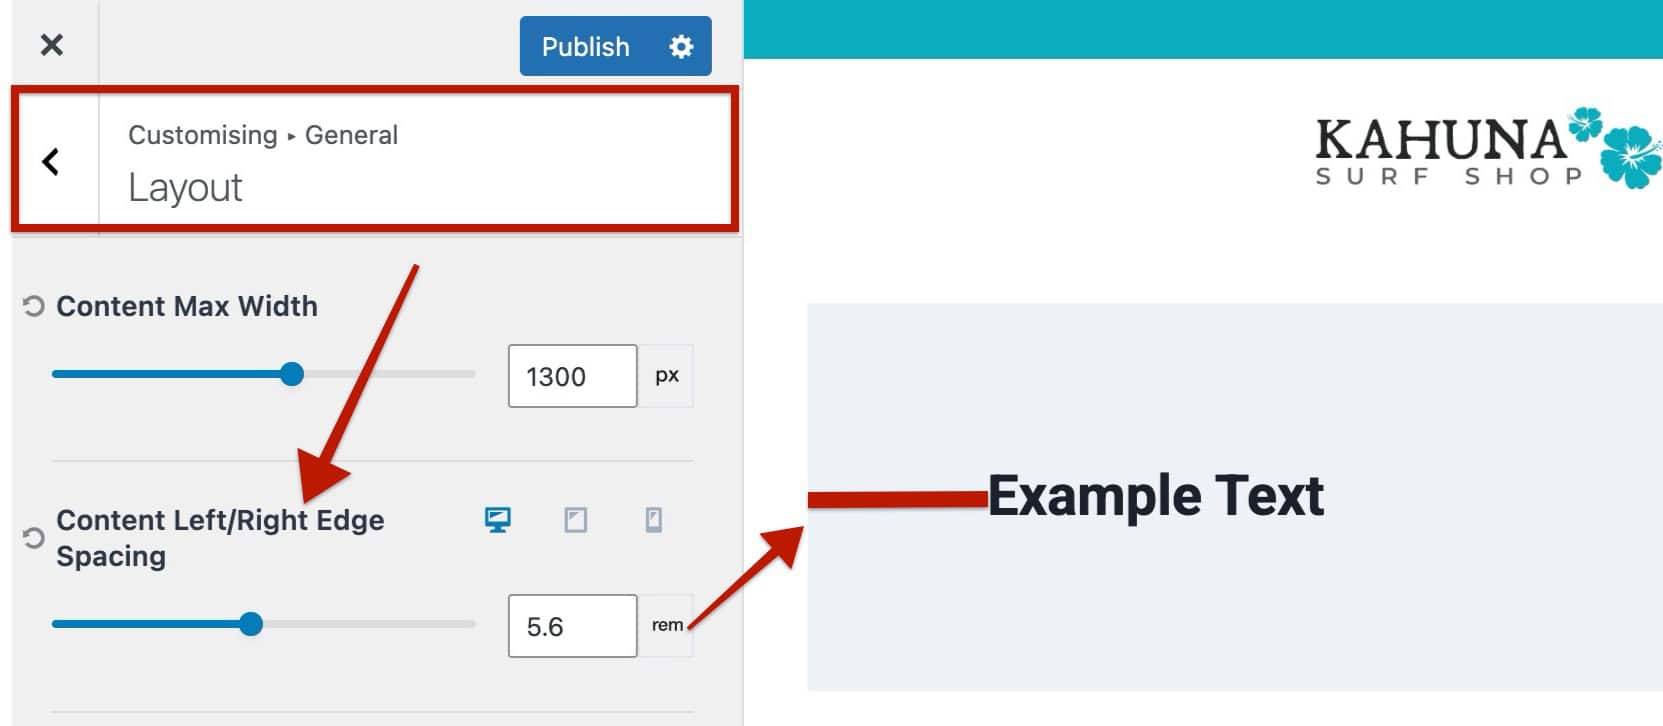
Where Does Global Padding Come From?
The Global Padding values are defined in your Kadence Theme settings, in the Customizer -> General -> Layout settings under the Content Left/Right Edge Spacing setting.
Managing Global Padding.
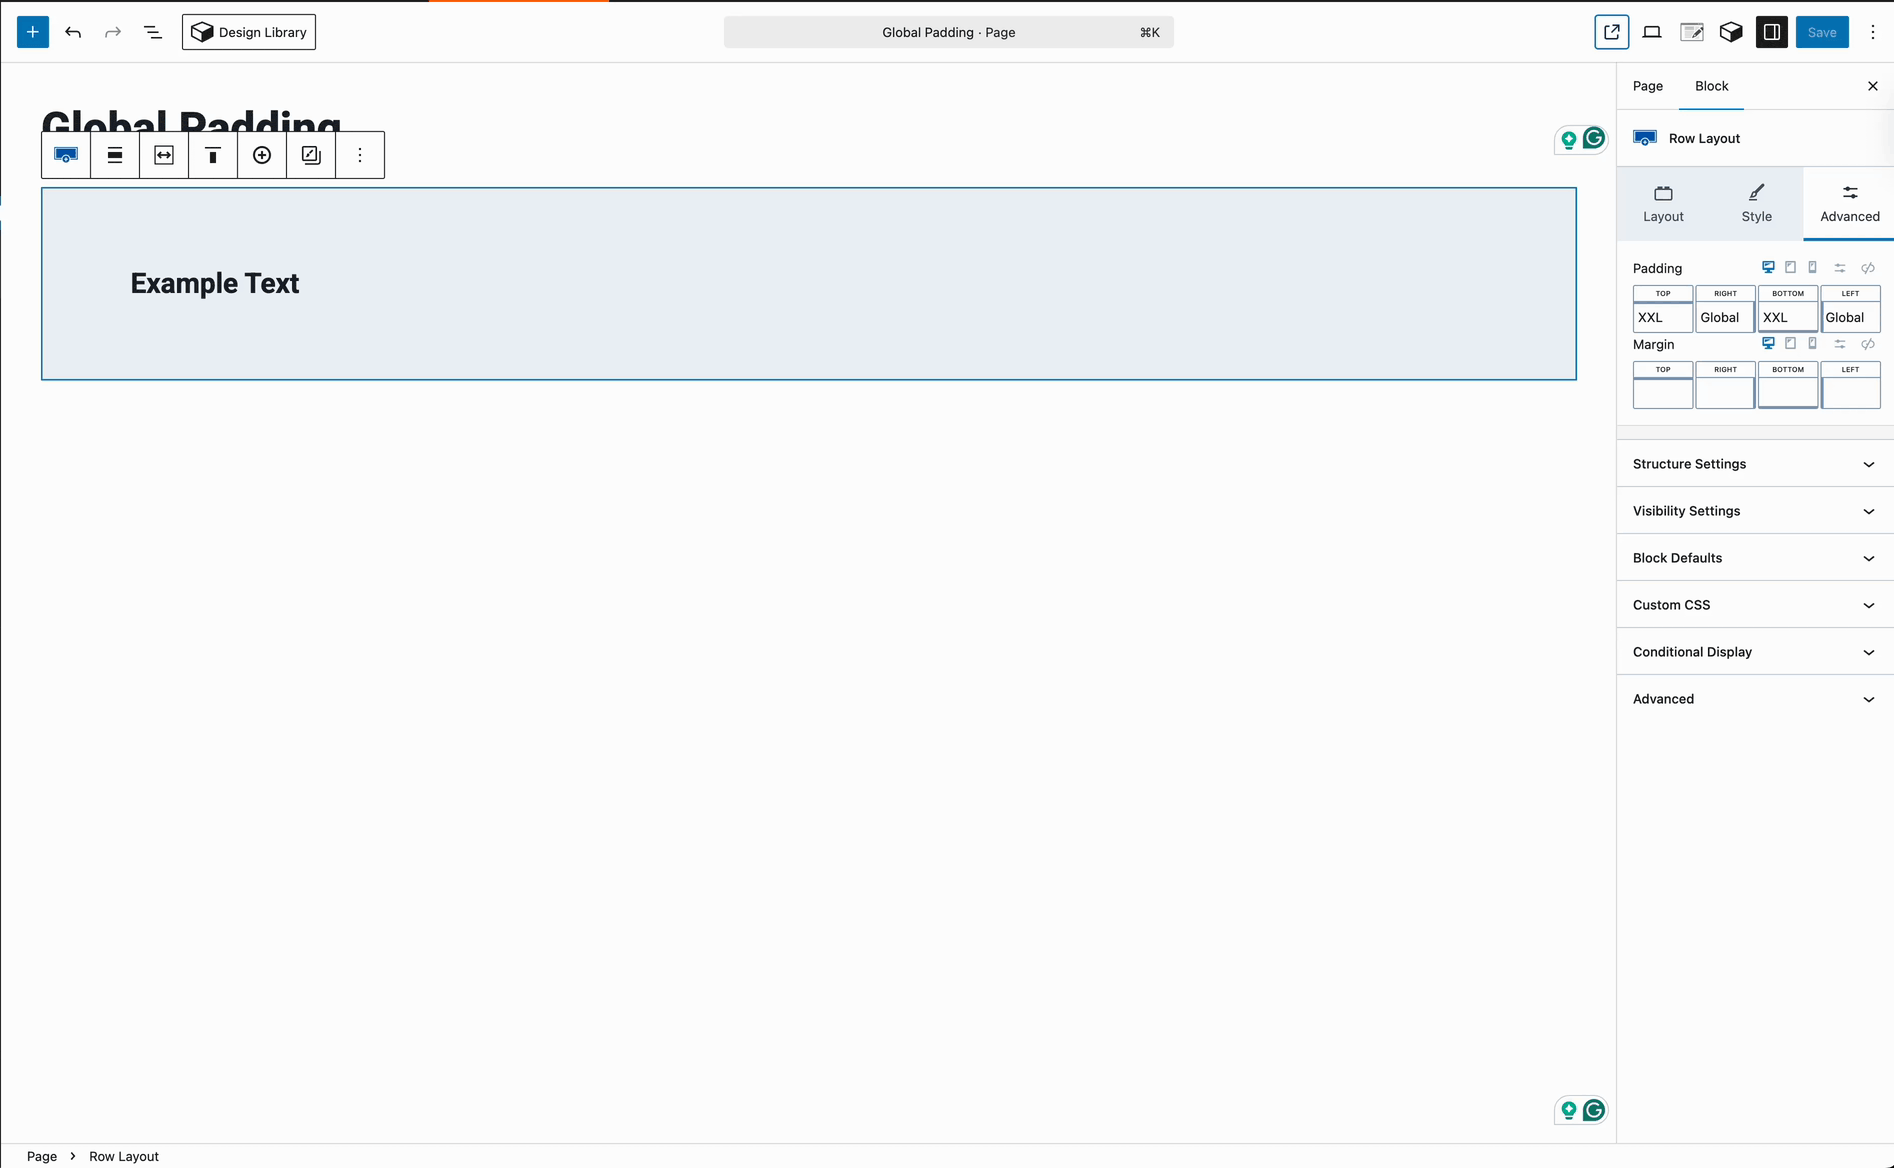
If you use the reset option (back-facing arrow) and the Block has a background applied, the Global Left/Right Padding will automatically be reapplied. When editing padding in the Block, the Left and Right fields display “Global.” You can override this by manually setting the padding value.
Advanced Text Background Padding
Advanced Text Blocks do not use the same Global Left/Right Padding system as Row Layout Blocks. However, when you apply a background color to an Advanced Text Block, Kadence automatically adds default padding:
- Top: 1.25 em
- Bottom: 2.375 em
This ensures that the text does not sit directly on the edge of the background, keeping the content readable and visually balanced.
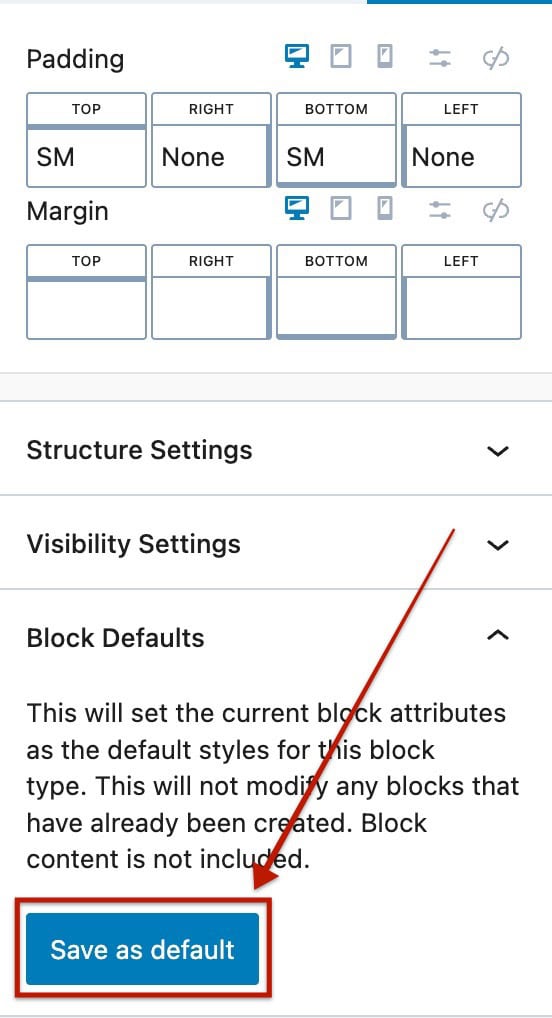
Using Block Defaults to Bypass Global Padding.
If you prefer to remove Global Padding from all new Blocks, you can:
- Set the Left and Right padding values to None.
(For Advanced Text Blocks, also set the top and bottom values to none) - Save the block as a Block Default.
This ensures that future Row Layout Blocks will ignore the Global Padding functionality by default.
Using Negative Margins in Blocks
Negative margin values let you pull blocks outside of their default spacing, allowing for creative, layered designs. However, be cautious when using negative values, as they can affect layout consistency across different devices.
For example, let’s say you have two Row Layout blocks stacked one after the other. If you want one of them to slightly sit on top of the other (for a stylish, layered look), you can give that block a negative top margin. This pulls it up and makes it look like it’s breaking out of the normal layout. (See the GIF below.)
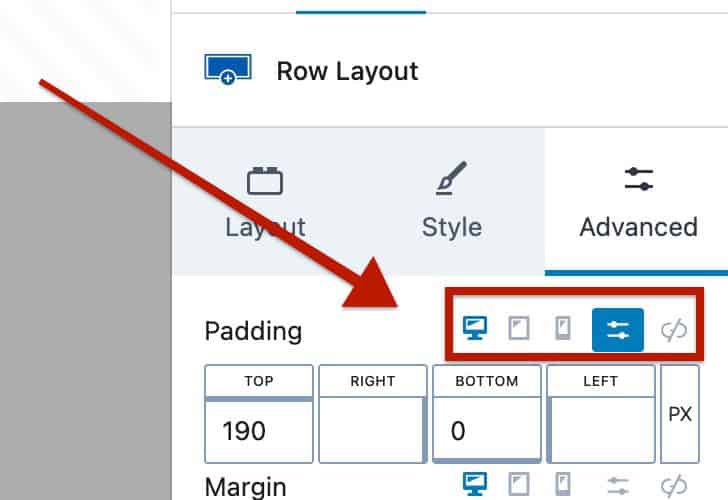
Responsive Spacing
When adjusting spacing values, it’s important to set them responsively. A 100px padding might make sense on a desktop view. However, that may result in extra unwanted padding on mobile views. Instead, use the Kadence Responsive Controls to set different padding and margin values for each device type.
The Responsive Controls can be found near block setting labels. They are represented by a desktop, tablet, and mobile icon.
Example:
In this example, notice the hero Row Layout block has a large top and bottom padding. The GIF demonstrates how you can use the responsive controls to lower the padding values for each device type. This also works the same for margin values and various other block settings.
(This same theory would apply to left and right spacing values as well.)