Tracking form submissions can be a key, critical part of measuring how well your site is performing. Google Analytics makes it possible to monitor these interactions so you can see what’s working, spot potential issues, and improve conversions. In this guide, we’ll walk through how to track Kadence Form submissions using Google Analytics.
Adding a Form To Your Site
The first step will be to add a Kadence Form to your site. This document will cover adding Google Analytics (GA4) to both Kadence Forms and Kadence Forms (Adv). To find out how to add a form to your site, please review the Kadence Forms and/or the Kadence Forms (Adv) documentation.
Once your form has been created, you can assign an ID to help track this specific form. To add an ID:
- Edit your form and click on the Advanced settings tab.
- Scroll down to the Advanced section.
- Under the HTML anchor field, enter a unique ID for your form.

Add a Code Snippet
In this next step, we’ll add a JavaScript code snippet to the site. If you’re not familiar with adding code snippets, please see this document. (These snippets can also be used in the function.php file of child themes with a little bit of modification.) Once the Code Snippets plugin is installed and activated, under the Snippets menu, click Add New.
If you have access to Kadence Theme Kit Pro, consider using a hooked element to insert custom code into your website. (You can learn more below.)

- Enter a Title – Give your snippet a meaningful name for future reference.
- Code Type – Select Content HTML
- Insert Position – Select Display at the end of the <body> section, in the footer
- Save & Activate – When you’re finished, be sure to save and activate your snippet
The Code Snippet
There are some minor differences in the code snippets you’ll use for Kadence Forms versus Kadence Forms (Adv). We’ll address each below.
Note: each snippet contains a console.log function which should be removed after you’ve finished testing.
Kadence Forms
<script>
document.body.addEventListener('kb-form-success', function(event) {
const uniqueId = event.detail;
const formId = 'kadence-form-' + uniqueId;
const formDiv = document.querySelector('#contact-test'); // replace with your custom ID
if (formDiv && formDiv.classList.contains(formId)) {
// confirm submission to console log - remove on live site
console.log('Form submitted: ' + uniqueId);
// run your GA code here. for example:
if (typeof gtag === 'function') {
gtag('event', 'form_submission', {
event_category: 'Form', // add your own category
event_label: formDiv.id, // i.e. contact-test
form_id: uniqueId, // i.e. 698_3b6635-a7
value: 1
});
}
}
});
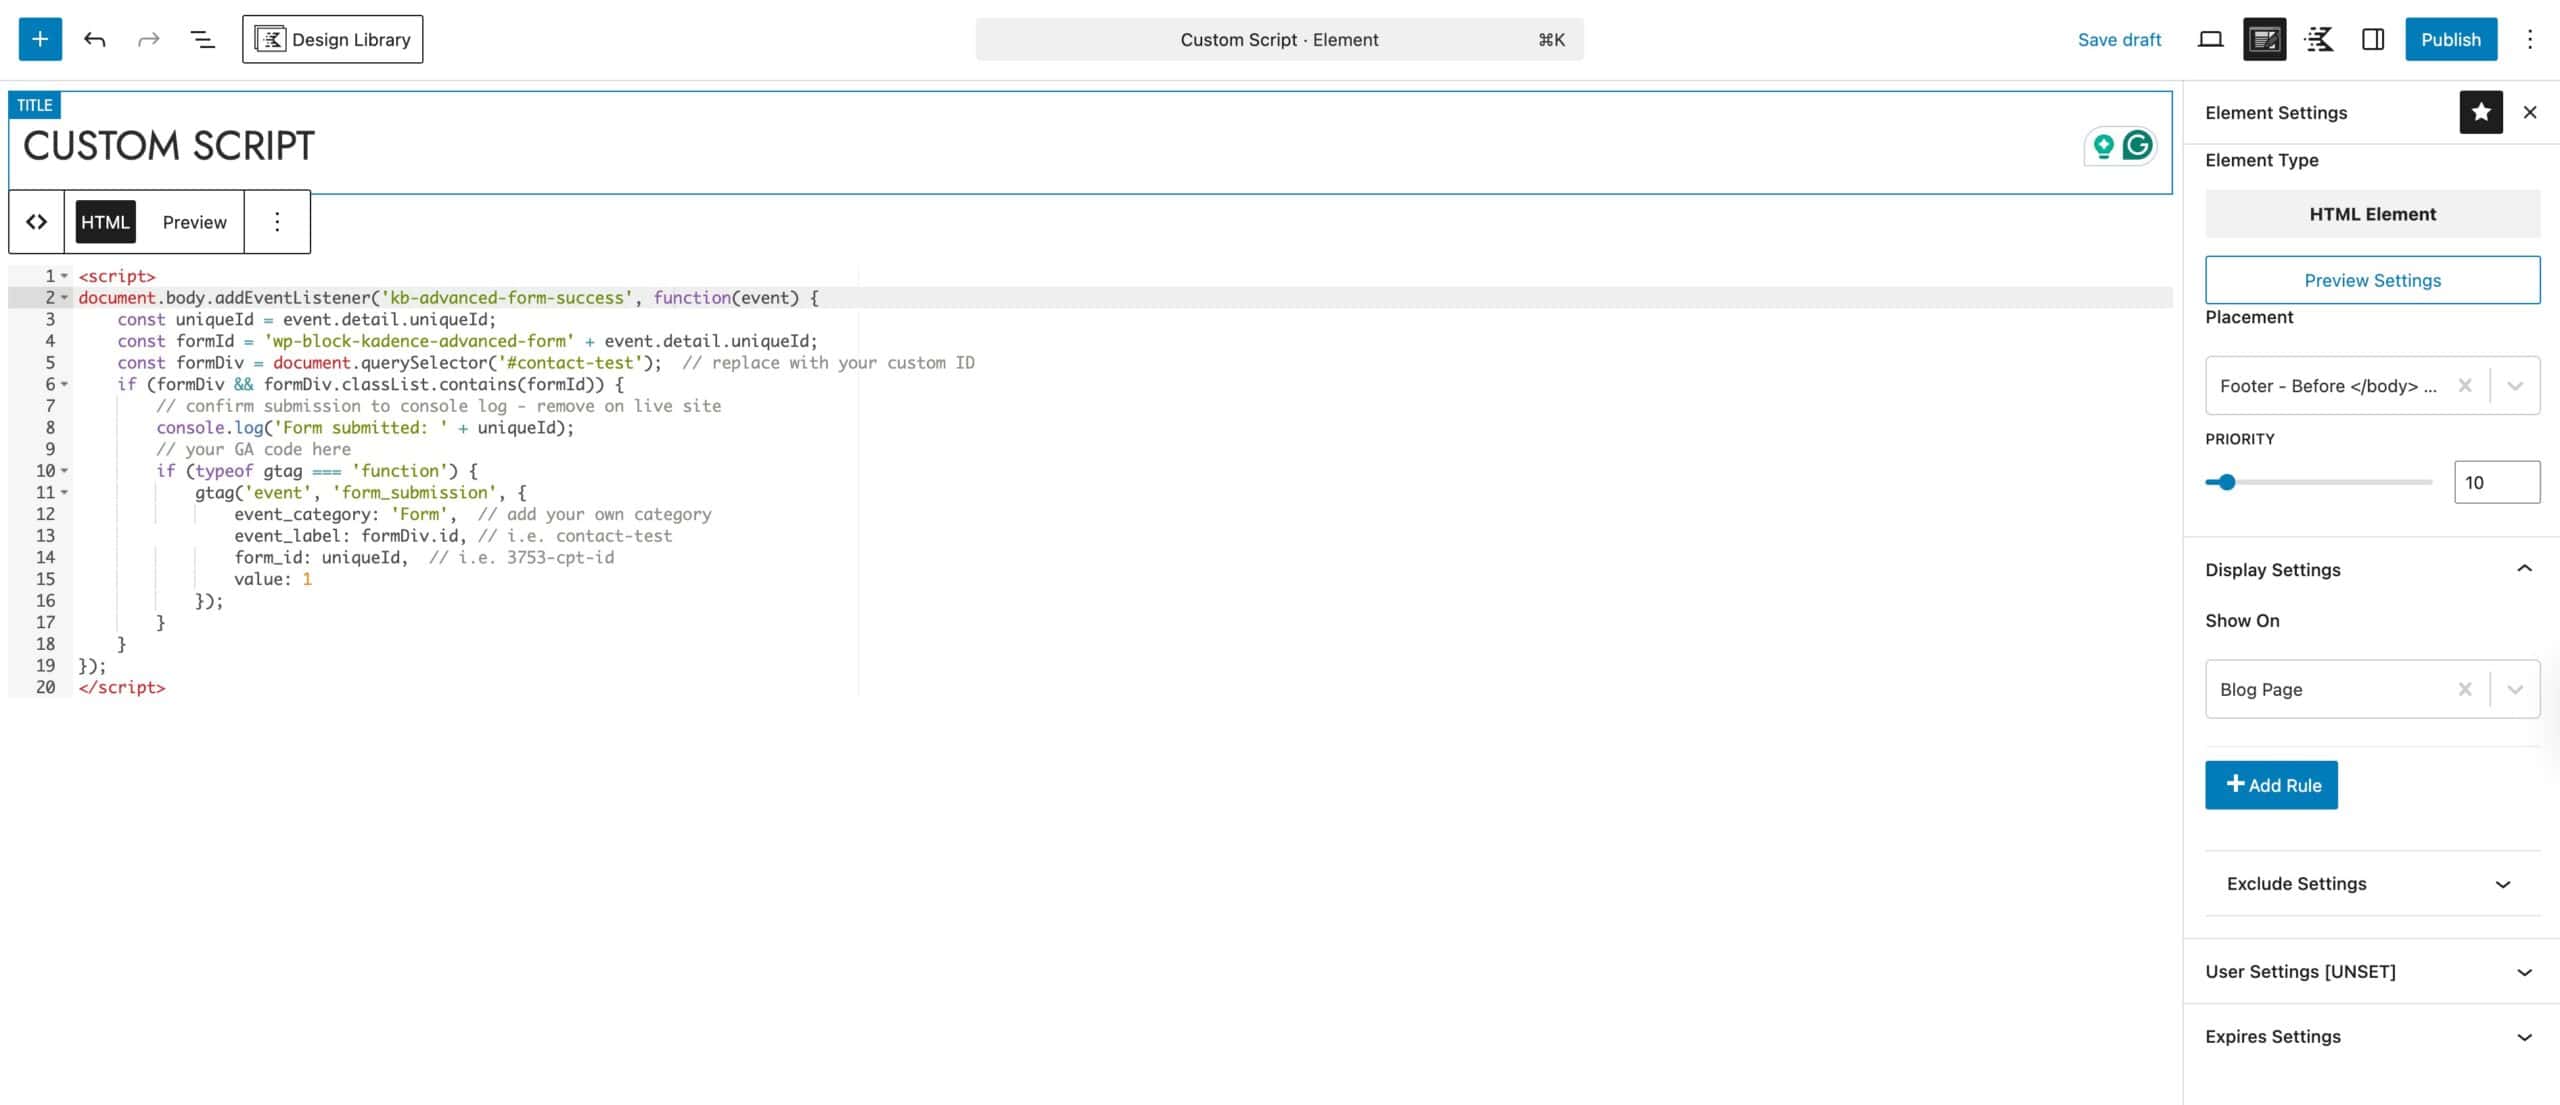
</script>Kadence Forms (Adv)
<script>
document.body.addEventListener('kb-advanced-form-success', function(event) {
	const uniqueId = event.detail.uniqueId;
	const formId = 'wp-block-kadence-advanced-form' + event.detail.uniqueId;
	const formDiv = document.querySelector('#contact-test');  // replace with your custom ID
	if (formDiv && formDiv.classList.contains(formId)) {
		// confirm submission to console log - remove on live site
		console.log('Form submitted: ' + uniqueId);
		// your GA code here
		if (typeof gtag === 'function') {
			gtag('event', 'form_submission', {
				event_category: 'Form',  // add your own category
		  		event_label: formDiv.id, // i.e. contact-test
				form_id: uniqueId,  // i.e. 3753-cpt-id
				value: 1
			});
		}
	}
});
</script>
Using HTML Elements (Theme Kit Pro)
Kadence Theme Kit Pro features Hooked Elements. This includes the HTML Editor Element, which gives you the ability to add custom HTML code to your website. This is a feature that can be used instead of using a Code Snippets plugin or editing a functions.php file.
Click here to learn more about the HTML Editor Hooked Element feature.
Testing and Launch
The above snippets assume you already have your GA4 account setup and installed on your site. If you need assistance with setting that up, please see this document.
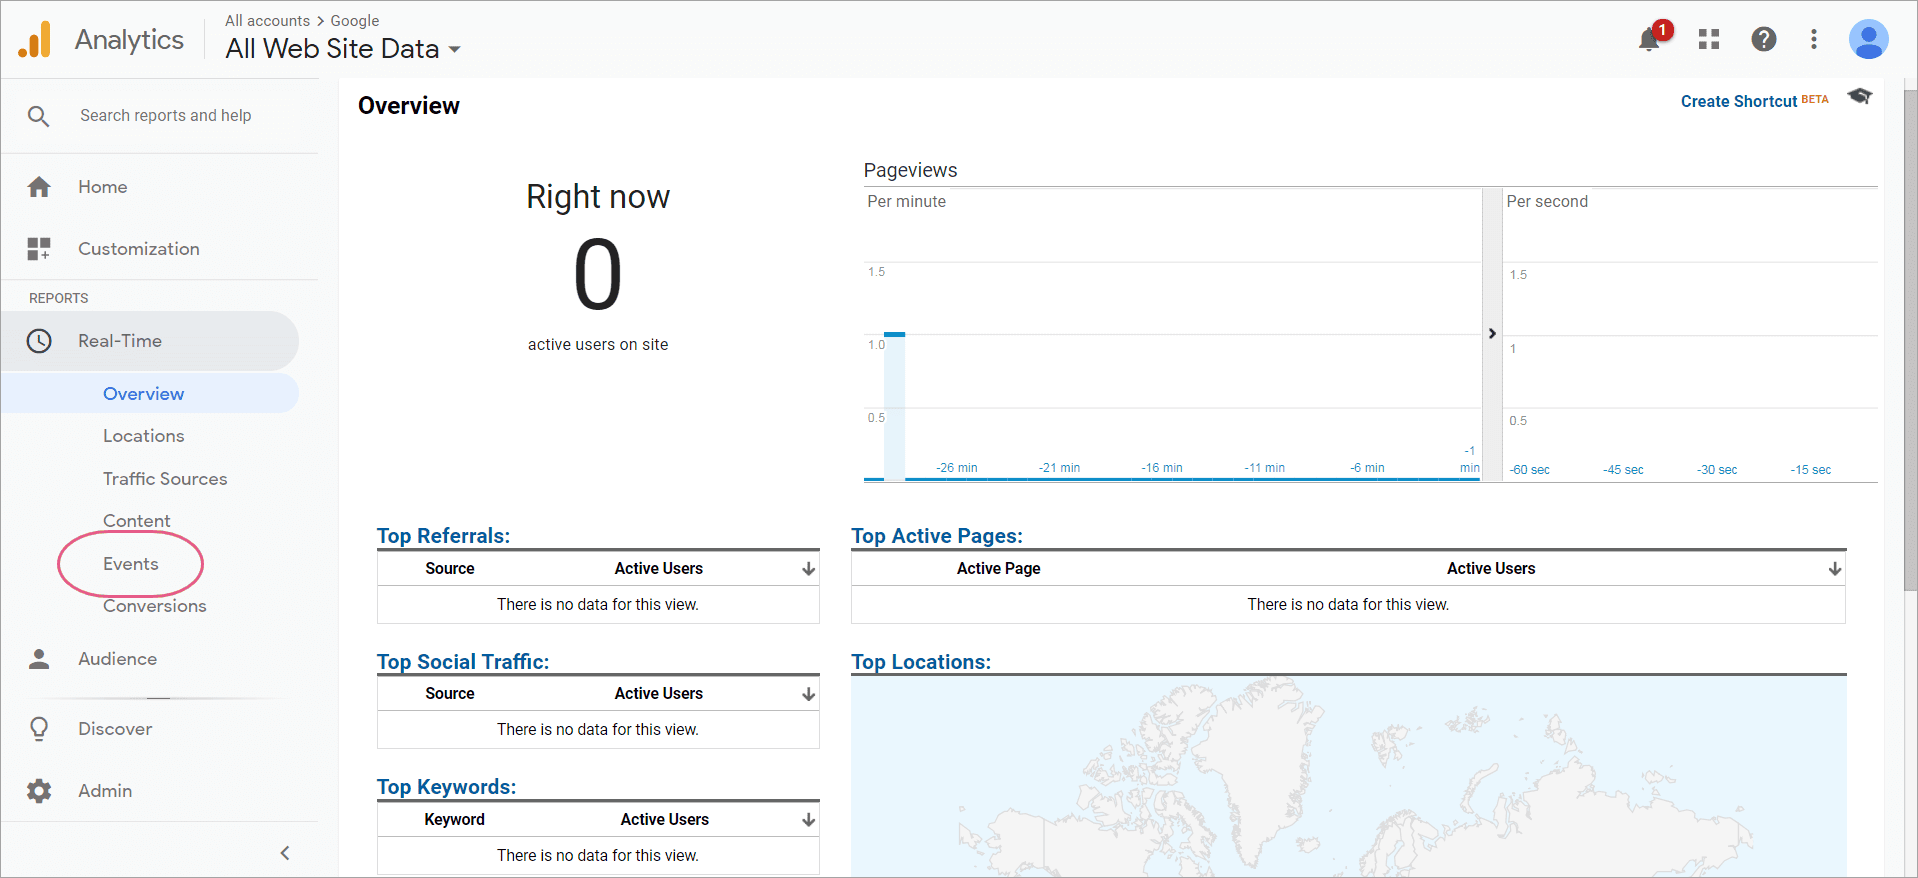
Once the form has been added to a page and your code snippet is in place, you should be able to submit entries to the form and monitor your GA4 Realtime Event stats.