
This document explains the recommended workflow for applying Advanced Headers in Kadence. Advanced Headers can be applied either globally or conditionally, depending on the layout needs of the site. Understanding when to use each method helps prevent header conflicts and keeps header behavior predictable.
Advanced Headers can be applied in two ways:
- Globally, using the Kadence Theme Customizer.
- Conditionally, either manually for free or dynamically using Theme Kit Pro for a full conditional header experience.
Creating an Advanced Header
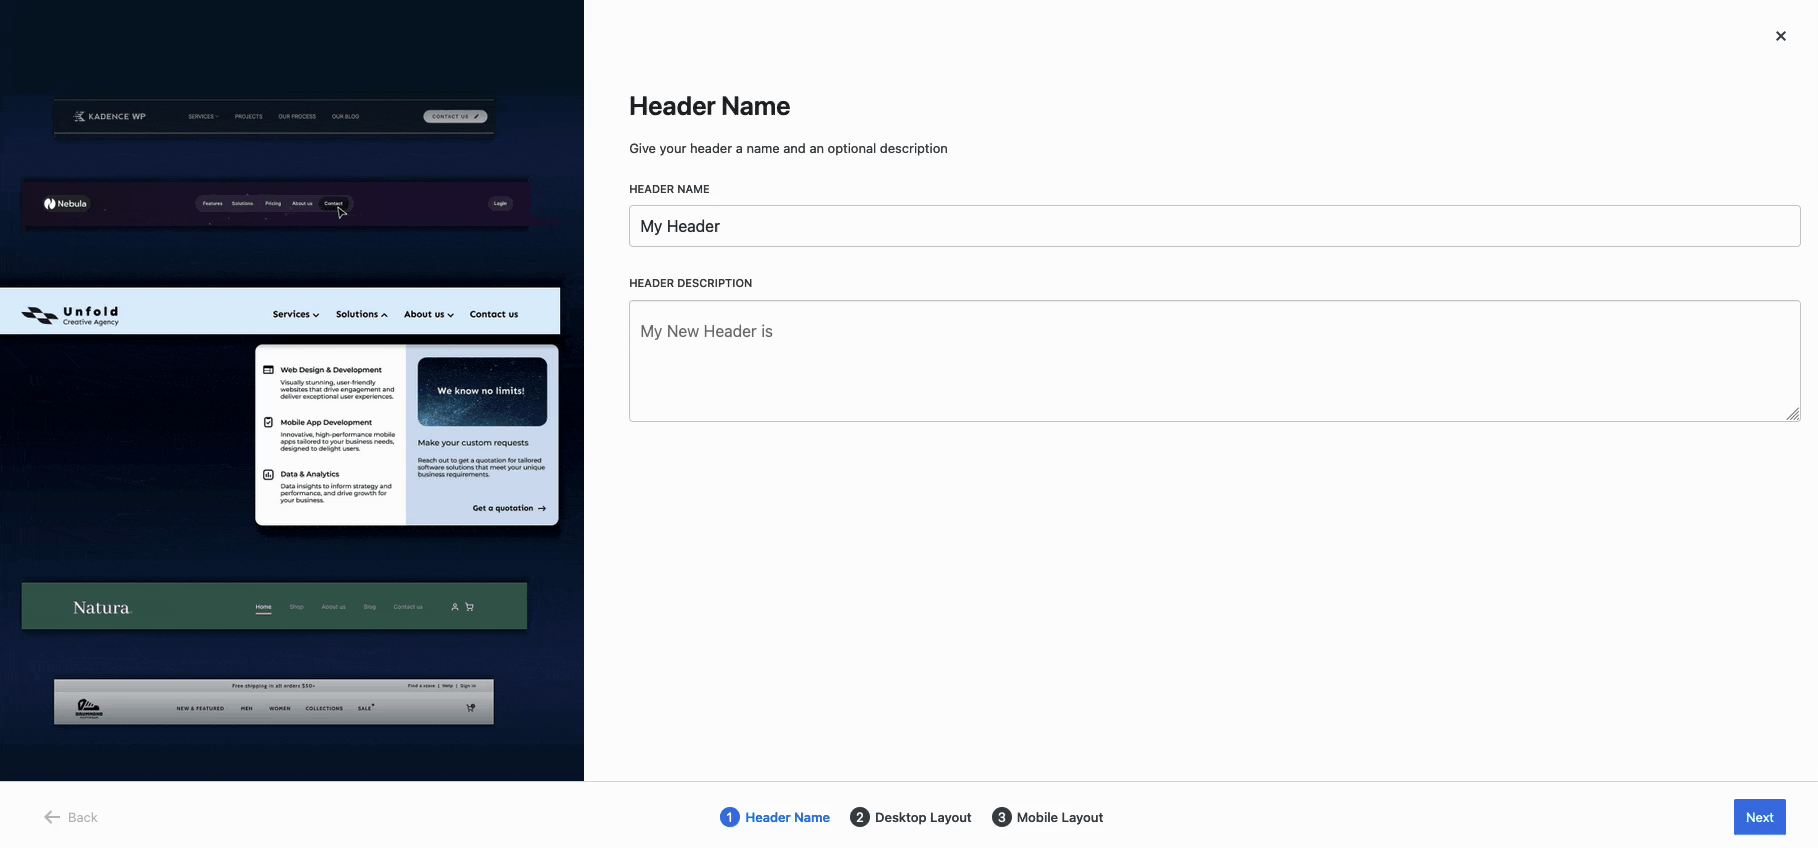
Before an Advanced Header can be applied globally or conditionally, it must be created in the Header editor.
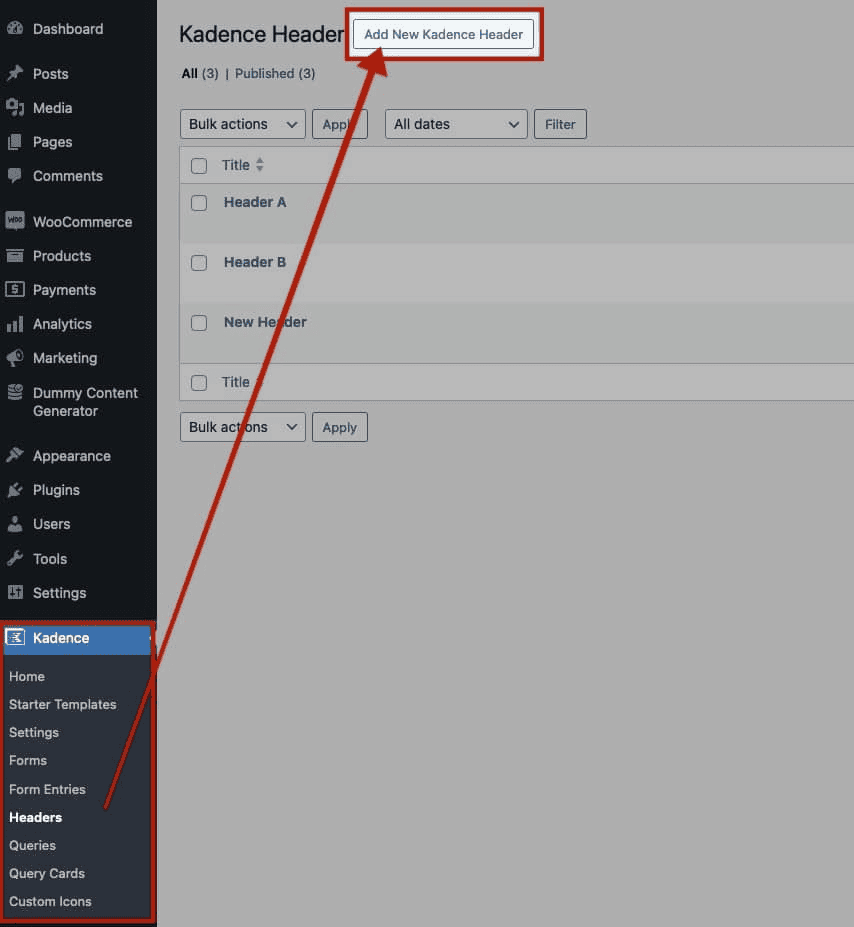
- Navigate to Dashboard → Kadence → Headers.
- Click the Add New Kadence Header button at the top of the page.
- Build the layout using the Header (Adv) block and supported blocks.
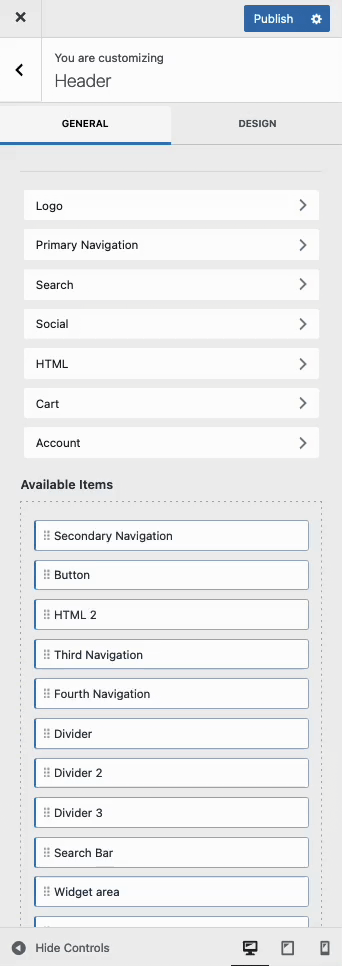
- Configure spacing, navigation, branding, and responsive settings as needed.
- Save the header.
The saved Advanced Header is now available to be reused as a global header or inside conditional elements. For a full overview of creating Advanced Headers, refer to the official Getting started with Advanced Header/Navigations document.
Setting the Global (Main) Advanced Header
The global header is the default header displayed across the entire site. It is used on all pages unless a conditional header replaces it. By default, the Kadence Theme uses a Classic Theme Header. However, you can replace the theme header with an Advanced Header from the Theme Customizer settings.
- Open Appearance → Customize.
- Navigate to Header settings.
- Scroll down and enable the option to Enable a Block Header.
- Select the desired Advanced Header from the dropdown.
- Click Publish to save the Customizer changes.
Once published, the selected Advanced Header becomes the site-wide default header.
Important: Only one global header can be active at a time.
When to Use Conditional Advanced Headers
Conditional Advanced Headers should be used when a specific page or section of the site requires a different header than the global default.
Common use cases include:
- Landing pages that need a simplified or promotional header
- Pages that require no navigation or branding
- Different headers for blog posts, archives, or custom post types
- Campaigns or temporary layouts that should not affect the rest of the site
Conditional headers replace the global header only on the locations where they are specifically assigned.
Creating a Secondary Header
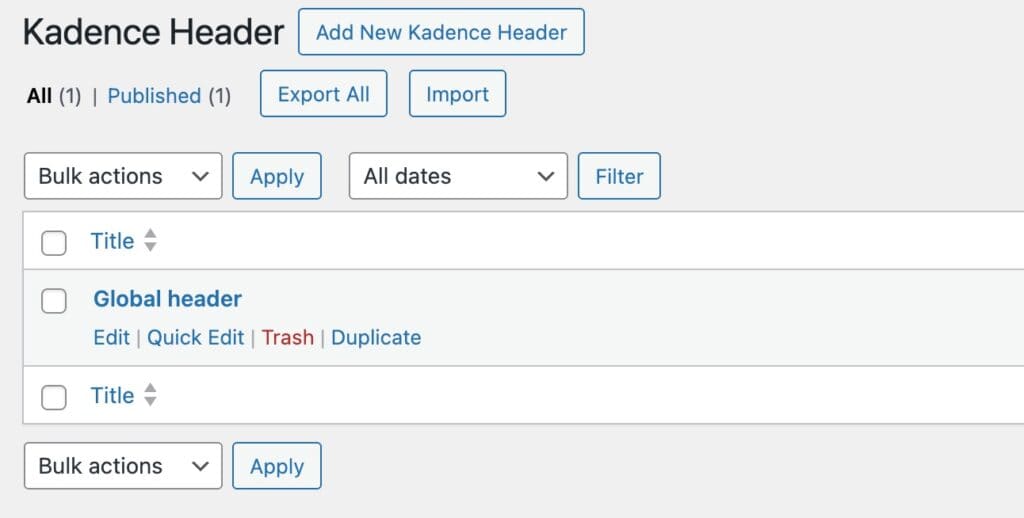
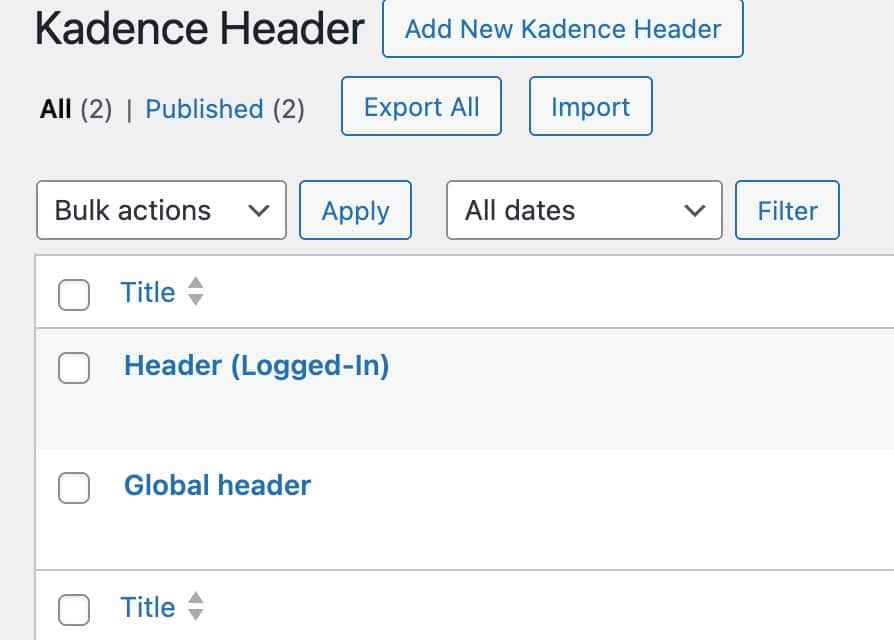
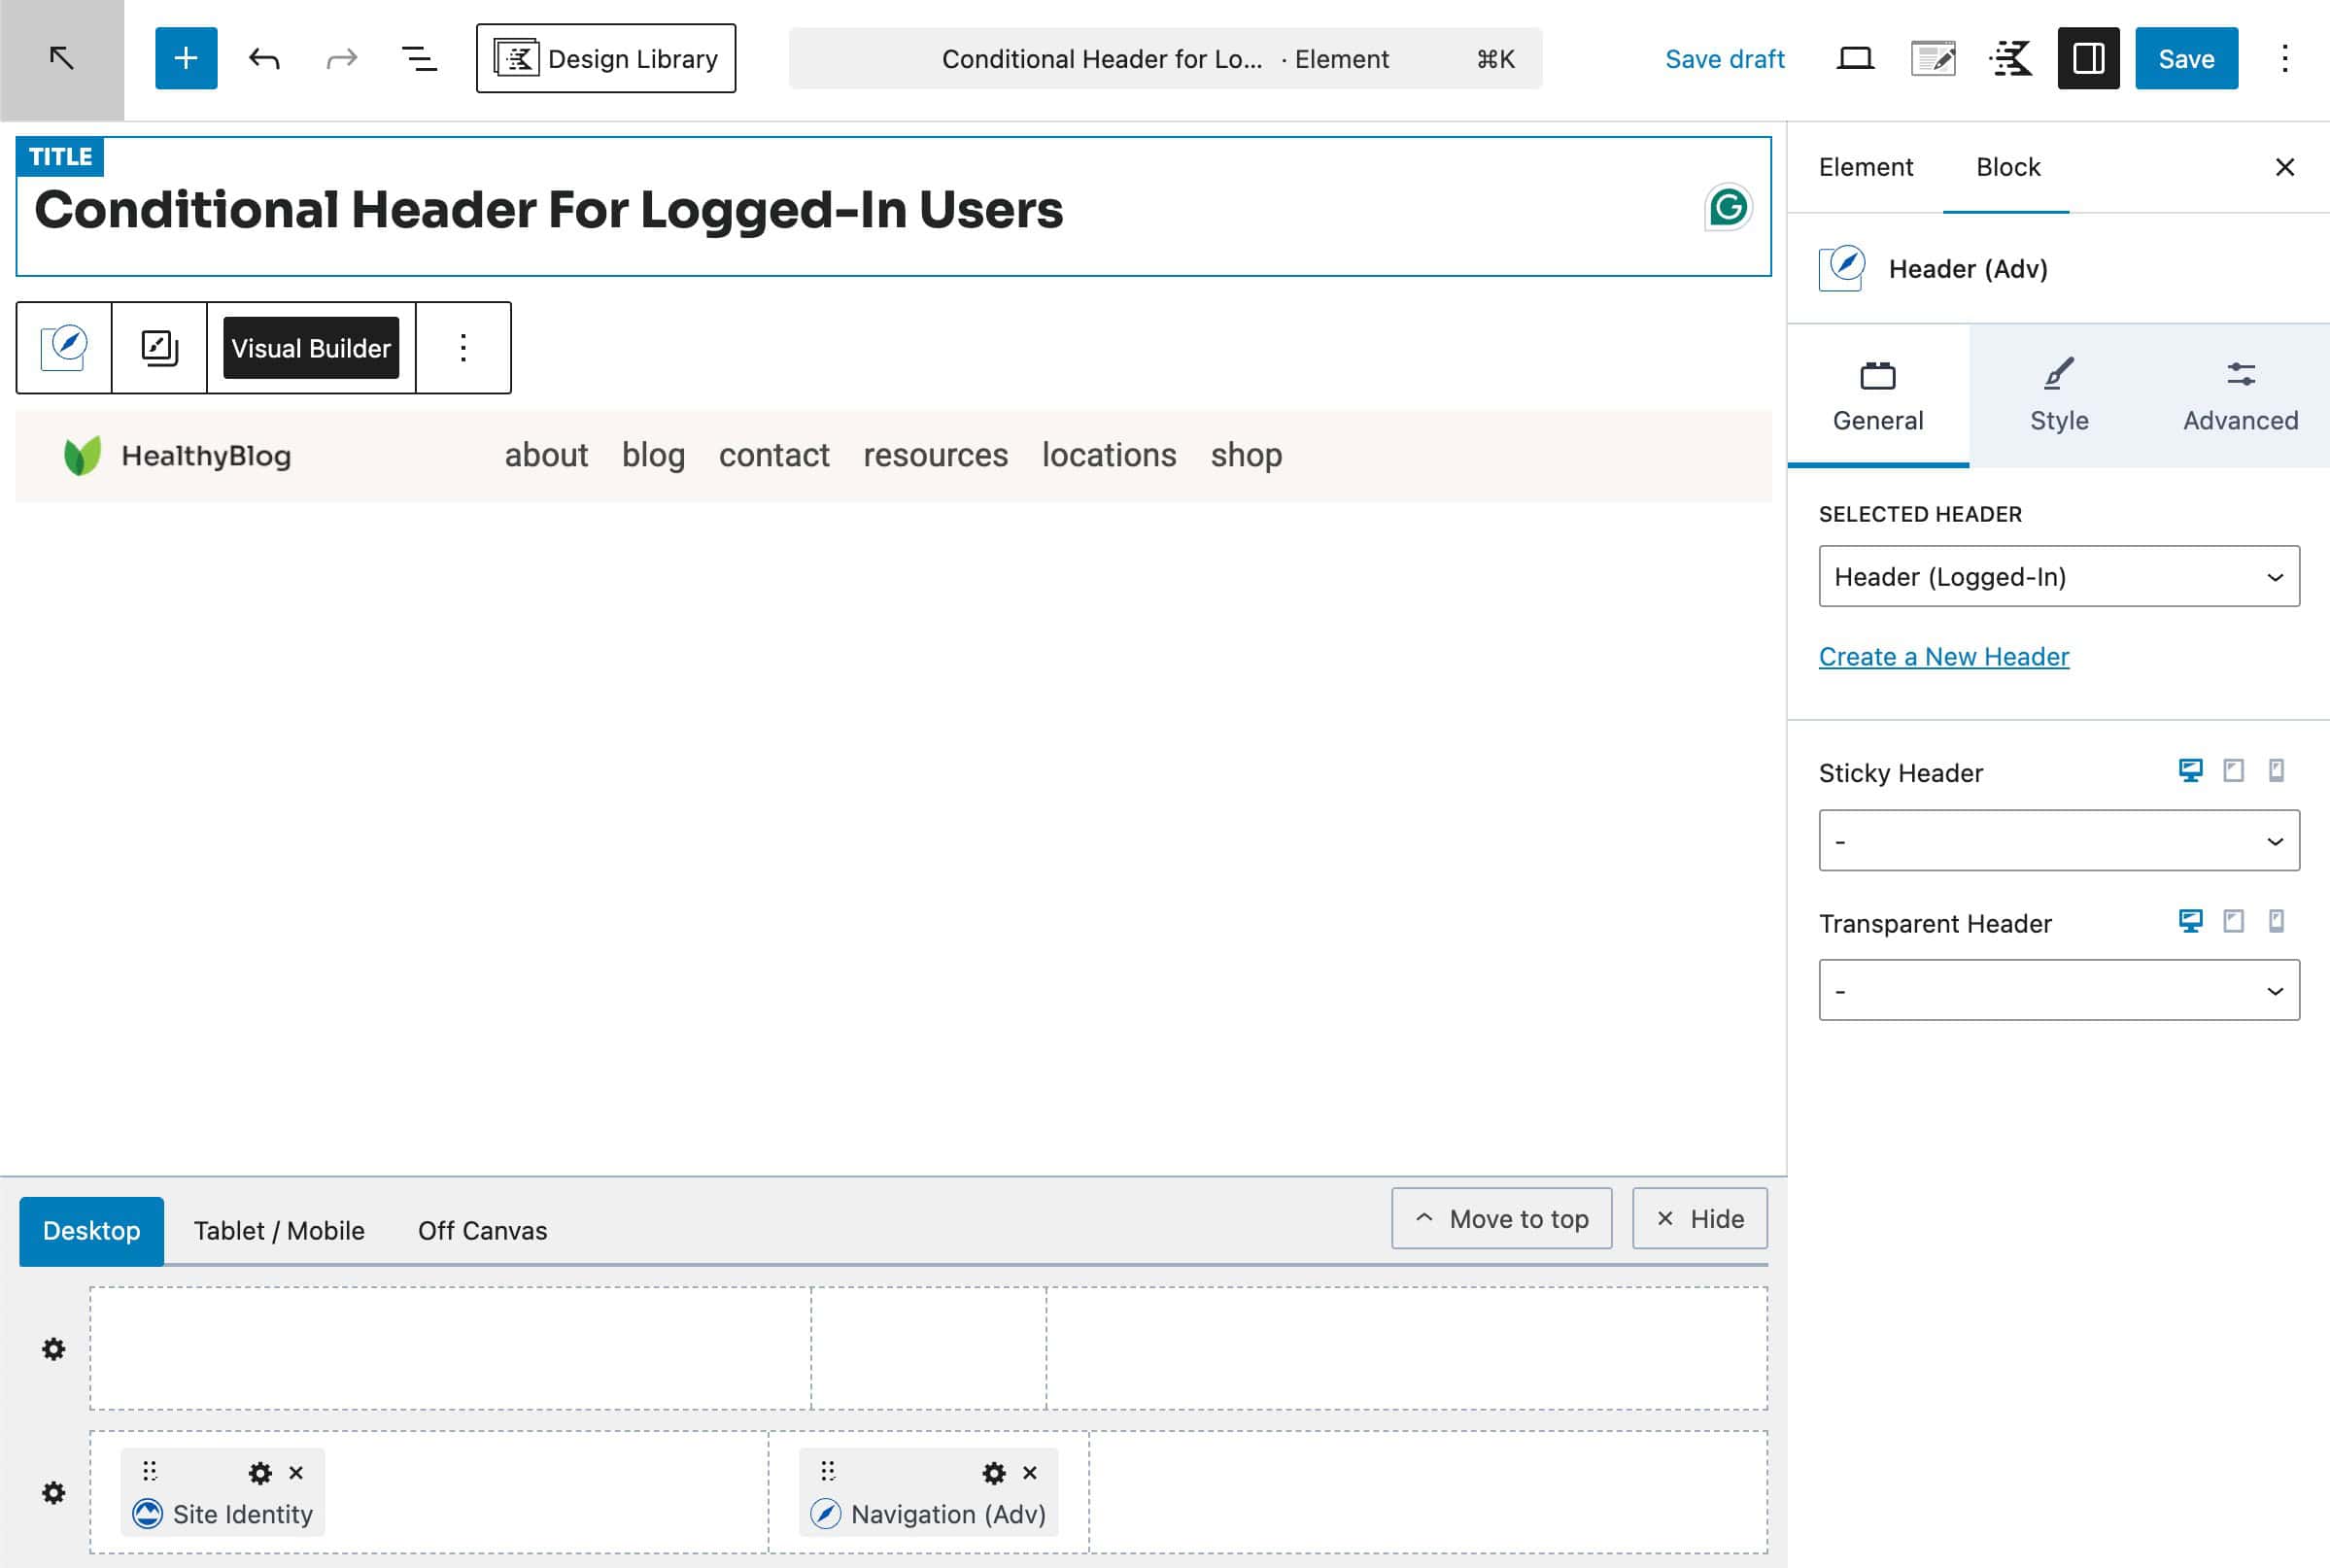
To begin using Conditional Advanced Headers, first create a Secondary Conditional Header by navigating to Dashboard → Kadence → Headers.
From there, you can create a new header or duplicate an existing one and modify it as needed. Advanced Headers can be duplicated by hovering over the header in the backend and clicking Duplicate.
It’s recommended to give your conditional header a clear title indicator to easily distinguish it from the global header, such as Header (Logged-In).
Applying Conditional Advanced Headers Manually (Free)
Advanced Headers can be applied conditionally (manually) for free. While Theme Kit Pro allows dynamic conditional headers (Learn more below), free users can achieve similar results on posts and pages.
First, add an Advanced Header Block before the first block of the page and select the desired Advanced Header.
Next, go to the Kadence Page/Post Settings, which can be accessed by clicking the Post/Page Settings icon in the editor. This is represented by a paper and pencil icon.
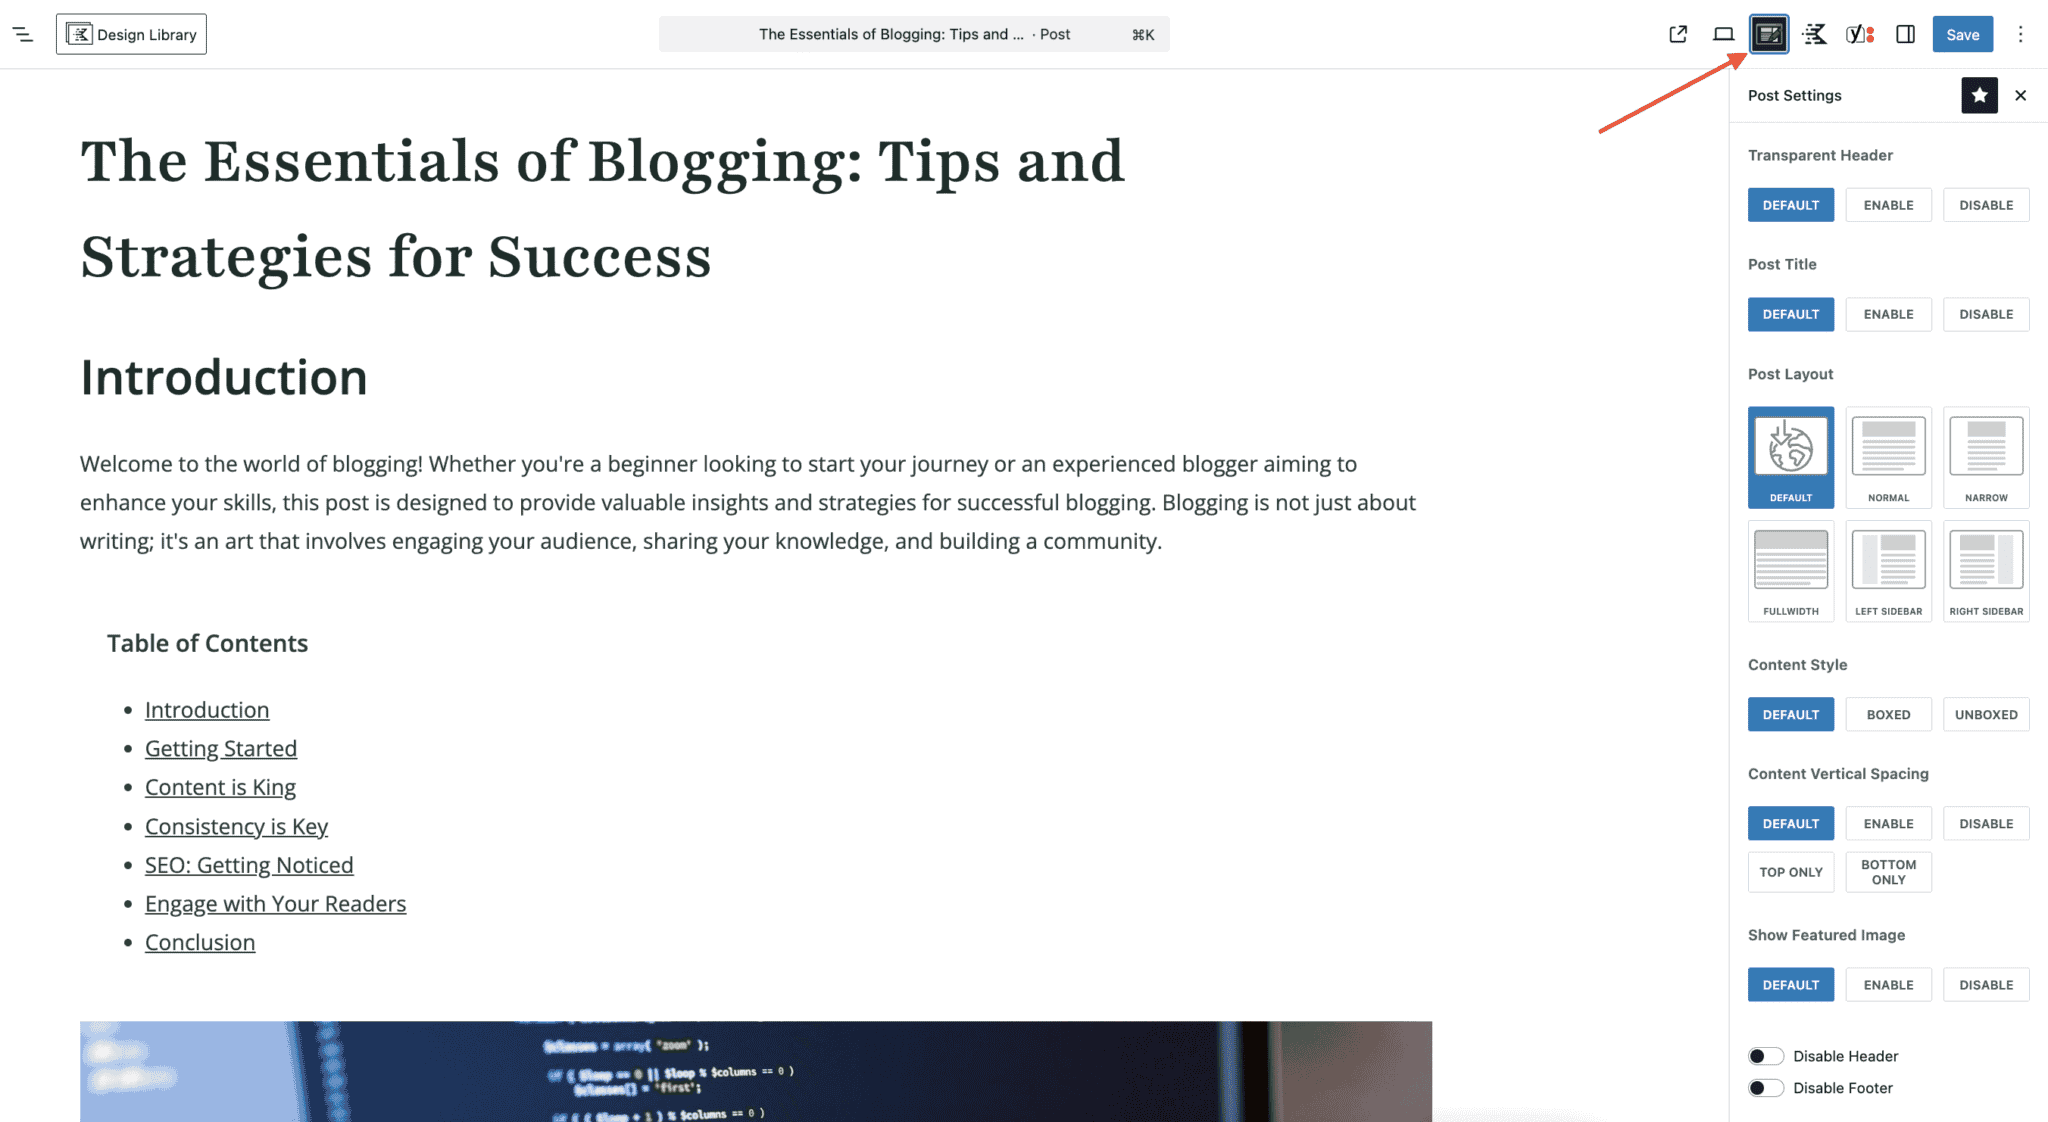
At the bottom of the Post/Page Settings, enable the option to Disable Header. This will remove the global header for the current post or page.
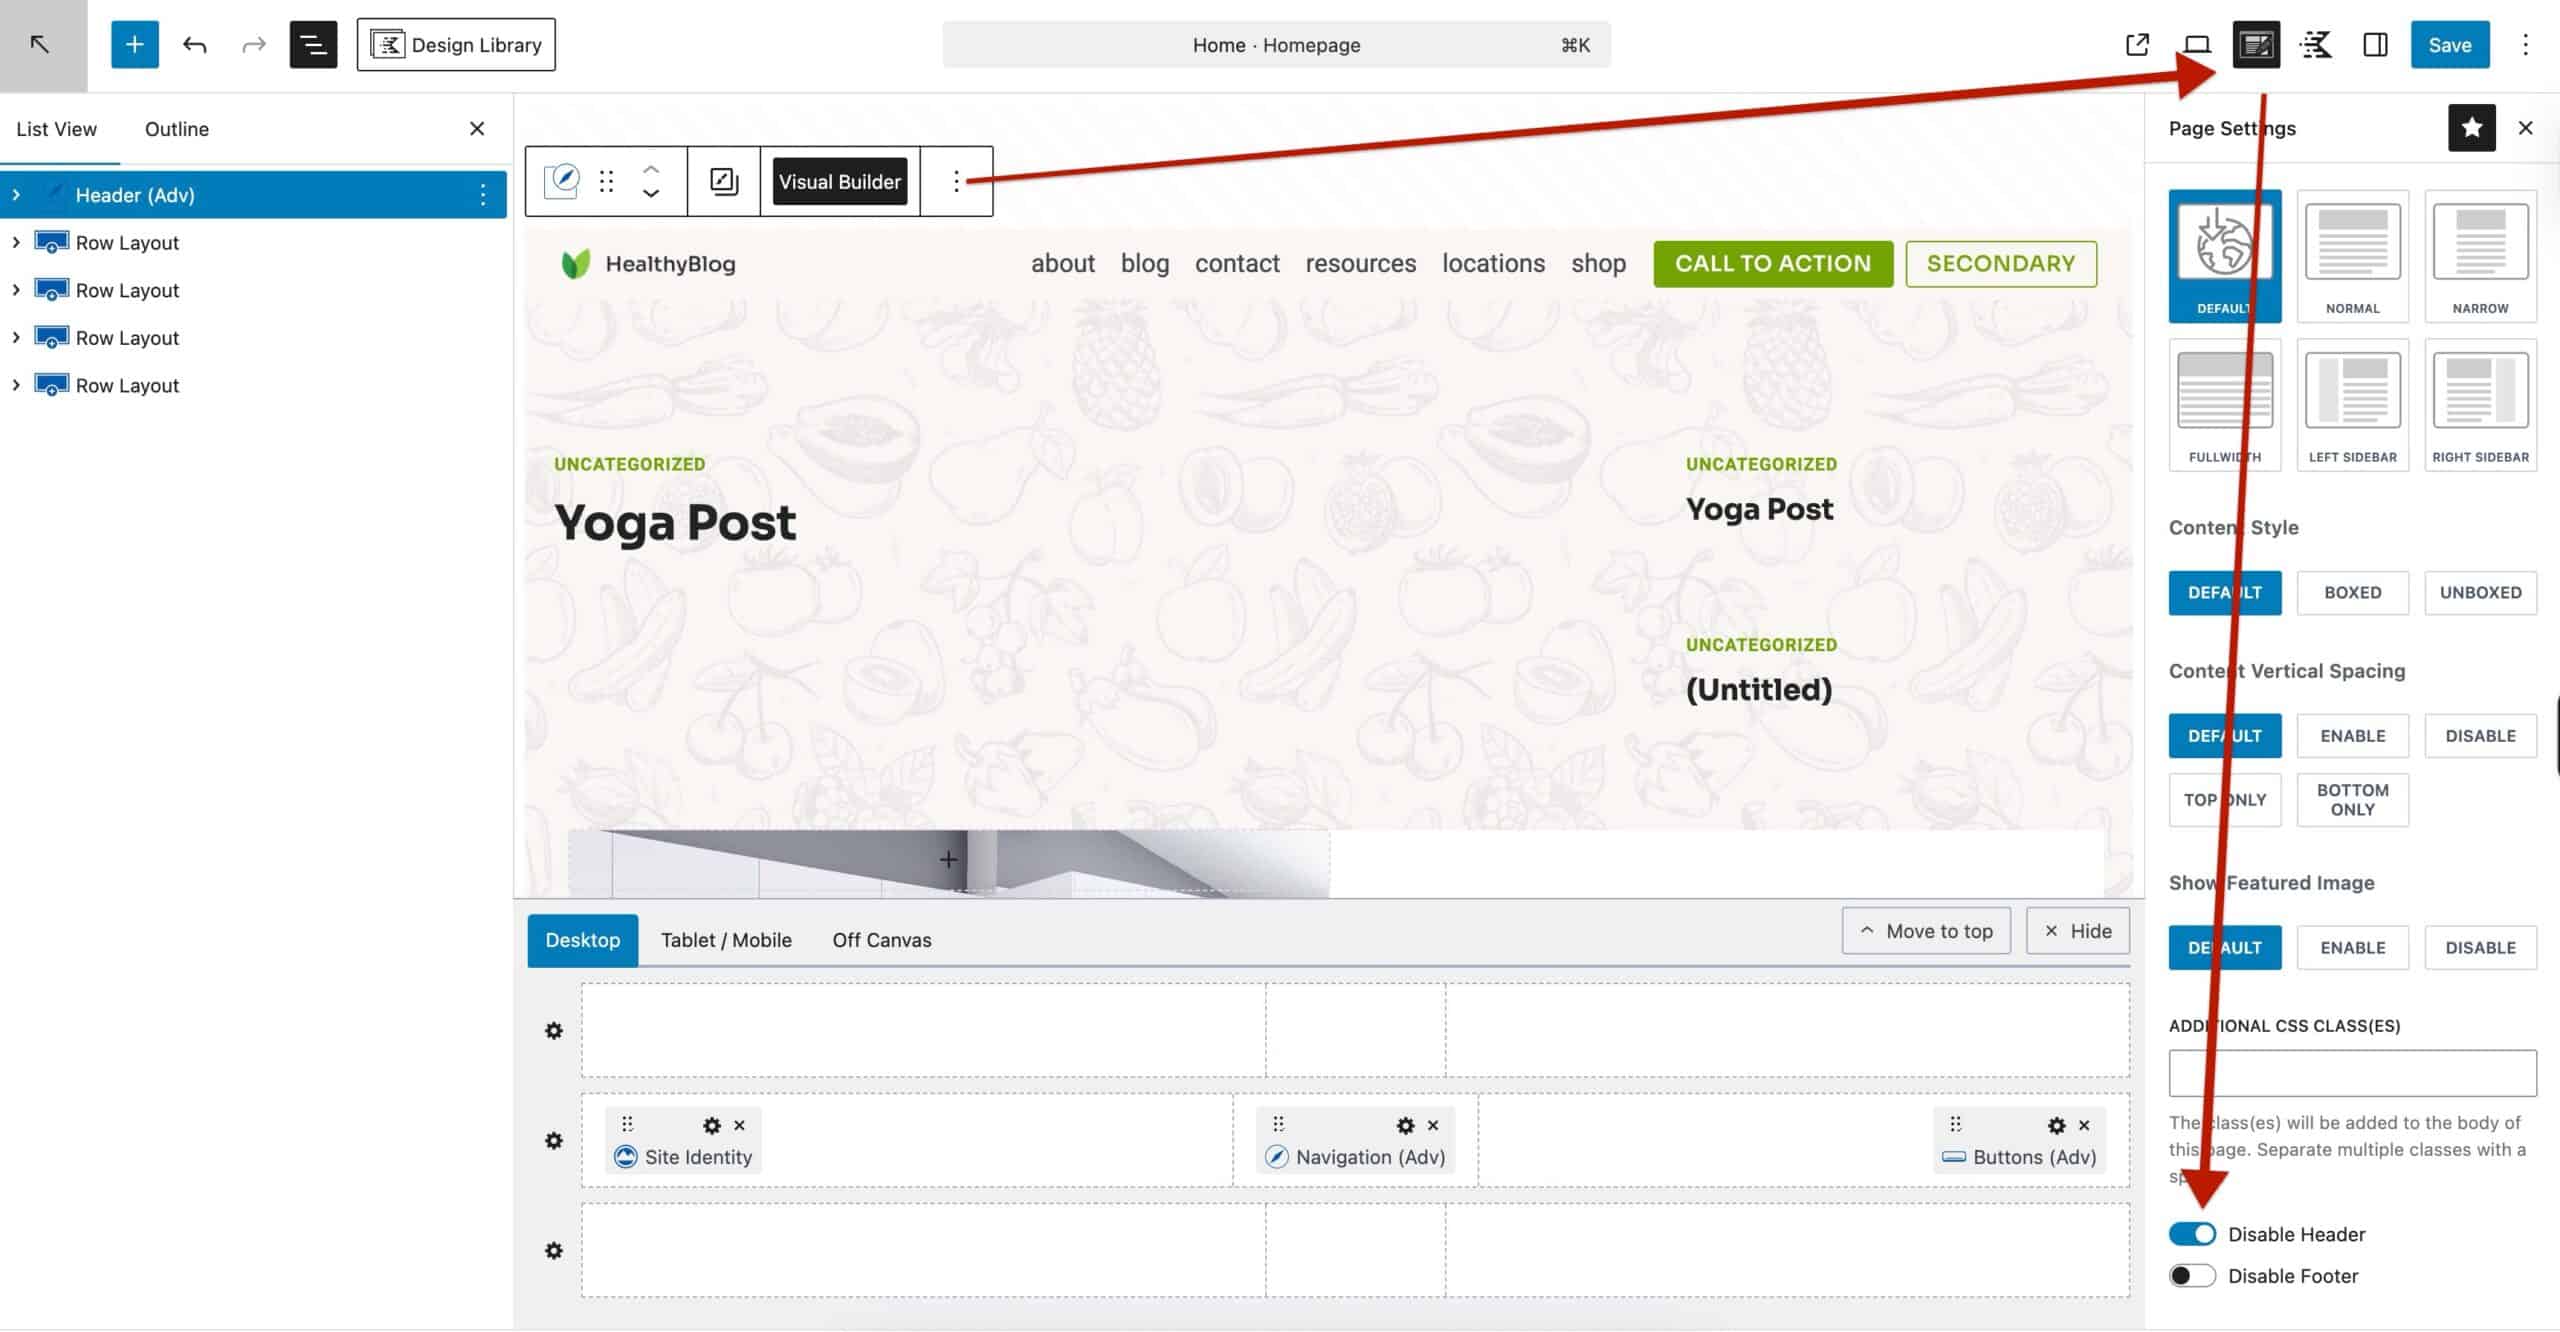
Once the Advanced Header Block is in place and the Disable Header option is enabled, save your changes. The Advanced Header Block will then override the global header for the current post or page.
Applying Conditional Advanced Headers Dynamically (Hooked Elements)
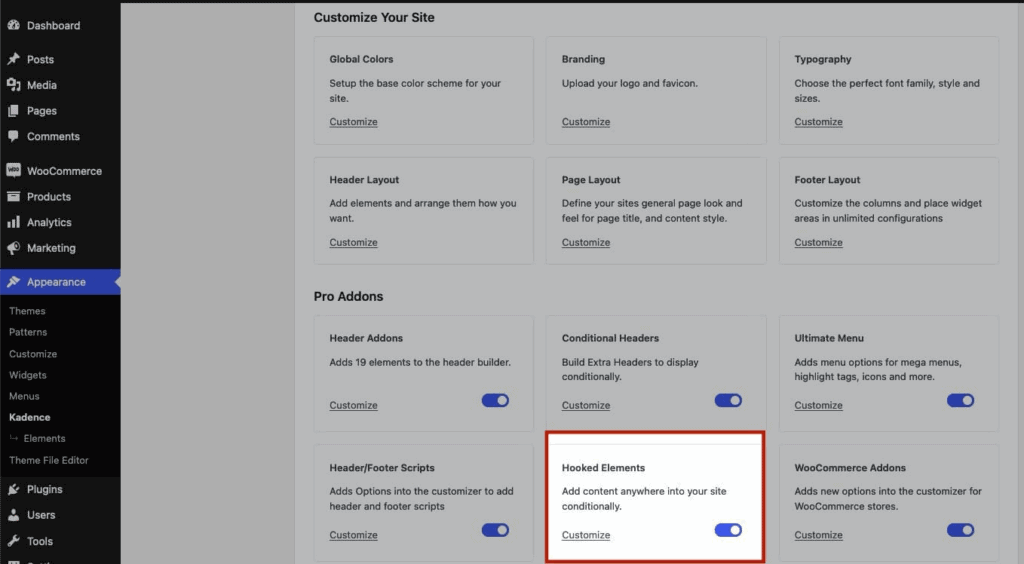
Kadence Theme Kit Pro includes Hooked Elements, which allow Advanced Headers to be inserted conditionally (dynamically) based on display rules. Hooked Elements are a feature available in the premium Kadence Theme Kit Pro plugin.
The next step to using conditional Advanced Headers is to enable Hooked Elements.
- Navigate to the Dashboard → Appearance → Kadence page.
- Enable the Hooked Elements feature if it is not already enabled.
Once Hooked Elements are enabled, you will have an additional menu item to access them.
- Go to Appearance → Kadence → Elements.
- Click Add New.
- Select Content Section as the Element type.
- In the editor, add a new Header (Adv) block and select the relevant header.
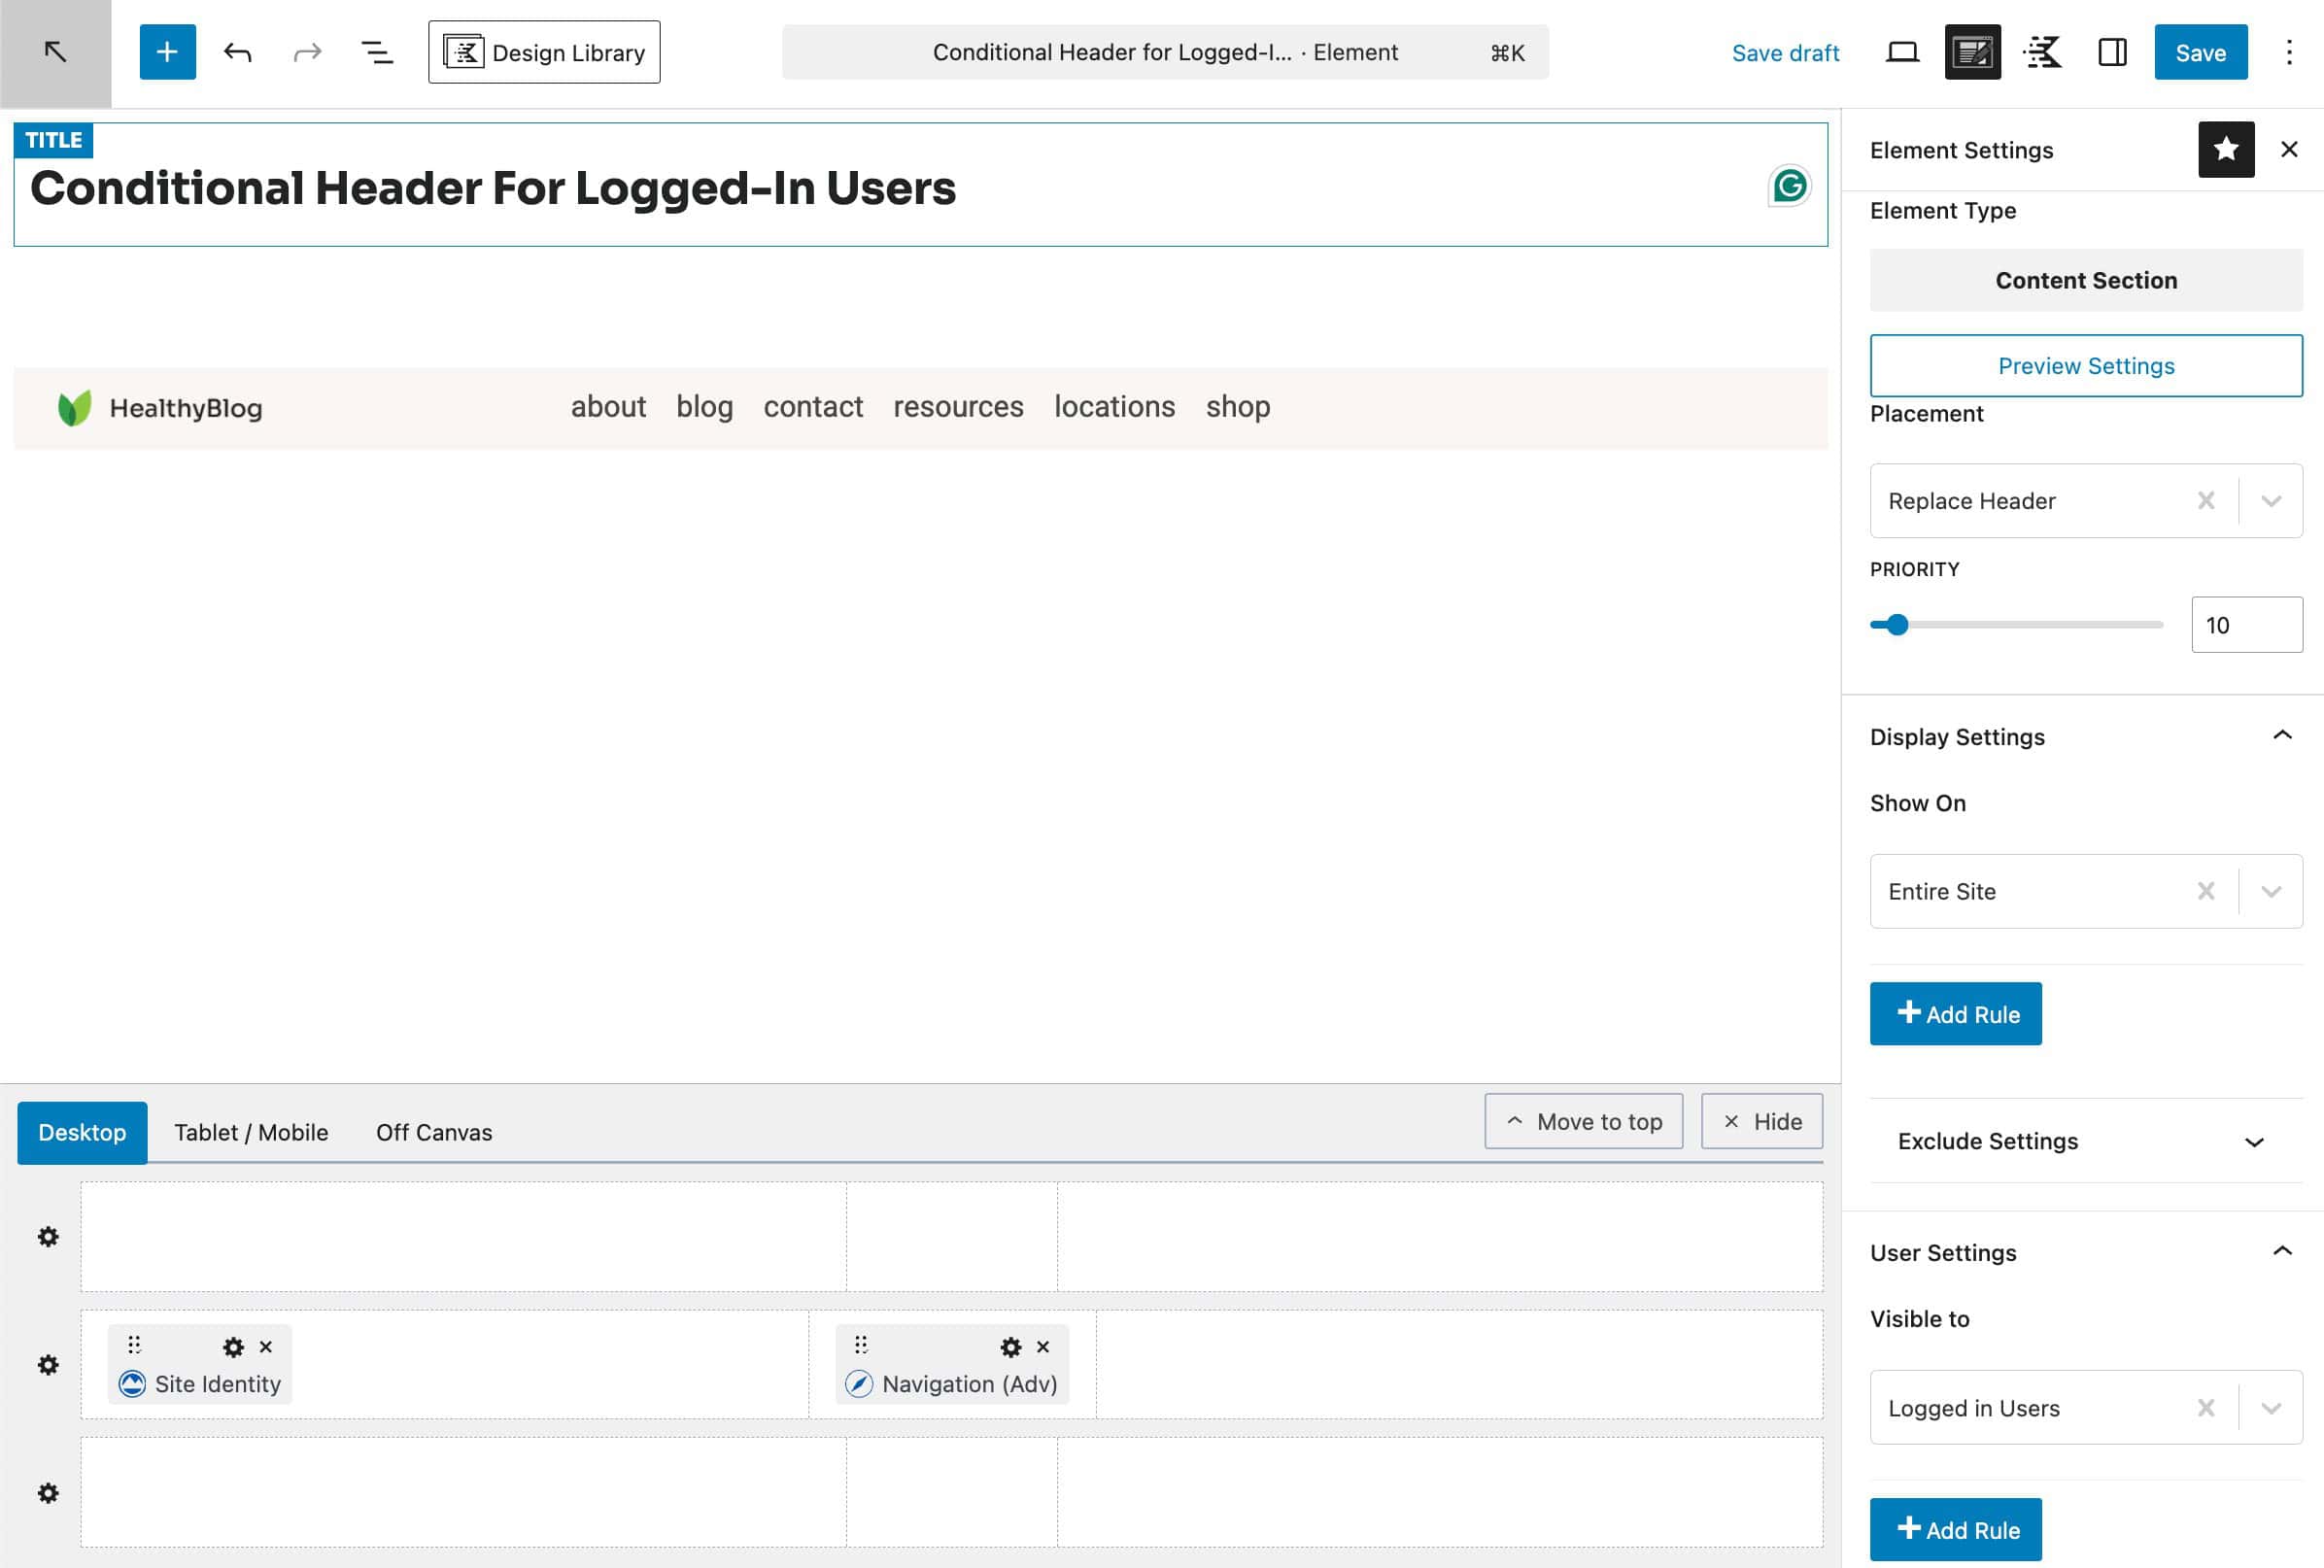
Configuring the Element Settings
In the Element Settings panel, you can set up the display-related settings for the Hooked Element.
(The Element Settings can be found at the top right corner of the element editor. Look for an icon with a paper and pencil.)
- Placement
- Set Placement to Replace Header. This setting is required for replacing the header and should always be used when creating conditional element-based headers.
- This ensures the conditional header fully replaces the global header.
- Display Settings
- Expand the Display tab.
- Use Show On to define where the header should appear.
- Select specific pages, posts, archives, or other conditions.
- Once finished, save/publish the Element.
The conditional header now overrides the global header only on the selected locations. For a full overview of the available Element Settings, refer to the Kadence Element Settings document.
How Global and Conditional Headers Work Together
Kadence uses a clear priority system to determine which header is displayed:
- The Customizer header is always the default.
- Hooked Elements take priority when their display conditions match.
- Only one header is rendered on the page at any time. (As long as you use the proper “Replace Header” hook or disable the current post/page header when manually adding one.)
This layered approach ensures predictable behavior and avoids conflicts between headers.
Best Practices
- Always define a Global Header first as a fallback.
- The standard Advanced Header Best Practices should still be followed for both Global and Conditional Headers.
- Use Conditional Headers only when a header design truly needs to differ.
- Test Conditional Headers thoroughly.
